CommBusAircraft
The CommBusAircraft sample includes the GaugeAircraft base project, modified to show the use of the WebAssembly Communication API. This sample can be built and added to Microsoft Flight Simulator (which is explained further down this page) so you can see how this API works.
You can expand the link below to see the CommBusAircraft file and folder structure:
+ CommBusAircraft
|---+ PackageDefinitions
|   |---+ mycompany-aircraft-wasm-commbus
|   |   |---+ ContentInfo
|   |   |   |---- Thumbnail.jpg
|   |   |---+ MarketplaceData
|   |   |   |---- Marketplace.json
|   |   |   |---- ContentInfo_Thumbnail.jpg
|   |   |   |---- Thumbnail.jpg
|   |   |   |---- thumbnail3840x2160.jpg
|   |   |---- Business.json
|   |---- mycompany-aircraft-wasm-commbus.xml
|---+ PackageSources
|   |---+ Copys
|   |   |---+ aircraft-wasm-commbus
|   |       |---+ MyCompany_CommBus_Aircraft_HtmlGauge
|   |           |---- ModuleCommJsGauge.css
|   |           |---- ModuleCommJsGauge.html
|   |           |---- ModuleCommJsGauge.js
|   |---+ Data
|   |   |---- Roboto-Regular.ttf
|   |---+ SimObjects
|   |    |---+ Airplanes
|   |        |---+ MyCompany_CommBus_Aircraft
|   |            |---+ model
|   |            |   |---- model.cfg
|   |            |   |---- GaugeAircraft.xml
|   |            |   |---- GaugeAircraft_Interior.xml
|   |            |   |---- GaugeAircraft_Interior_LOD00.bin
|   |            |   |---- GaugeAircraft_Interior_LOD00.gltf
|   |            |   |---- GaugeAircraft_Interior_LOD01.bin
|   |            |   |---- GaugeAircraft_Interior_LOD01.gltf
|   |            |   |---- GaugeAircraft_Interior_LOD02.bin
|   |            |   |---- GaugeAircraft_Interior_LOD02.gltf
|   |            |   |---- GaugeAircraft_Interior_LOD03.bin
|   |            |   |---- GaugeAircraft_Interior_LOD03.gltf
|   |            |   |---- GaugeAircraft_Interior_LOD04.bin
|   |            |   |---- GaugeAircraft_Interior_LOD05.gltf
|   |            |   |---- GaugeAircraft_LOD00.bin
|   |            |   |---- GaugeAircraft_LOD00.gltf
|   |            |   |---- GaugeAircraft_LOD01.bin
|   |            |   |---- GaugeAircraft_LOD01.gltf
|   |            |   |---- GaugeAircraft_LOD02.bin
|   |            |   |---- GaugeAircraft_LOD02.gltf
|   |            |   |---- GaugeAircraft_LOD03.bin
|   |            |   |---- GaugeAircraft_LOD03.gltf
|   |            |   |---- GaugeAircraft_LOD04.bin
|   |            |   |---- GaugeAircraft_LOD05.gltf
|   |            |---+ panel
|   |            |   |---- panel.cfg
|   |            |   |---- SampleWasmModule.wasm
|   |            |---+ sound
|   |            |   |---- MyCompany_Gauge_Aircraft.PC.PCK
|   |            |   |---- sound.xml
|   |            |---+ soundAI
|   |            |   |---- MyCompany_Gauge_Aircraft_AI.PC.PCK
|   |            |   |---- soundAI.xml
|   |            |---+ texture
|   |            |   |---- < various PNG files >
|   |            |   |---- texture.cfg
|   |            |---+ texture.01
|   |            |   |---- GaugeAircraft_FUSELAGE_albd_000.png
|   |            |   |---- GaugeAircraft_WINGS_albd_000.png
|   |            |   |---- texture.cfg
|   |            |---+ texture.02
|   |            |   |---- GaugeAircraft_FUSELAGE_albd_000.png
|   |            |   |---- GaugeAircraft_WINGS_albd_000.png
|   |            |   |---- texture.cfg
|   |            |   |---- thumbnail.jpg
|   |            |   |---- thumbnail_small.jpg
|   |            |---+ texture.base
|   |            |   |---- < various PNG files >
|   |            |---- ai.cfg
|   |            |---- aircraft.cfg
|   |            |---- Approach.flt
|   |            |---- apron.flt
|   |            |---- cameras.cfg
|   |            |---- Climb.flt
|   |            |---- cockpit.cfg
|   |            |---- Cruise.flt
|   |            |---- engines.cfg
|   |            |---- Final.flt
|   |            |---- flight_model.cfg
|   |            |---- gameplay.cfg
|   |            |---- hangar.flt
|   |            |---- runway.flt
|   |            |---- systems.cfg
|   |            |---- taxi.flt
|---+ Sources
|   |---+ Art
|       |---+ Max
|           |---- < various PNG files >
|---- CommBusAircraftProject.xml
Loading and building the project
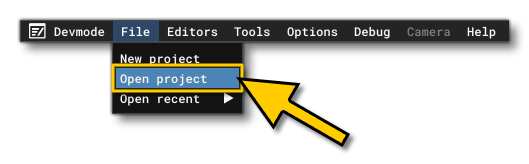
In order to load and build the project in Microsoft Flight Simulator, you must have previously enabled Developer Mode (see here for more information). Once enabled, simply follow these steps:
- Use the Open project... command from the File menu.
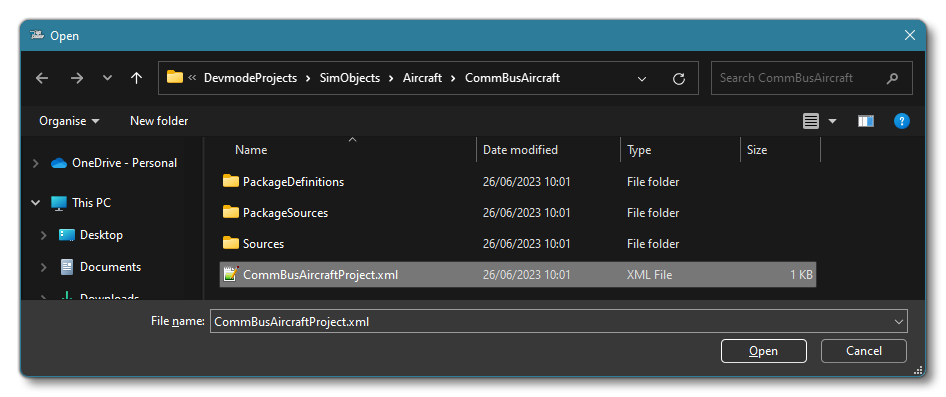
- Select the file
CommBusAircraftProject.xmlfrom theCommBusAircraftsample project.
- The Project Editor should open automatically and show you the project
mycompany-aircraft-simple(if the Project Editor doesn't open, then you can open it from the Developer Mode Editors menu)
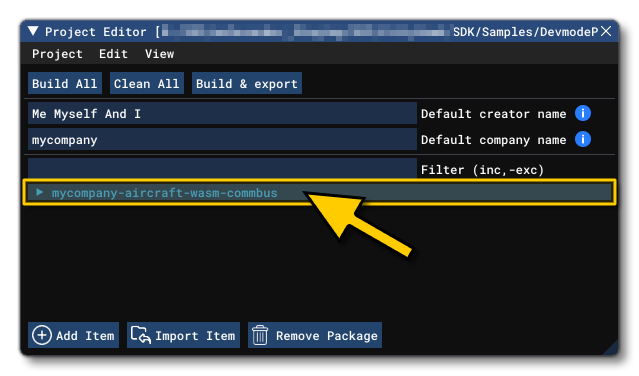
- Clicking on the project in the Project Editor will open the Inspector Window, and here you need to click the
Build Packagebutton (if the Inspector Window does not open automatically, go to the View menu in the Project Editor and open it from there).
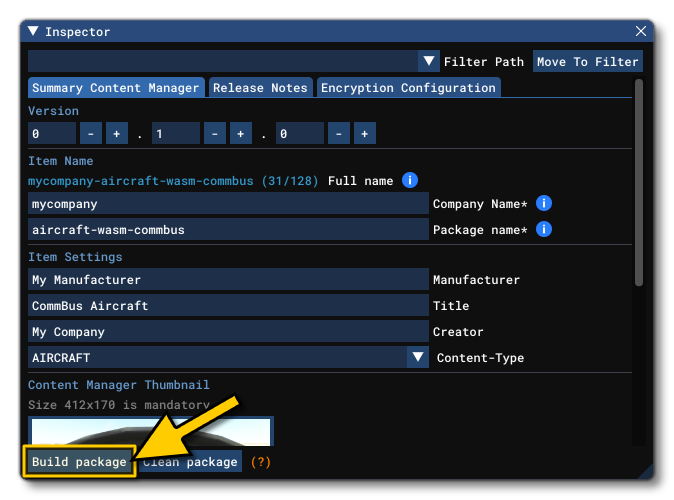
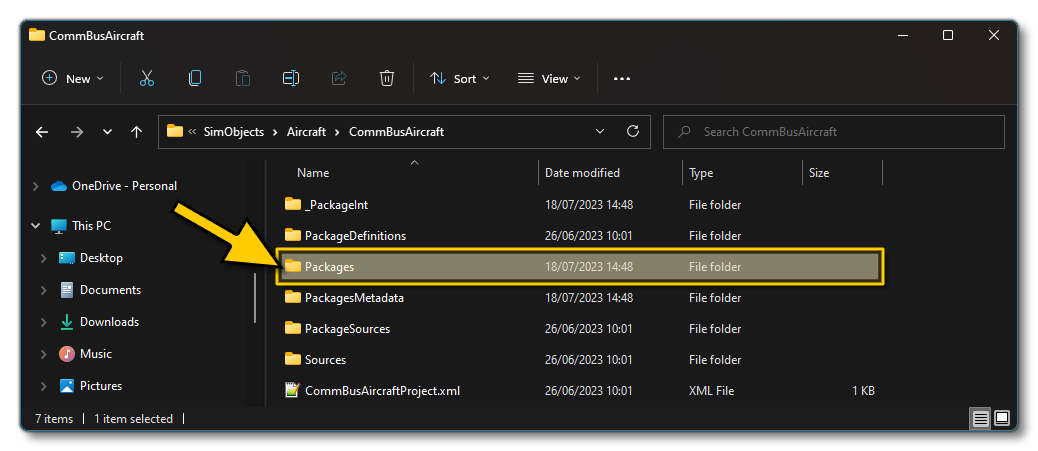
- This will build a package from the files specified in your project. This package will be named
mycompany-aircraft-wasm-commbusand will be output in the Packages folder created in the same directory asCommBusAircraftProject.xml:
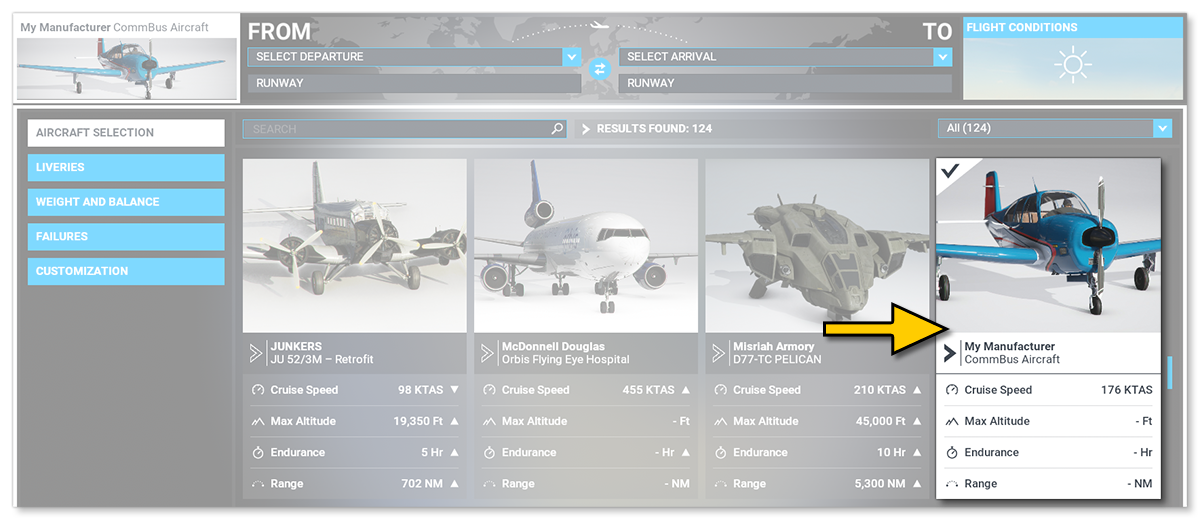
- Building the package will also install it into Microsoft Flight Simulator and so you can now proceed to the aircraft selection screen and see your newly created plane:
Once you have built the aircraft and selected it, you can go into a Free Flight and you will see three panels in the cockpit that illustrate the communication between WASM and JS guages:
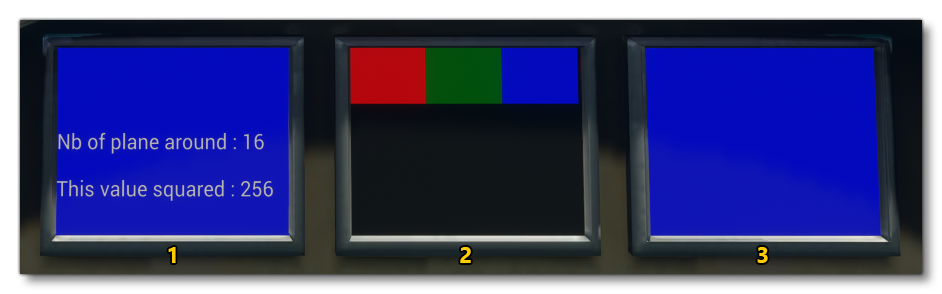
These screens correspond to the following:
-
WASM To Js
There is no equivalent of the coherent call GET_AIR_TRAFFIC in WebAssembly, and so to get the number of aircraft around the user in a WASM module, a call to a JS event must be made. In this case, the WASM gauge on the left makes a call to the center JS gauge to execute the coherent call. The JS gauge returns the value in another event. -
JS To WASM
This center JS gauage has a number of buttons that, when pressed, will change the colour of the screens of the WASM gauges (left and right). -
WASM To WASM
The right hand gauge is another WASM gausge, which calculates a value and transmits it to the other WASM gauge (on the left). This value is displayed as "This Value Squared".