FLT FILES
FLT files are used to define the properties of the aircraft and simulation when a flight is initialised, either as part of a mission, or as a free flight. Since this is a tutorial for creating an aircraft, we won't be talking about FLT files for missions and instead we will concentrate on the FLT files that are used for defining the properties of a flight a specific points. These files will be used when the user starts a flight from the ground (on the runway, from a parked position on the apron, etc...), or in the air (cruising, on an approach trajectory, etc...). When used for these cases, the FLT file will have to be named using a very specific naming scheme, and be authored at the same root location as the main aircraft object file:
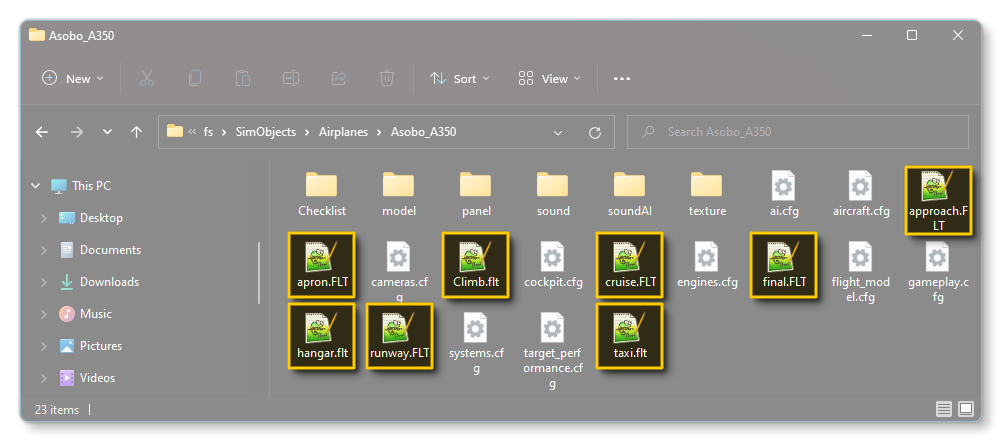
approach.fltapron.fltclimb.fltcruise.fltdescent.fltfinal.fltfinalwater.flthangar.fltreno.fltrunway.fltrunwaywater.flttaxi.flt
The image below shows a typical aircraft with the appropriate FLT files defined for it:

It is worth noting that none of these FLT files are "required", since any aircraft that doesn't have them will default to using some generic files that the simulation includes. However, it is very much recommended that you create your own so that the aircraft performs as expected under all the different initial flight conditions. The files themselves that you should always be including are as follows:
approach.fltapron.fltclimb.fltcruise.fltfinal.flt(replace withfinalwater.fltif the aircraft has floats)runway.flt(replace withrunwaywater.fltif the aircraft has floats)taxi.flthangar.flt
Creating The FLT Files
When it comes to creating the FLT files for your aircraft there are two generally accepted methods that you can use:
- The first is to simply find an aircraft that has already been created that matches - more or less - the specifications of the aircraft you are creating and then copy the FLT files for that aircraft into your package. Once you have them copied, you can "tweak" them to suit the aircraft as required.
- The second method is to use the simulation itself to generate the files at the various points of a free flight. For this method, you would build your package with the aircraft, then create a new free flight from the simulation world map, ensuring that the flight starts at a parking spot/apron and that it fulfills all the requirements for each of the files you want to generate (climb, cruise, approach, final, etc...).
 You would then start the flight and at the appropriate points save out your custom flight file, ensuring that the aircraft is set up correctly for the moment that you are saving:
- Ensure that the engine throttle, electrics, fuel, etc... are all correct for the point in the flight being saved
- Pause the simulation
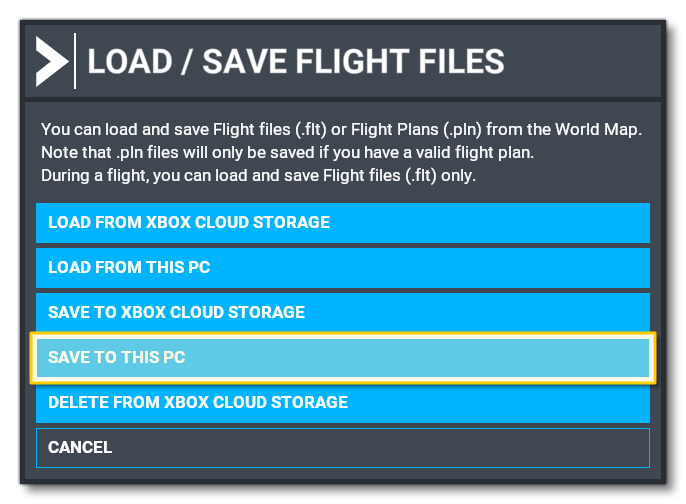
- Select load/save
- Save the file with the appropriate name

Once you have these "base" FLT files, you can go ahead and edit them to be consistent with the situations that they are supposed to represent for the aircraft. In general you will want to remove the waypoint information, since these are general files for free-flights and the waypoint data is not required. After that it's simply a case of revising the files to ensure that the components are setup correctly, for example, in the hanger all electrical circuites should be cold, or while cruising the engine throttles and fuel flow show be set correctly, etc...
The exact contents of each file will vary based on the aircraft and the situation, but from the base files you've created you can then refer to the main documentation for the available parameters and sections, and edit/add/remove what is necessary: