REGISTRATION NUMBERS
This page outlines the requirements for adding dynamic registration numbers to your aircraft. These numbers are not added by you but will instead be generated in-sim by the Microsoft Flight Simulator engine, and as such require a specific setup process.
The Mesh
To start with you will need to create one or more meshes for the numbers, which can be simple flat planes. The important thing is that it has to follow the shape of the fuselage (so it can be slightly more complex to ensure that it follows the forms correctly if required).
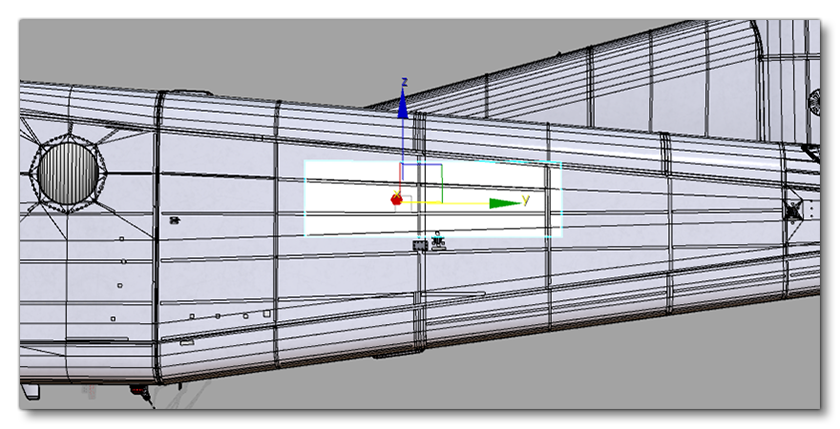
Note that the fuselage registration meshes need to be horizontal to the ground when the aircraft is in the flying position, and the meshes should be on an independent layer called something like RegistrationNumber in 3DS Max.
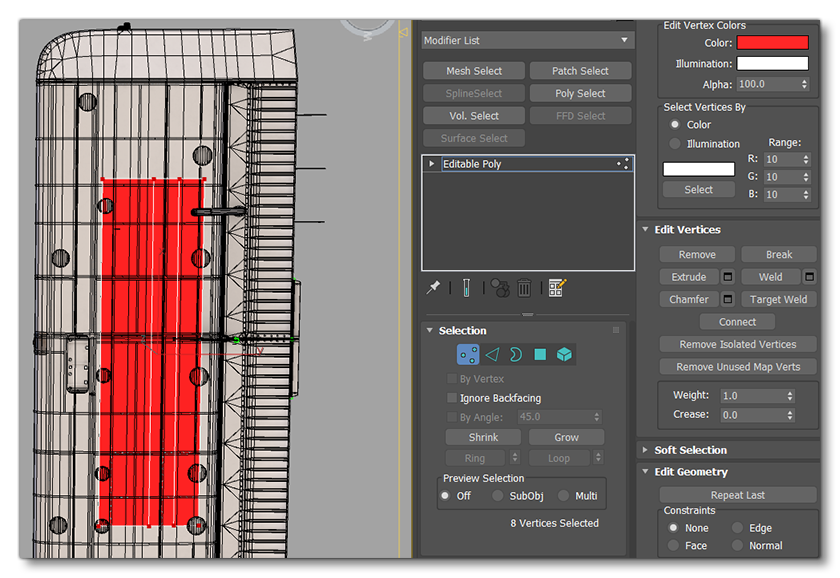
Concerning the UVs, you would use all the space available to you for the generated texture in game, eg:
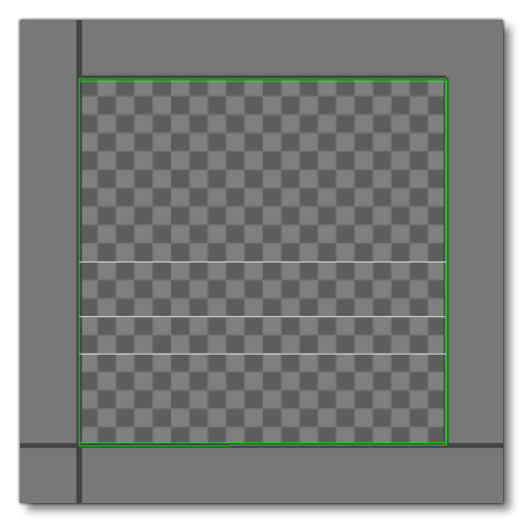
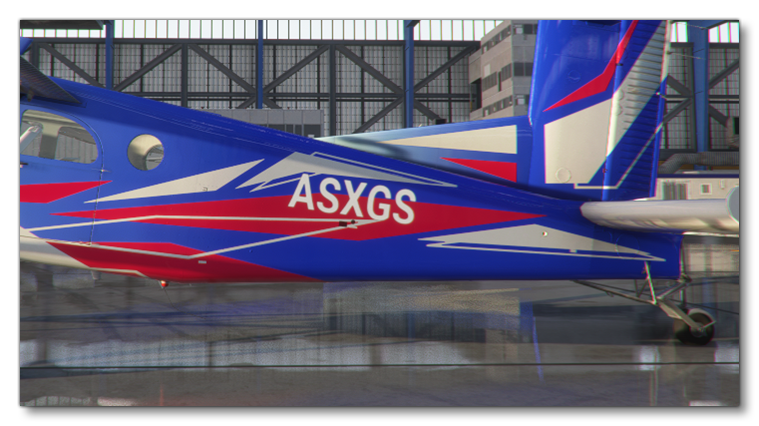
In the game, the actual texture contents will be generated by the Microsoft Flight Simulator engine:
Registration Text Colour
When generating the registration text in the simulation, the colour that is used will come from the panel.cfg file [VPaintingNN] section. However, this may not be appropriate for all the places where the text will be used on the aircraft. For example, if your livery has a blue fuselage and white wings, then white text will show up fine on the fuselage, but it won't show up correctly on the wings. In these cases you can use the mesh Vertex Colour to override the panel.cfg setting, for example:
In general, however, you don't want the vertex colour to be anything other than pure white.
The Material
Once you have the meshes placed on the airframe you need to apply a material to them. This material needs to be given an obvious name - like RegistrationNumber - and it will be referenced as the texture used in the panel.cfg file [VPaintingNN] section. The material should also be of the type Decal and would be set up as follows:
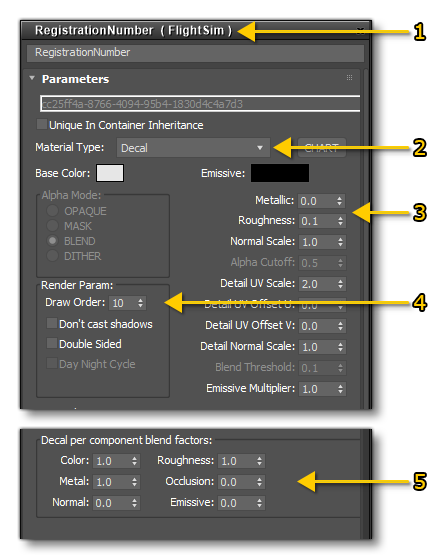
- Create a new FlightSim material
- Call it "RegistrationNumber" (or something equally obvious) and set the Material Type to Decal
- Set the Metallic value to 0 and the Roughness value to 1
- Set the Draw Order appropriately to avoid z-fight with the other decals materials
- Set the blend factors to achieve the look you require (see the Blend Factors section for more details)
Liveries / Variations
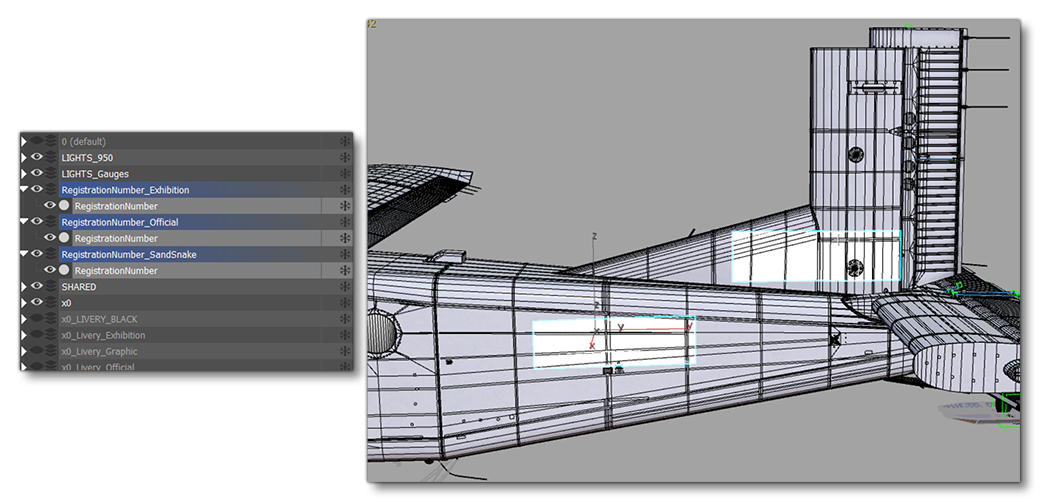
Sometimes you will need to change the registration number position based on the livery being used by the aircraft. Indeed, sometimes you'll have some livery graphics under the registration text that will make reading the text quite difficult. So, to avoid issues we recommend that you create one or more variations of the registration number and apply each one as required by the livery being used.
The easiest way to organize this is to have different layers in 3DS Max that will be checked or not in the multi exporter when it comes time to export your aircraft. For example, in the image below we have various versions of the registration number in 3DS Max, and you can see how we've placed two of them (one version on the fuselage and another version on the tail):