MULTI-EXPORTER
The Microsoft Flight Simulator 2020 Multi Exporter, as its name suggests, is for exporting multiple glTF files at the same time. It was built to make exports easier, especially for big scenes with a lot of LODs, such as scenery and planes. However, it can be useful for even the smallest of scenes.
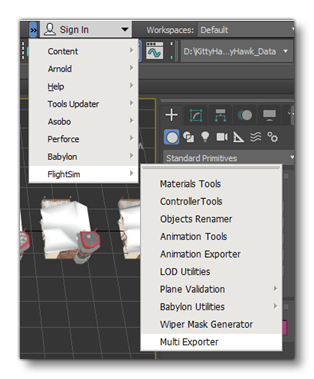
The multi-exporter option will be available after installing the 3DS Max plugin and can be found in the top menu under MSFS2020/Multi Exporter.
The Multi Exporter has an Objects View, a Presets View and an Options Menu.
The Objects View
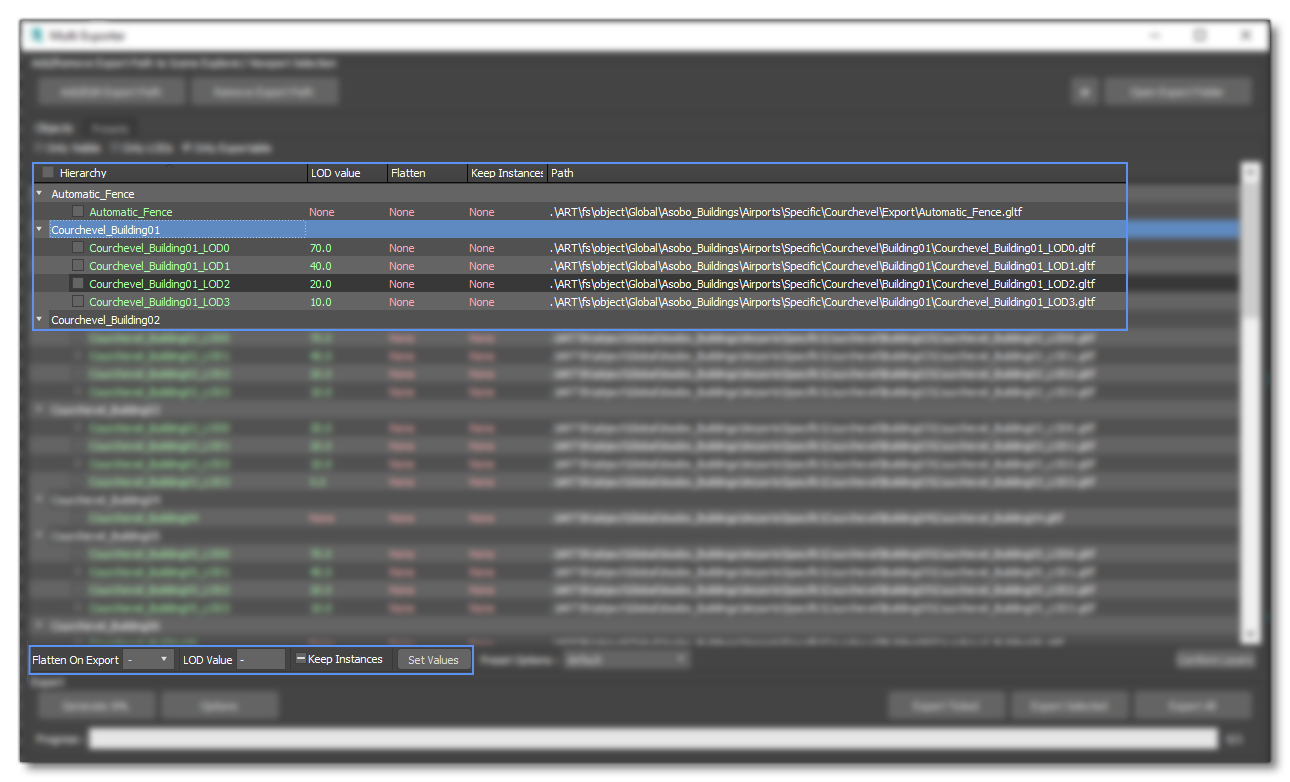
This view relies on the names of your root nodes in your scene. If your object's name starts with x0_ or ends with _LOD0 it will be considered a LOD0 ( x1_ and _LOD1 will be LOD1, and so on). The rest of its name defines its category so that all the objects from the same family (ie: different LODs of the same asset) will be sorted together.
The Objects View will show you a list of categories based on all the root objects in your scene. Each category represents an object and its LODs. If an object doesn't have LODs it will be shown alone in its own category:
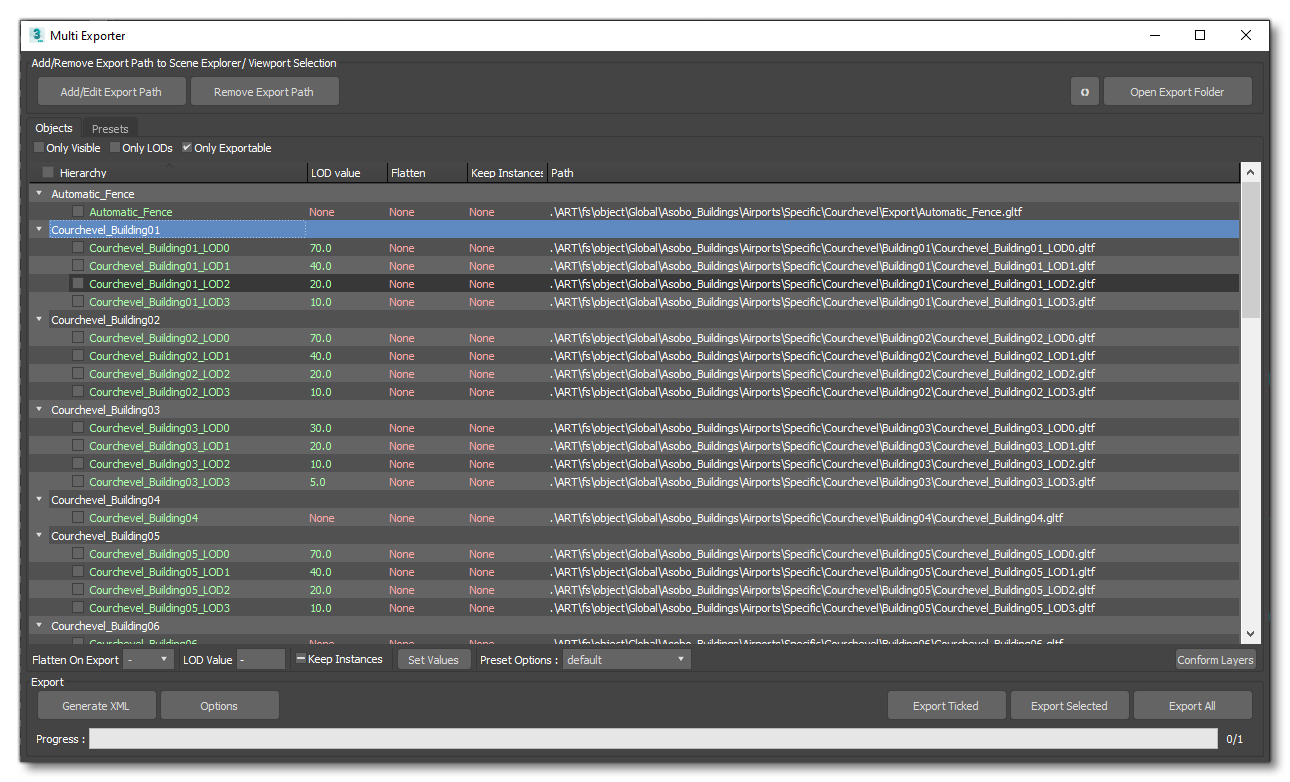
Note that if your objects use Instances, then you should enable the Keep Instances option at the bottom.
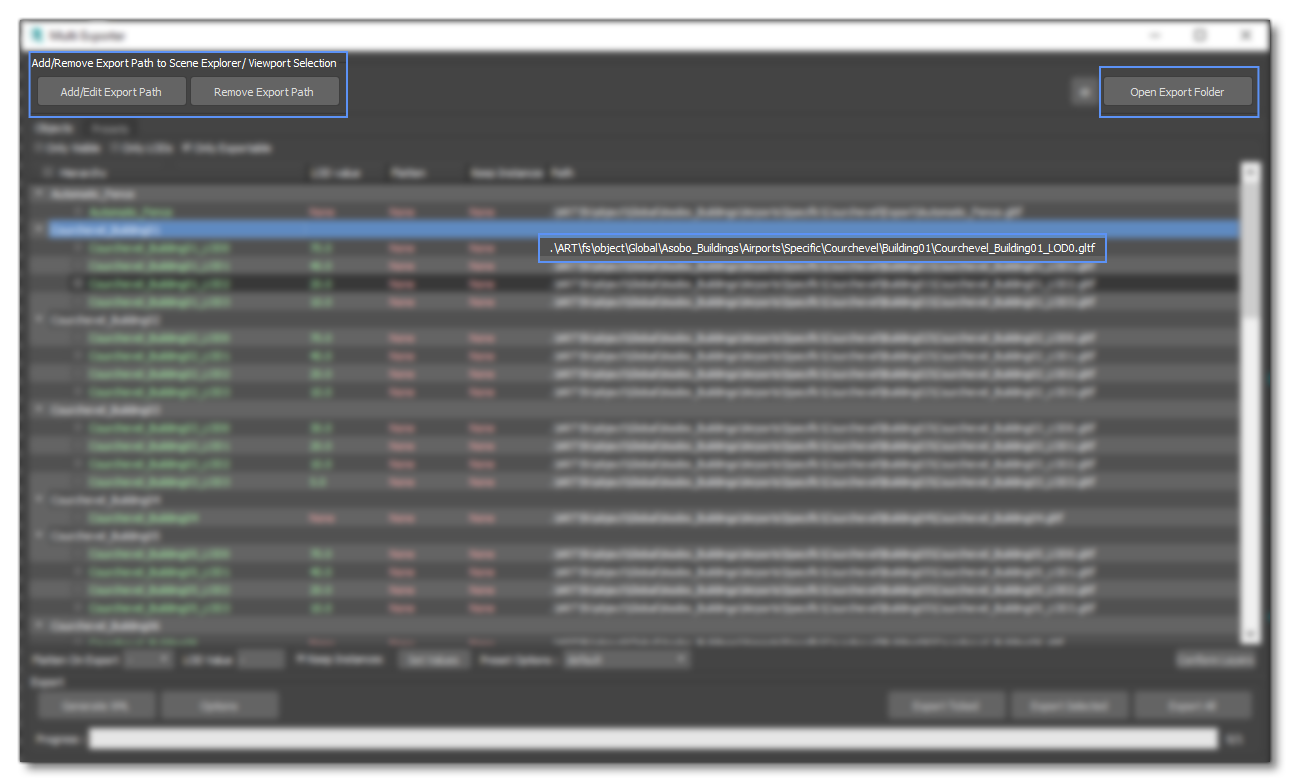
The part at the top allows you to set an Export Path to the selected hierarchies in the max viewport or the list in this view by clicking the Add/Edit Export Path.
The filters above the list will allow you to choose what you want to see in the exporter. For example, Only LODs allows you to only see and export the objects of which the root node contains an LOD prefix or suffix.
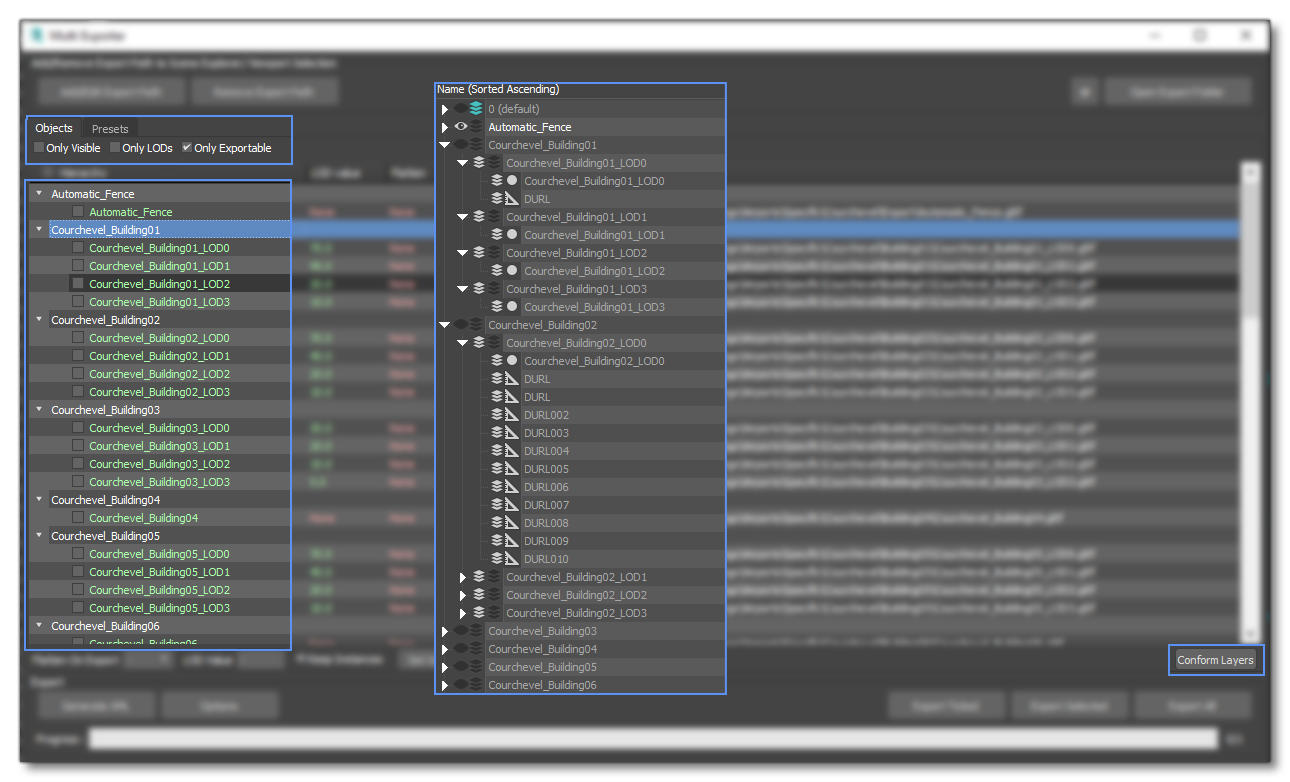
You can conform the layers of your scene to this structure by clicking the Conform Layers button in the bottom right. This will create a layer for each category and each LODs and put the corresponding Nodes in the right layers. Objects not represented in the list will be put in the default layer 0.
You can change the values of each object by clicking Set Values after changing the Flatten On Export or LOD Value. You can also work with a selection of objects, only overwritten values will be applied upon clicking the button.
LOD Value is the minimum size on screen a given LOD is displayed, below that it will swap to the next LOD. This behavior scales with the graphics settings.
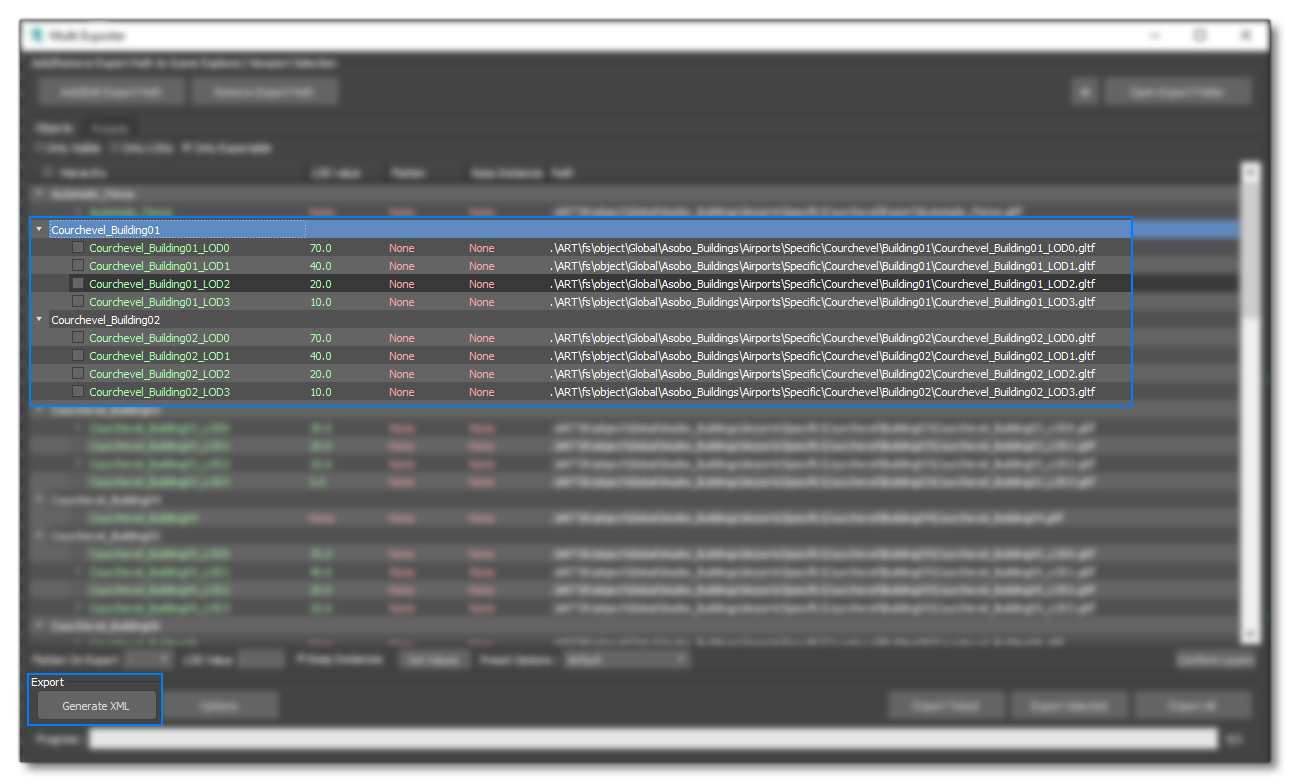
The Generate XML button will create the XML file for the families of LOD selected. For example selecting Courchevel_Building07, Courchevel_Building07_LOD0 or all of Courchevel_Building07 's LODs will produce the same result and generate one file for the Courchevel_Building07 family. You can also work with multiple families at once.
You will only need to press this button when you create a new LOD family or change the number of LODs within a family. After generating the XML, the values will automatically be updated upon exporting objects, although you can still use it to update all the values without exporting any model.
The remaining options:
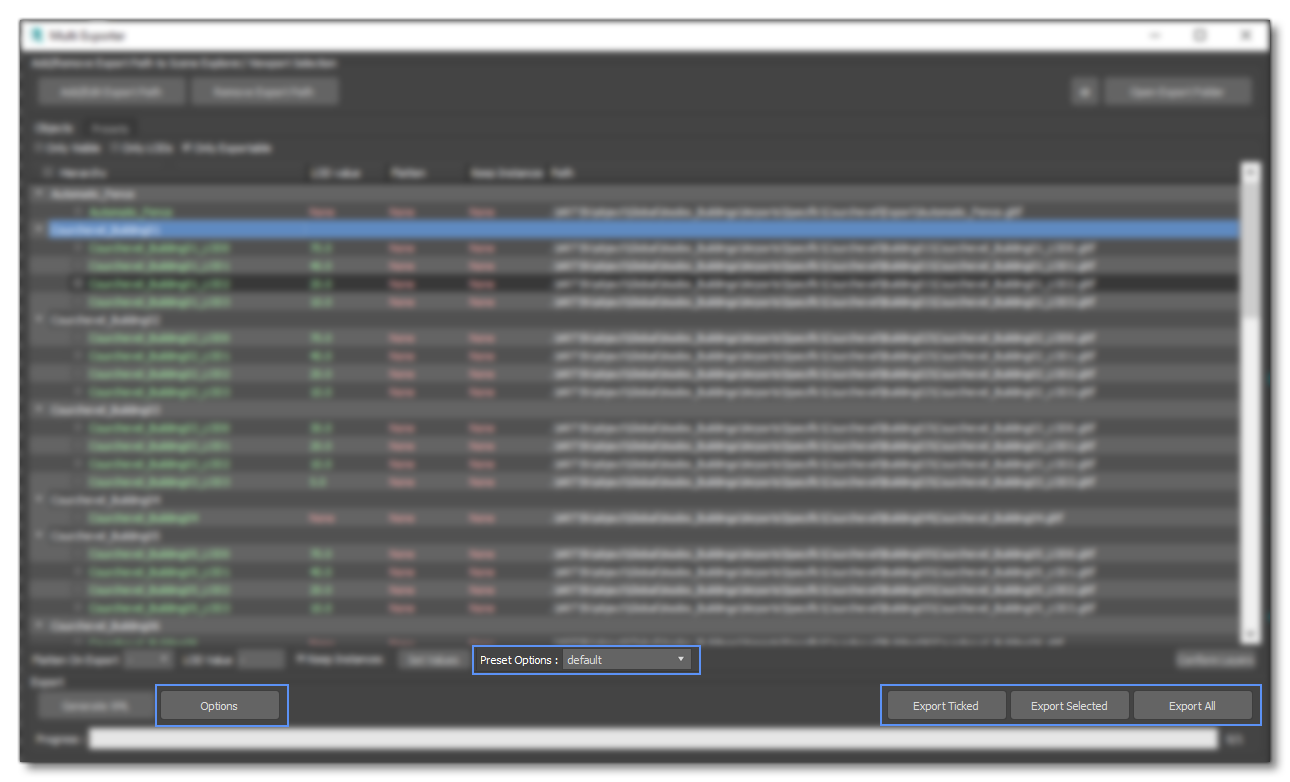
Export Tickedonly exports objects that have their checkbox checked.Export Selectedwill export the objects selected in the list, NOT the selection inside 3dsMax Viewport.Export Allwill export all objects.Preset Optionsis a set of export options that can be created in the window that you can open by pressing theOptionsbutton in the bottom left.Optionswill open the options menu, where thePreset Optionscan be modified.
The Presets View
The Presets View allows you to create Export Presets and Export Groups that will make it easier to export a large numbers of objects, animations and more. This exporter relies on Scene Layers to be selected and added to a Preset, so you will need your scene to be split into relevant layers.
If you didn't setup your layers properly you can look at the Conform Layer functionality shown in the previous chapter. If your layers are wrong but your naming conventions are correct then you should be able to automatically generate the layers you will need in this tab.
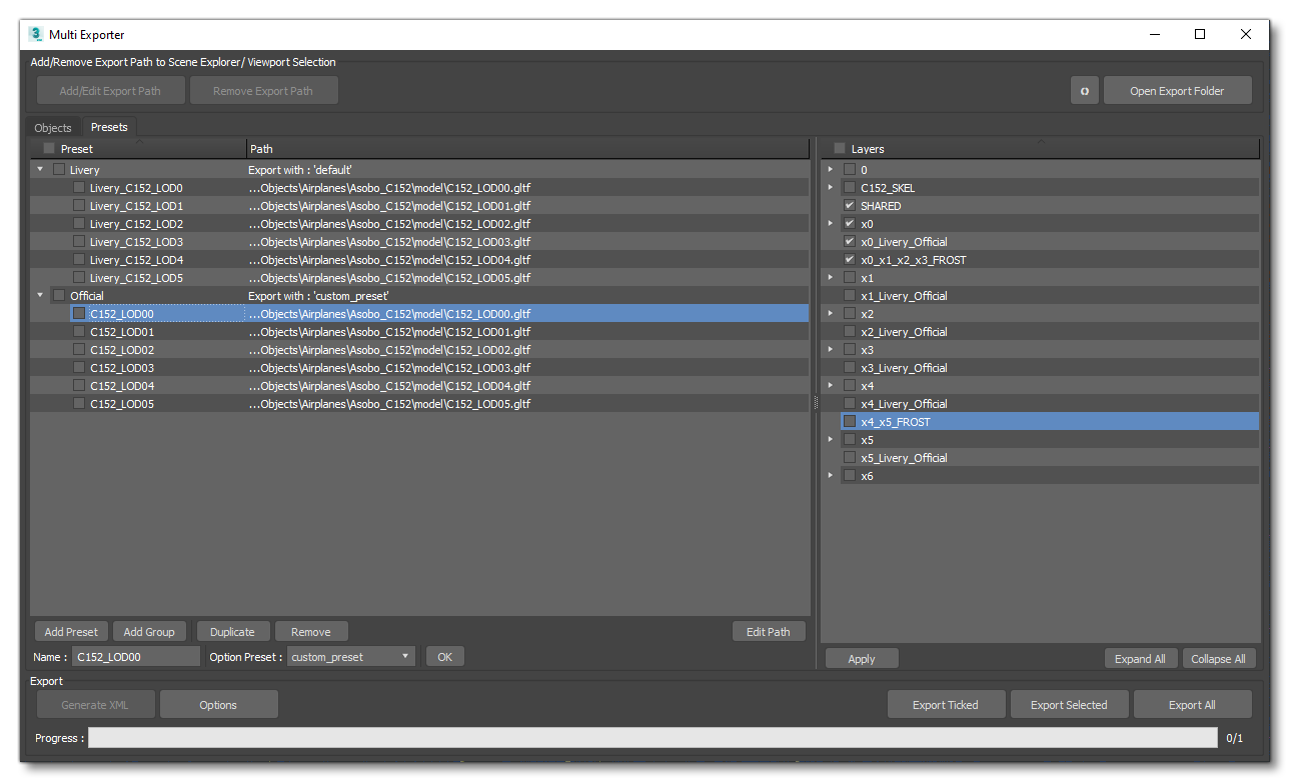
Terminology:
- A
Presetis a set of layers with a name and an export path. It bundles everything needed for the export and is created in this window. - An
Option Presetis a set of parameters from the option menu saved in your scene that you can apply to anyGroupofPresets. - A
Groupis just a collection ofPresets. It can have anOption Presetattached to it, in which case theOption Presetwill be used as export options for all members of thisGroup.
When clicking Add Preset you will be asked where you want to export your glTF. The Preset name will by default be the name of the gltf file. You can change it later. If you have a Group selected when creating a Preset, it will automatically be placed inside this Group. Similarly, when you create a Group it will place all the selected Presets inside the newly created Group.
Once a Group is created you can change its name and pick its Option Preset.
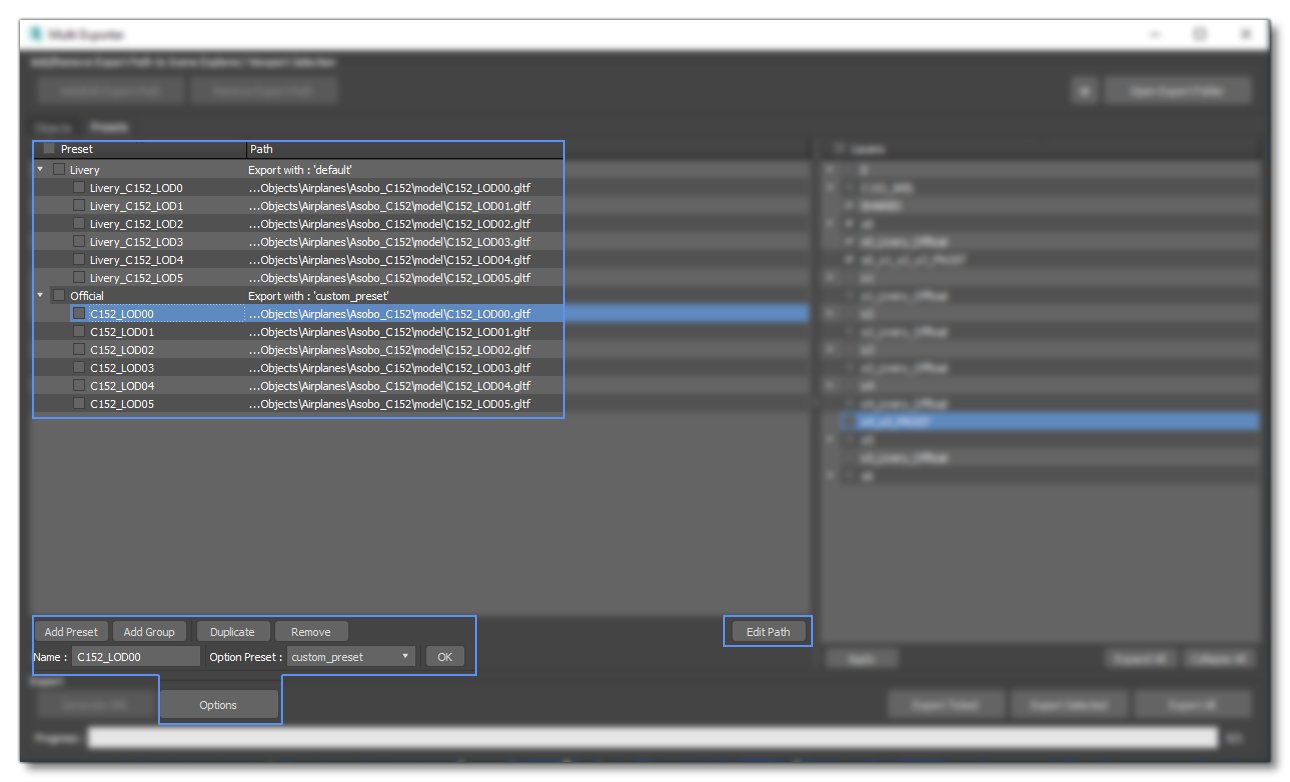
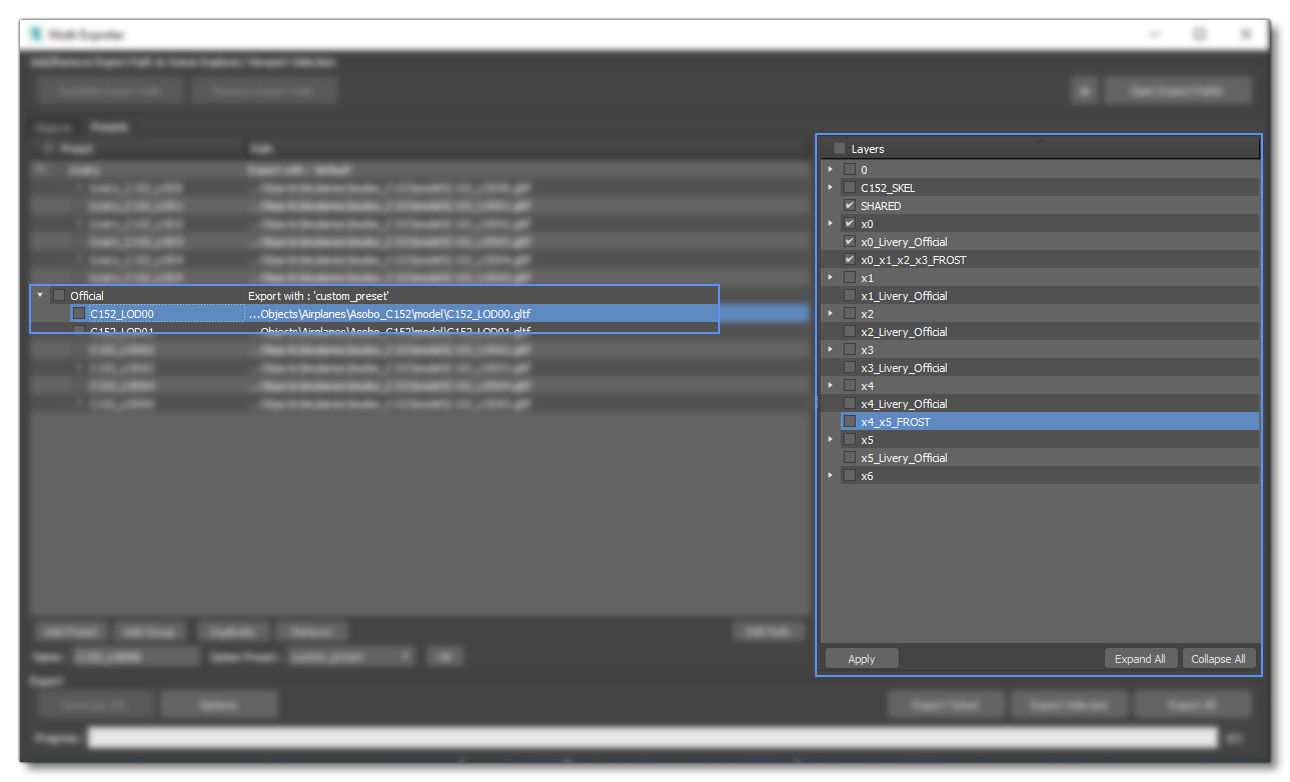
When a Preset is selected, the layer explorer on the right shows up where you can see all the layers in your scene. Tick the layers you want to export with this Preset and click the Apply button. You can now export the preset.
Options Menu and Options Preset
The Export Options menu allows you to change the export options directly from the Multi Exporter. This menu has a preset field on top with an immutable default entry. The default entry shares all its options with the base Babylon Exporter, changes here will be saved for the Babylon Exporter as well and the inverse is also true.
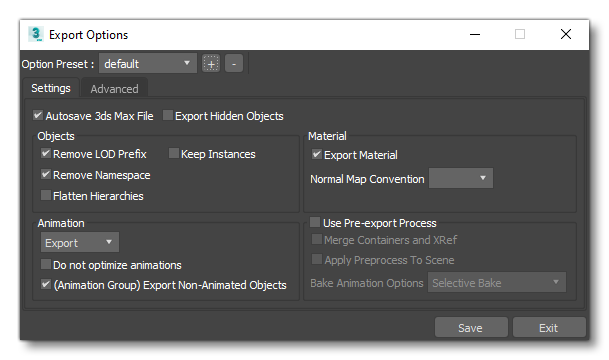
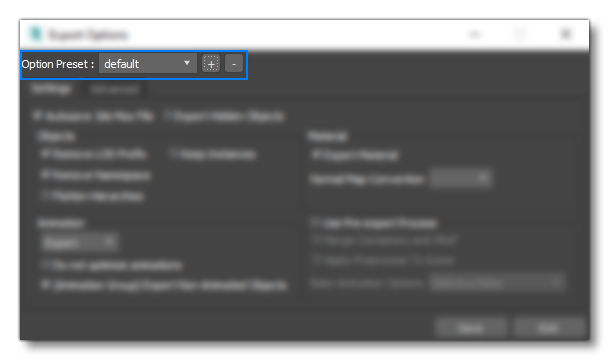
You can create you own Option Preset by clicking the [+] button. You can rename said Option Preset by just changing the name in the preset selection field itself.
Once your different Option Presets are set up you can assign any of them to different Groups of Presets. In the example below, "Livery" will use the custom_preset options and "Official" will use the default one.
