TrafficVehiclesSample
This sample is used to illustrate how you can create one or more vehicles to be used for traffic within a region. In this case, we'll be replacing cars within the North American region with small grey vehicles. Care should be taken when creating traffic vehicles this way, as they are spawned on a per-region basis which means that all vehicles within a region will be overriden and replaced by whatever vehicles are in the package.
You can expand the link below to see the TrafficVehiclesSample file and folder structure:
|---+ TrafficVehiclesSample
    |---+ PackageDefinitions
    |   |---+ mycompany-modellib-traffic-vehicles
    |   |   |---+ ContentInfo
    |   |       |---- Thumbnail.jpg
    |   |---- mycompany-modellib-traffic-vehicles.xml
    |---+ PackageSources
    |   |---+ LivingWorld_Config
    |   |   |---- MyCompany_LWcfg.XML
    |   |---+ modelLib
    |       |---+ texture
    |       |   |---- Car01_COMP.png
    |       |   |---- Car01_Gray_Albedo.png
    |       |   |---- Car01_Normal.png
    |       |---+ TrafficVehicle
    |           |---- Traffic_Car_Sample.bin
    |           |---- Traffic_Car_Sample.gltf
    |           |---- Traffic_Car_Sample.xml
    |---+ Sources
    |   |---+ Art
    |       |---+ Max
    |           |---- Traffic_Vehicles_Sample.max
    |---- TrafficVehiclesSampleProject.xml
Loading And Building The Project
In order to load and build the project in Microsoft Flight Simulator 2020, you must have previously enabled Developer Mode (see here for more information). Once enabled, you will need to do two things: build the project and then place the package into The Community Folder folder.
Building The Package
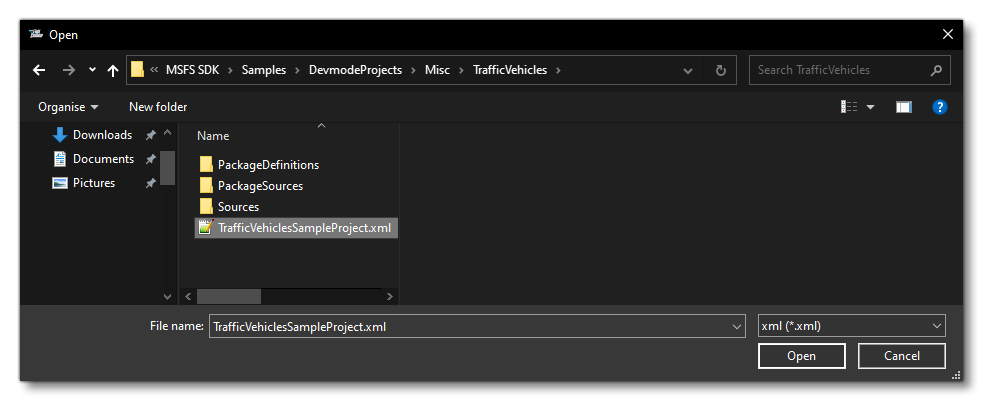
- Use the Open project... command from the File menu.

- Select the file
TrafficVehiclesSampleProject.xmlfrom theTrafficVehiclesSamplesample project.

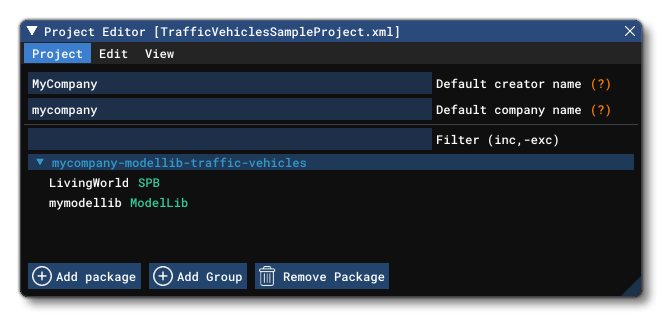
- The Project Editor should open automatically and show you the project
mycompany-modellib-traffic-vehicles(if the Project Editor doesn't open, then you can open it from the Developer Mode Tools menu):

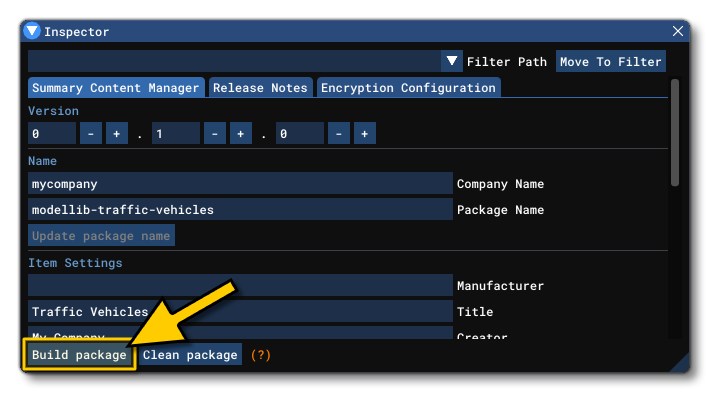
- Clicking on the project in the Project Editor will open the Inspector Window, and here you need to click the Build Package button (if the Inspector Window does not open automatically, go to the View menu in the Project Editor and open it from there):

- This will build a package from the files specified in your project. This package will be named
<mycompany>-modellib-traffic-vehiclesand will be output in the Packages folder created in the same directory asTrafficVehiclesSampleProject.xml:

Using the Package
- Having built the package, you will need to close Microsoft Flight Simulator 2020 since we need to add the new package to the Community folder and restart the simulation for it to be detected.
- Once you have closed the simulation, you can go to the project folder and copy the package that you've just built.
- The copied package should be pasted into The Community Folder folder so that the next time the simulation is run, it will be loaded along with all the other packages.
- At this point you simply have to restart Microsoft Flight Simulator 2020, then start a Free Flight in Mexico (as the vehicles are set to spawn in the "Tropics (American)"
LivingWorldRegion) then pause the simulation and use the Developer Camera to move around the world and inspect the roads to see that all the traffic is using the new model that we've defined. You should see that all the cars have been replaced with the small silver/grey car model from the package.
