
Tools
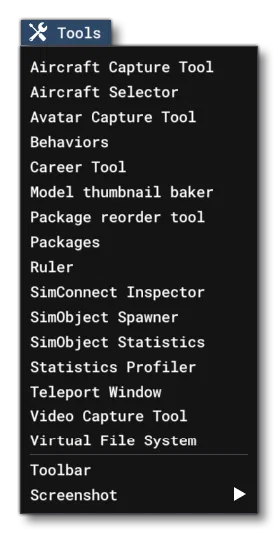
This menu gives you access to the various tools that can be used to help create your add-on packages for the current project when in Developer Mode. Most of these tools will only be usable when you have created or opened a project, and are actually in the simulation (ie: You have selected an aircraft, set at least the departure point, and have entered the simulation).
The available options are:
Aircraft Capture Tool
Opens The Aircraft Capture Tool where you can capture images of your aircraft for use in promotional material and when uploading to the Marketplace.
Aircraft Selector
Selecting this will open the Aircraft Selector window:
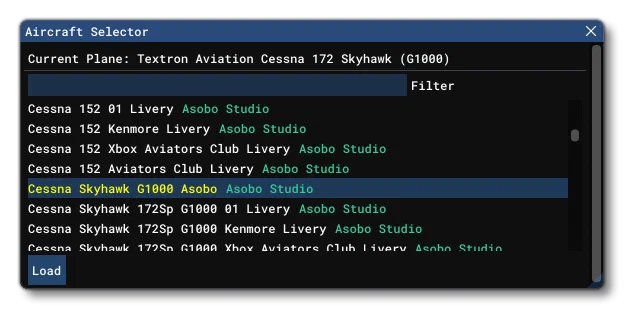
This window will list all the currently installed aircraft packages, and you can select any of them and click the button to load that aircraft into the simulation. If you have a lot of packages available, you can filter them by adding filter text into the input box at the top of the window. Note that the currently loaded aircraft will be highlighted in yellow.
Behaviors
This option opens the Model behaviors window where you can analyse data related to the aircraft model currently in use. For more information please see the Behaviors Debug page.
Career Tool
This option opens The Career Tool which is designed to help aircraft creators test their work in the various activities available in the simulation Career Mode.
Model Thumbnail Baker
Selecting this will open the following window:
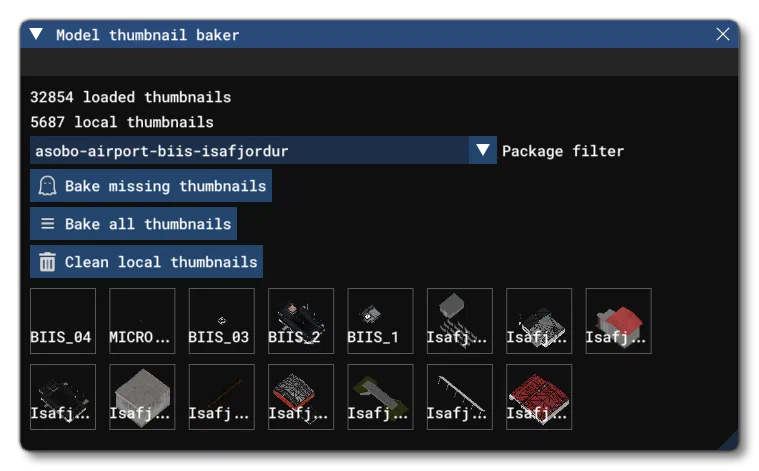
This tool is used to create a local copy of any missing model thumbnails, so that the models are displayed correctly in the user interface (for example, in the Scenery Editor, which is useful, especially when using legacy packages that may not have thumbnails. All thumbnails will be stored in a
*.datfile in local storage on your machine:%appdata%\Roaming\Microsoft Flight Simulator 2024\ModelLibThumbnail\thumbnails.datBefore performing any actions, you can select a package from the filter at the top, or use the “All” option for all packages. You can then use the following buttons to perform thumbnail operations:
- This will create a thumbnail cache with only those thumbnails missing from the filtered package(s).
- This button is only visible when a single package is selected and will create a thumbnail cache for all models in the package, even if there are existing thumbnails.
- This button will remove all thumbnail cache files, from all packages, regardless of the filter option.
Note that this window can also be opened by right-clicking on any ModelLib asset group and selecting Load In Editor. Once open, you can click the to see the contents of the asset group displayed in the window.
Package Reorder Tool
Enabling this option will open up the Package Reorder Tool window, which looks like this:
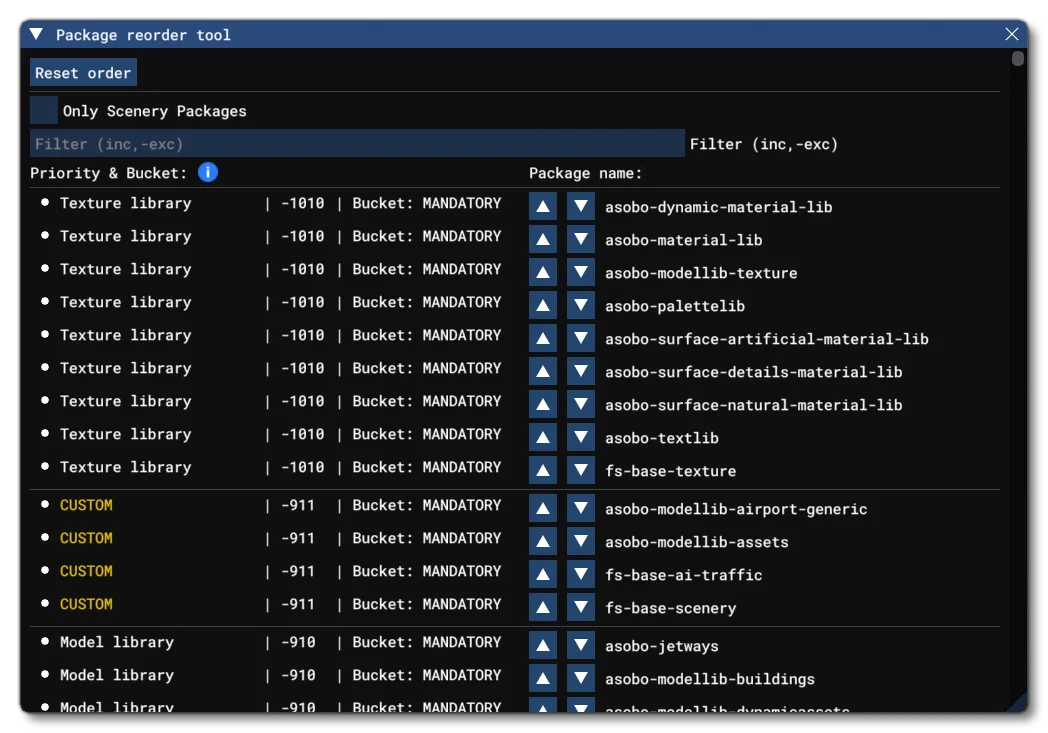
Here you can re-order the package priority for most of the packages used by the simulation. Priority is calculated by the Priority & Bucket value (which is generated from the Package Order Hint), with the items at the top of the list having the lowest priority, and so loading first. This can be useful to debug issues where one package overrides or conflicts with the contents of another package, or when a package has dependencies on another package. Changing package order priority is as simple as clicking on the and buttons, or using click + drag on a package to perform “drag-and-drop” reordering.
If you make a mistake, or wish to make a fresh start, you can click the button, which will remove the file for ordering the packages that was created when the default order was initially changed (this file will be re-created when you start to change priorities again).NOTEReordering packages comes with a small amount of risk, since any reorder could result in unexpected behavior if the packages that are shifted end up on same priority as other packages. This risk is low when reordering a sinlge package, but the more you move around, the greater the risk of unexpected issues.
When using the tool, it is worth noting the following:IMPORTANT!Using the button cannot be undone!
Some packages will be flagged as Locked. These packages cannot have their priority changed.
Changing the priority of a package to be the same as other packages will make all packages of that same priority above shift up.
Packages that have their priority changed will have their package order hint set to CUSTOM, this includes all packages that are impacted by the change.
Package priority can be lower than 0 and go into the negative numbers, but the mount order will be the same, from lowest to highest priority.
Packages with the same priority and bucket will be mounted based on VFS order, but this is not guaranteed and may change in the future.
Packages
Opens The Packages Window for debugging the different packages found in the VFS.
Ruler
The ruler window permits you to take certain straight-line measurements using the developer camera and/or mouse. See The Ruler Tool page for full details.
SimConnect Inspector
From this option you can open up the SimConnect Inspector tool:
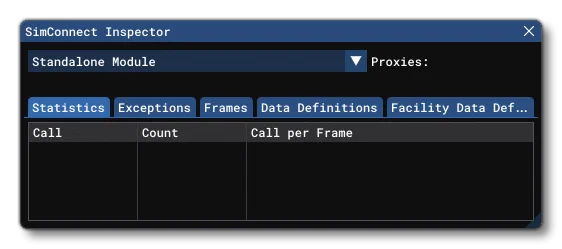
This tool is to help developers debug their SimConnect apps, and is explained in more detail here: SimConnect Inspector
SimObject Spawner
From this option you can open up the SimObject Spawner tool:
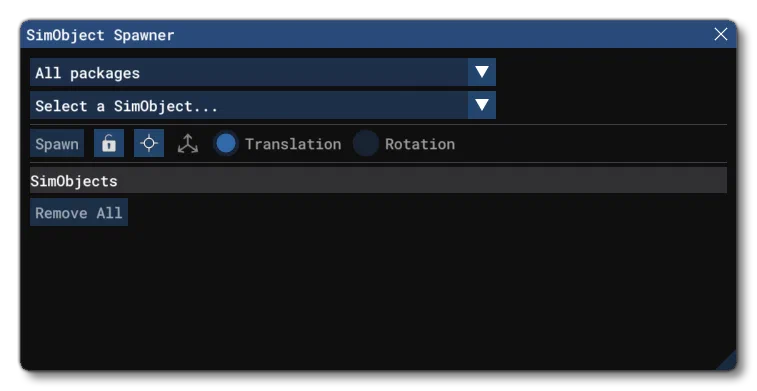
This window permits the spawning of any SimObject currently mounted in the VFS. For more information, please see the following page: SimObject Spawner
SimObject Statistics
From this option you can open up the SimObject Statistics profiler tool:
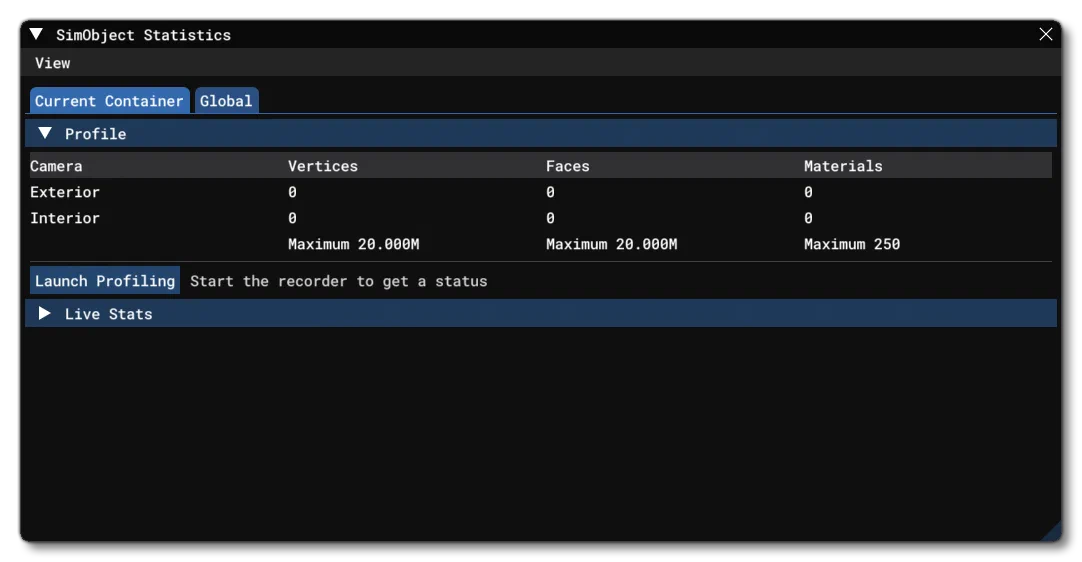
This window can be used to check the models used for the current SimObject against the recommended maximums and see what needs to be optimised. See the following page for more information: The SimObject Statistics Profiler
Statistics Profiler
Opens The Statistics Profiler window which can be used to profile scenery models in the scene.
Teleport Window
This option will open up the Teleport Window:
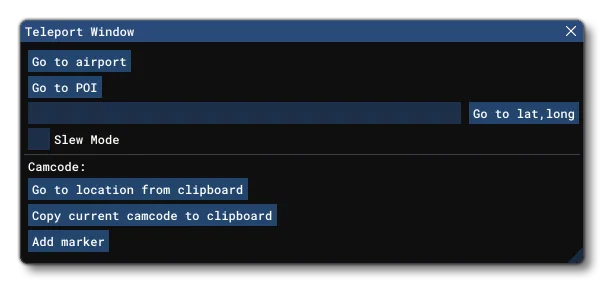
From this window you can teleport to any place in the world using either the airport ICAO code or by directly inputting the longitude and latitude of the point you want to go to, or by even inputting a text location (for example “eiffel” to go to the Eiffel Tower in Paris). For full information on this window, please see the Teleport Window page.
Virtual File System
Opens The Virtual File System (VFS) window.
The Video Capture Tool
This will open The Video Capture Tool, where you can record video to be used for marketing, etc…
Toolbar
This will open the DevMode contextual toolbar. For more information please see here: The DevMode Toolbar
Screenshot
This option is for taking screenshots within the simulation, and has the following selections:
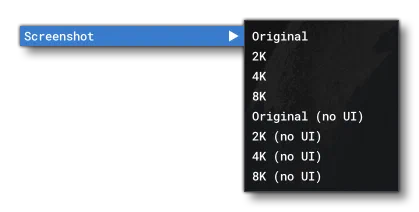
Choosing any of these options will open an explorer window where you can give the file a name, and clicking Okay will then save the screenshot to the given location. Screenshots are saved as
*.pngfiles, and can be authored at the “original” size which is screen resolution dependent, or as either 2K (1920px*1080px), 4K (3810px*2160px) or 8K (7680px*4,320px) images. The screenshots can also be taken with or without the Microsoft Flight Simulator 2024 UI elements. Note that the screen/game window may flicker and change size when taking the screenshot, and the process will take a few seconds to complete before returning to the original size.