
The Blender Exporter
The Blender plugin also has a multi-export tool for glTF files. This tool can be accessed from the sub menu available from the side of a scene in any of the views by clicking the tiny arrow button shown in the image below (mouse over the image to see an example):


General workflow would be to add a group for the part you want to export, and then in the group create the required presets. For each preset you will need to click the collections button and add the required items into the preset:

Once you have set up your groups and presets, you should set the Export Path from the group / preset Settings. These settings will be shown when you have selected one or more presets, or when you have selected a group (note that if you have selected multiple groups or multiple presets, changes here will be applied to all of them):

Name: Name the preset(s) or group(s).
Export Path: Give the path to export the preset/group contents to. If you click the folder
🖿button, an explorer window will open and you can select the export path from that.Export Preset: From here you can select one of the available export presets to configure how the files will be exported.
Once you have set up all your presets for exporting, you can click the Export button, and the exporter will create the *.gltf and *.bin files required for a MSFS 2024 package. However, it is important to note that using presets means that no XML files are generated. This is due to the nature of the export as you may require multiple XML files and it’s impossible for the plugin to know how they should all be named and structured for any given preset. You can find how to create your own XML for the model(s) here:
Logs
Under the exporter, you can find the Logs panel.

The objective of this window is to provide readable log output and avoid relying on Blender’s black-and-white terminal, which can sometimes be difficult to read.
Logs are divided into three levels:
 - Information
 - Warning
 - Error (blocks the export, carefully read the error message)
You can click a log entry to display a detailed message:
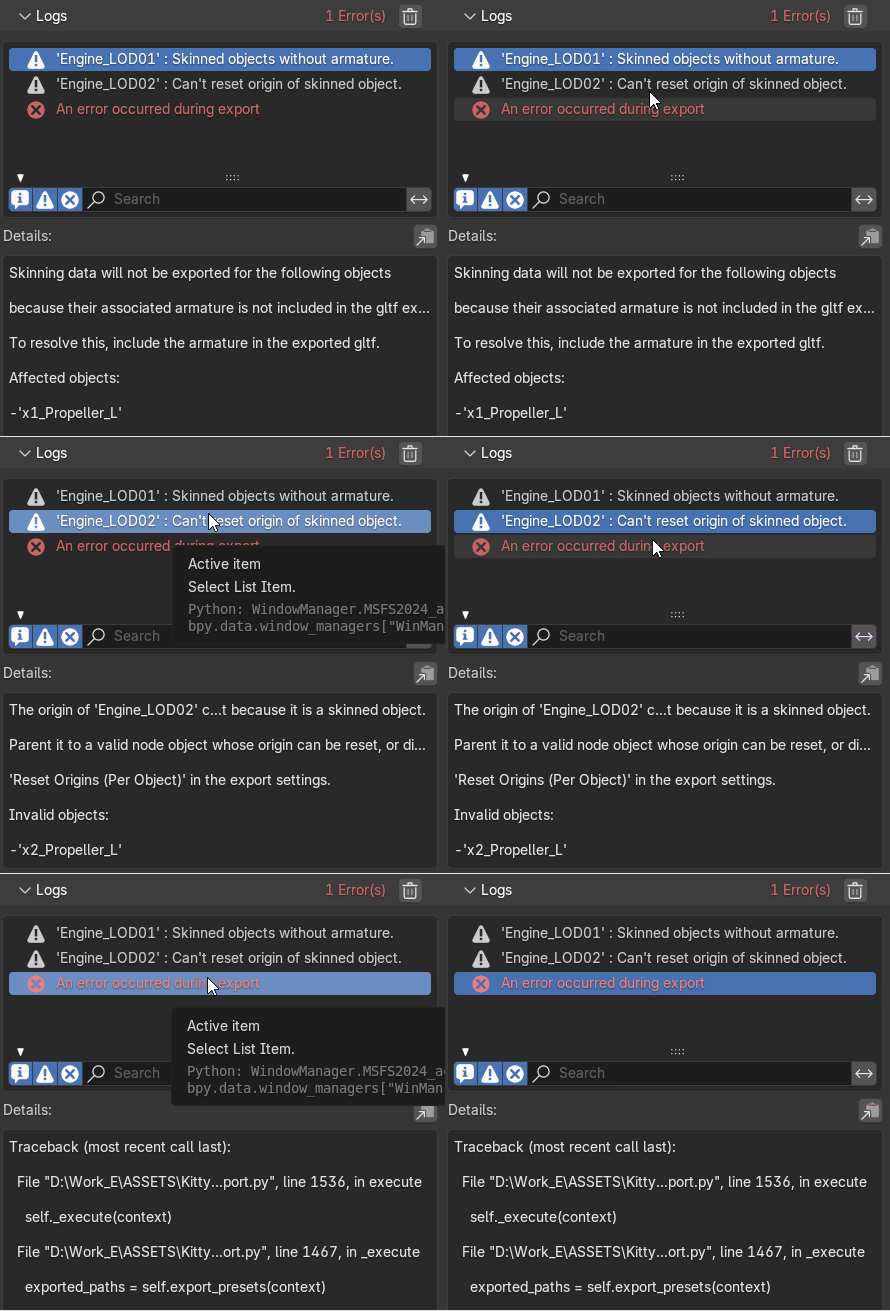
For example, here we have an error: we cannot export a preset because no layers are enabled.

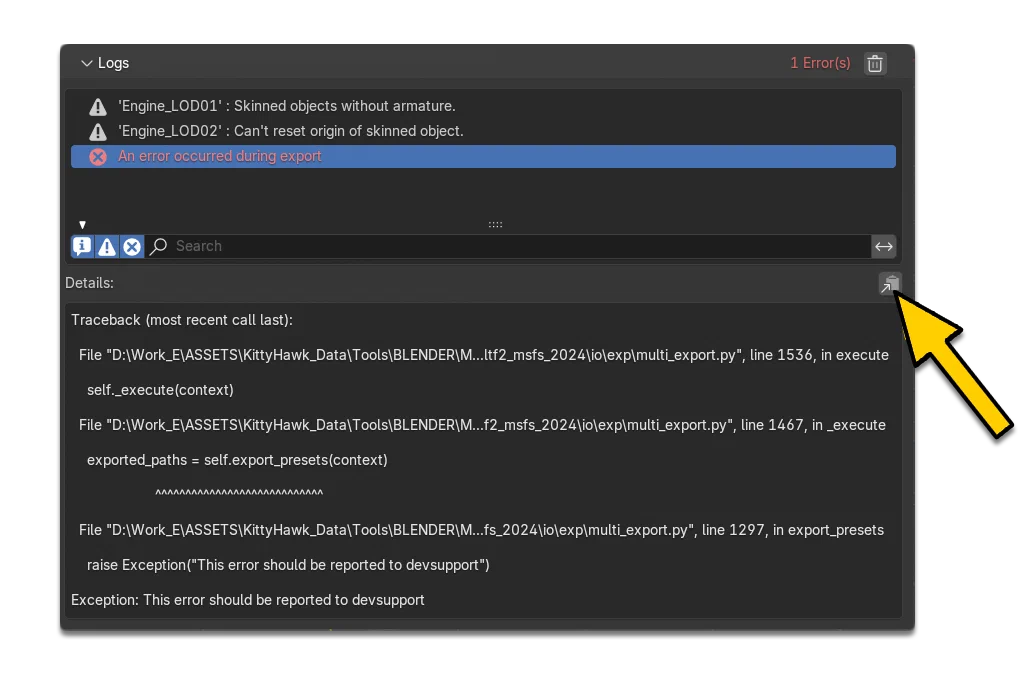
You can copy the log report details to the clipboard using this button.
This can be useful when reporting a crash on DevSupport:
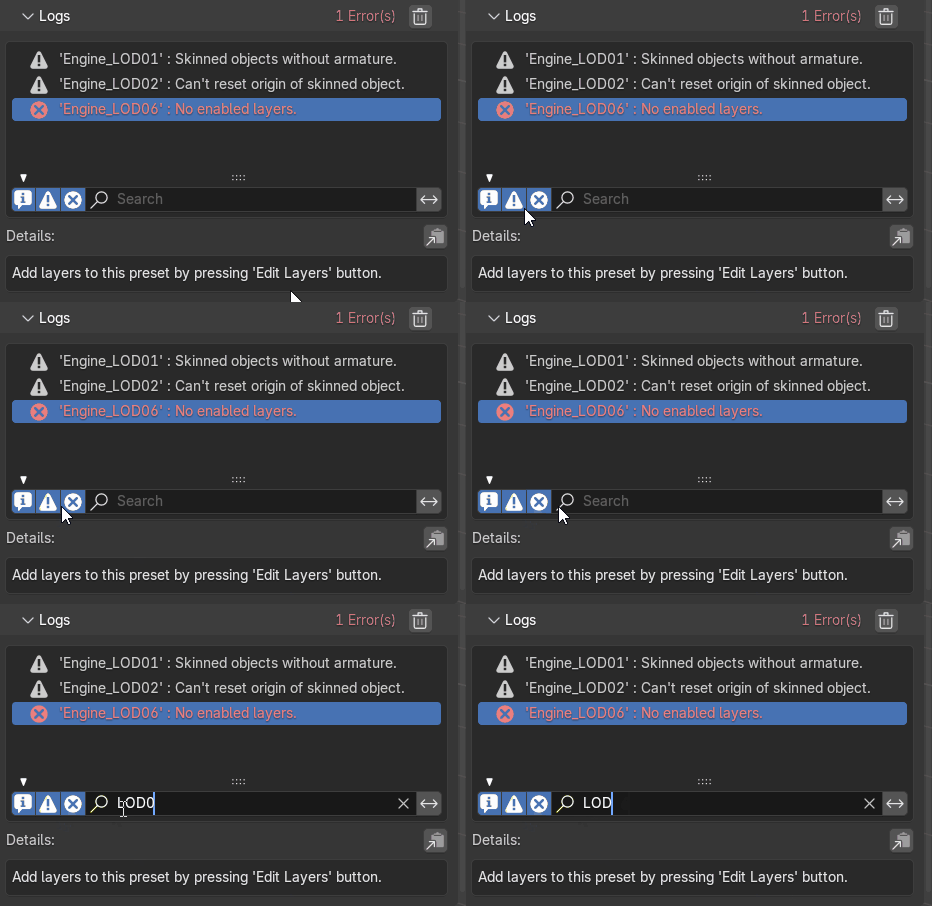
Logs can be filtered by level or by text using the filters:
Logs are automatically cleared between each export, but you can also clear them manually using this button:

The Settings Panel
Here you can find the various export settings like geometry, animations, materials, etc… for the Blender glTF export, and these can be edited as required for the project being exported.

At the top of this tab you can click on the + button to create a new Export Preset. After adding the preset, you can then set up the various options for it and it can be selected in the Presets tab for use. The rest of the tab is taken up with various sub-sections and options that you can use to configure your exports.
If you want to export your models as pure glTF that follow the Khronos Schemas(opens in a new tab), you can uncheck the Microsoft Flight Simulator 2024 settings.
General
Export in Background: When enabled, export is done in a background process, allowing you to continue working in blender.
IMPORTANT!This setting is global and common to all presets.
Copyright: Legal rights and conditions for the model
Remember Export Settings: Store glTF export settings in the Blender project.
Textures
Keep original: Keep original textures files if possible.
IMPORTANT!If you use more than one texture - where PBR standard requires only one - only one texture will be used. This can lead to unexpected results.
Microsoft Flight Simulator 2024
Enable Microsoft Flight Simulator 2024 glTf extensions.
Textures
- Generate TextureLib: Generate Texture XML files for the textures after the export.
Export process
Reset Origins: From this drop-down menu you can select the following:
Disabled - Node origins will remain “as is” in the model.
All roots - All root nodes will be reset to (0, 0, 0) on export.
Per Object - Node origins will be reset on a per-object basis, based on the object settings themselves (see the object Transform Properties description for more information).
Remove LOD prefix: Remove LOD prefixes ‘x0_/x1_…’ on node names.
Merge nodes: Merge glTf Meshes into one root node.
Export as submodel: This option is dedicated to “Merge models”. Only use it for models contained in
<MergeModel>xml elements.
Include
- Selected Objects: Export selected objects only. You can ignore this setting since it is disabled by the MultiExporter addon.
- Visible Objects: Export visible objects only.
- Cameras: Export Cameras.
- Punctual Lights: Export Lights.
Transform
- +Y Up: Up axis orientation. Always enabled when using MSFS2024 extension.
Mesh
Enable/Disable meshes export (useful for exporting animations only).
- Apply Modifiers: Apply modifiers (excluding Armatures) to mesh objects.
This option prevents the ecport of shape keys.
UVs: Export UVs (Texture Coordinates) with meshes.
Normals: Export vertex normals with meshes.
Tangents: Export vertex tangents with meshes.
Attributes: Export Attributes (when starting with underscore).
Loose Edges: Export loose edges as lines, using the material from the first material slot.
Loose Points: Export loose points as glTF points, using the material from the first material slot
Vertex Colors
Use Vertex Color
MATERIAL: Export vertex color when used by material.
NONE: Do not export vertex color.
Export all vertex colors: Export all vertex colors, even if not used by any material. If no Vertex Color is used in the mesh materials, a fake COLOR_0 will be created in order to keep material unchanged.
Export active vertex color when no material: When there is no material on an object, export active vertex color.
Material
Export: Export all materials used by included objects.
Placeholder: Do not export materials, but write multiple primitive groups per mesh, keeping material slot information,
No export: Do not export materials, and combine mesh primitive groups, losing material slot information.
Shape Keys
Export shape keys (morph targets).
Shape Key Normals Export vertex normals with shape keys (morph targets).
Shape Key Tangents: Export vertex tangents with shape keys (morph targets).
Armature
Use Rest Position Armature Export armatures using rest position as joints’ rest pose. When off, current frame pose is used as rest pose. Always enabled when using MSFS2024 extension.
Export Deformation Bones Only: Export Deformation bones only (and needed bones for hierarchy).
Remove Armature Object: Remove Armature object if possible.If Armature has multiple root bones, object will not be removed
Flatten Bone Hierarchy: Flatten Bone Hierarchy. Useful in case of non-decomposable transformation matrix
Skinning
Export Skinning Armature Data.
- Bone Influences: Choose how many bone influences to export.
Animation
- Animation mode
Actions: Exports active actions and NLA tracks as glTF animations. In blender 4.5 or superior, this is the default and advised mode. You can use it with the new Slotted actions features.
NLA Tracks: Export individual NLA Tracks as separate animation. In blender 4.2 or inferior, this is the default and advised mode.
- Bake All Objects Animations: Force exporting animation on every object. Can be useful when using constraints or driver. Also useful when exporting only selection
Rest And Ranges
Use Current Frame: Export the scene in the current animation frame.
Limit to Playback Range Check: Clips animations to selected playback range.
Set all glTF Animation starting at 0: Set all glTF animation starting at 0.0s. Can be useful for looping animations
Negative Frames
Slide: Slide animation to start at frame 0.
Crop: Keep only frames above frame 0.
Armature
Export all Armature Actions: Export all actions, bound to a single armature.
IMPORTANT!Option does not support exports including multiple armatures.
Reset pose bones between actions: Reset pose bones between each action exported. This is needed when some bones are not keyed on some animations
Shape Keys Animation
Export shape keys animations (morph targets).
- Reset shape keys between actions: Reset shape keys between each action exported. This is needed when some SK channels are not keyed on some animations.
Sampling Animations
Apply sampling to all animations.
- Sampling Rate: How often to evaluate animated values (in frames).
Optimize Animations
Optimize Animation Size: Reduces exported filesize by removing duplicate keyframes. Can cause problems with stepped animation.
Force keeping channels for bones: If all keyframes are identical in a rig, force keeping the minimal animation. When off, all possible channels for the bones will be exported, even if empty (minimal animation, 2 keyframes).
Force keeping channel for objects
If all keyframes are identical for object transformations, force keeping the minimal animation.
Disable viewport for other objects: When exporting animations, disable viewport for other objects, for performance. This option can cause issue in some cases (complicated rigs with special constraints for example).