HELIPAD OBJECTS
A Helipad object is an object element that is used to add a helipad (helicopter landing pad) to an airport in the world. When you select this object type you will be presented with a list of different helipad object elements listed in the Objects window:

When you click the Add button, the Helipad object will be added to the scene and can be positioned using the Gizmo. Once positioned, the helipad Properties can be edited.
IMPORTANT! Helipad objects require one or more Airport Objects to be present in the scene, and must be added to an airport group in The Scenery Editor. If no airport is present then they cannot be used. Also note that if they are placed too far away (ie: outside the airport Object Test Radius) then they will not be rendered.
After adding the helipad object to the scene, its position, orientation and scale can be edited directly using the Gizmo in its center. You'll notice too that there are various points shown on the helipad area in the world view. Each of these points can also be clicked on, which will move the gizmo to that point and enable you to edit the following properties:
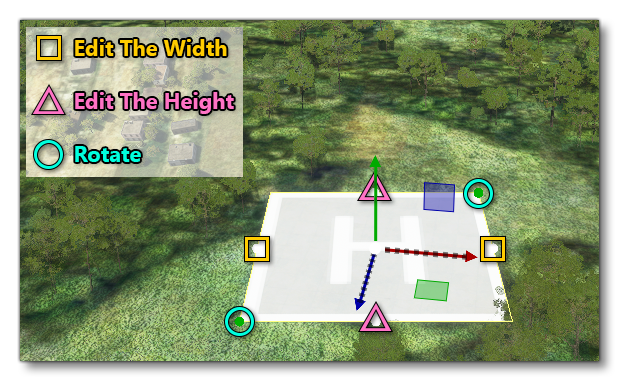
Once you are happy with the placement of the helipad, you can then go on to edit its Properties. Note that if you wish to remove the helipad, you can select it and press Delete on the keyboard.
Properties
The Properties window for a Helipad looks like this:
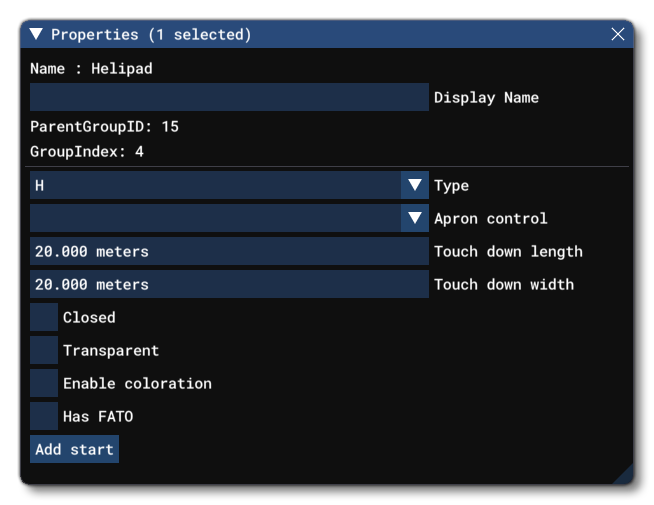
-
Name
This is the name of the element as defined by its object type.
-
Display Name
This is the name of the element as it will be displayed in the The Scenery Contents List. This can be edited and is helpful for identifying elements when you have a lot of items in the content list.
-
Type
This can be used to change the type of helipad object element. The different types are illustrated in the table below:Type Illustration NONE 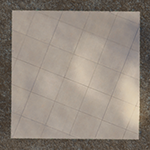
CIRCLE 
H 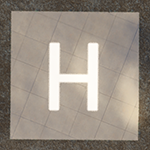
SQUARE 
MEDICAL 
-
Apron Control
Selecting this will show the option to add an New Apron Control service to the stand. Selecting that option will then open a small window and request that you give the identifier of the airline service that is to be registered as being used for the stand:
 After adding the code, click on
 Addto have it registered with Apron Control. Note that the stand object requires at least one airline code to be assigned to it, but you can add multiple airline codes and then switch between them if required, although only one of them will be used at any time. For more information, please see here: Apron Services
-
Touchdown Width
This will change the width of the main helipad touchdown area. Note that setting this to a different value than the Touchdown Height will cause the material to be stretched.
-
Touchdown Length
This will change the length of the main helipad touchdown area. Note that setting this to a different value than the Touchdown Width will cause the material to be stretched.
-
Closed
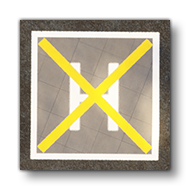
When this is checked, the helipad will be flagged as "closed" and a cross drawn over it, eg:
-
Transparent
When this is checked, the surface material will be made transparent and only the markings will be rendered, eg:

-
Enable Colouration
Selecting this option will present you with options to set the RGB components of a colour to be blended with the apron material that is used for the touchdown area of the helipad. You may also click the colour swatch to open The Colour Picker and select a colour that way. Note that this will not colour the decals (the "H" symbol or any other painted aspect of the helipad), and if you wish to reset this value then the colour should be set to black (RGB: 0, 0, 0), or the option disabled.
-
Has FATO
This option can be enabled to add a Final Approach and Takeoff (FATO) area to the helipad. Enabling this, will show the following additional options:
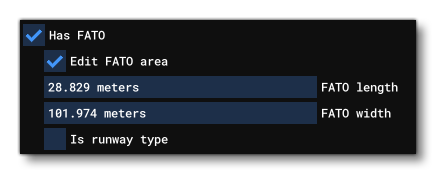 The option will also add the FATO markings around the helipad area:
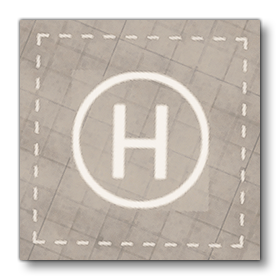 The new options are:
- FATO Length
This sets the length of the FATO area, in meters. - FATO Width
This sets the width of the FATO area, in meters. - Is Runway Type
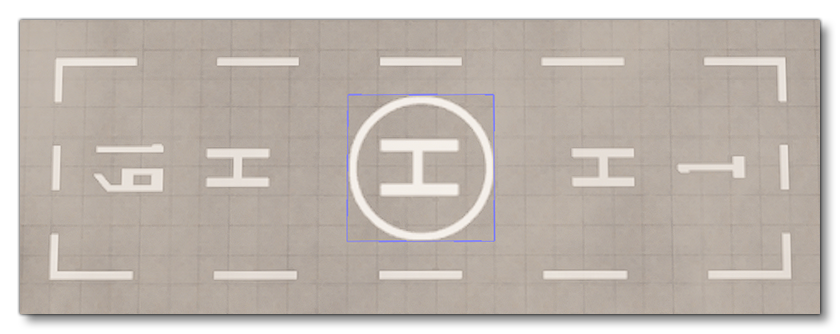
Checking this option will tell the simulation to display the FATO area markings for a runway and give further additional options:- Has Runway Number
When checked, this will display a number for the runway. - Runway Number
From this drop-down list you can select the runway number to be displayed. - Leading Zero On Single Digit Numbers
Checking this will prefix the numbers 1 - 9 with a 0, as done in European airports.
- Has Runway Number
- FATO Length
-
Add Start
This button enables you to designate the helipad being added as a start point (or destination) for a flight with a helicopter, which will add a new type of departure point to the world map:
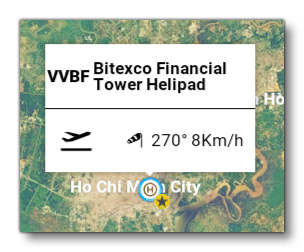 When you click this button the Properties window will expand to show the following additional parameters:
- Edit Position: This will permit you to use the Gizmo to visually position the starting point for a helicopter when a flight is initiated.
Remove Start: This will simply remove the Start information, returning the helipad to being a purely visual feature that cannot be used for departing or landing.- Heading: This is the initial heading for the helicopter (the "facing" direction) when a flight is initiated. 0° corresponds to True North.
Related Topics