TEXT OBJECTS
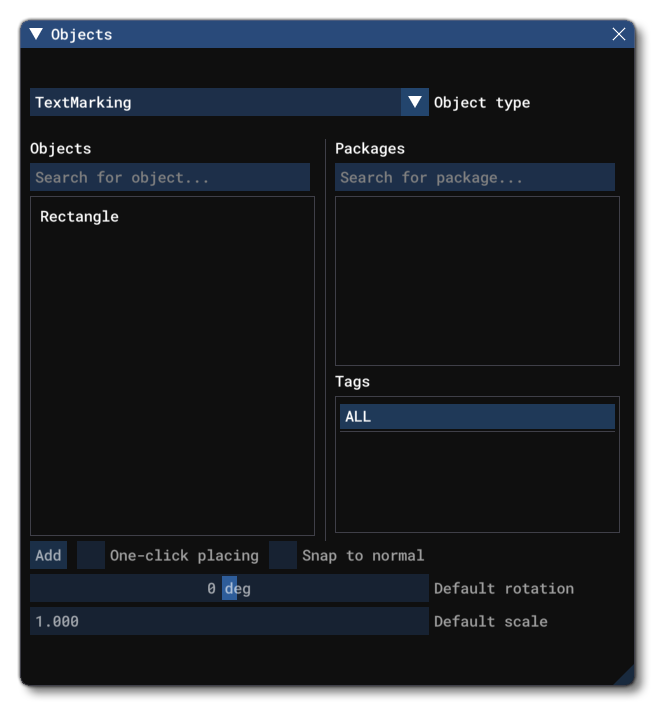
A Text object is an object element that is used to add text elements to a scene. When you select this object type, the Objects window and you can select one of several types of text object:
NOTE: Some objects may be marked as WIP, in which case it's possible that these may not work as expected and may change with updates. As such, we recommend that you do not use WIP text objects in packages that are to be made public.

To place a text object element in the scene you can click the Add button, and then use the Translate Gizmo to position the object where you want, or you can enable One-Click Placing and simply click in the world to place it. You may also use the Rotation Gizmo to change the angle the element is shown at, as well as the Scale Gizmo to change its size. Note that the translate gizmo will only work along the plane of the ground, and you cannot change the altitude of a text object.
IMPORTANT! Text objects require one or more Airport Objects to be present in the scene, and must be added to an airport group in The Scenery Editor. If no airport is present then they cannot be used. Also note that if they are placed too far away (ie: outside the airport Object Test Radius) then they will not be rendered.

Text Properties (Not available for World Hub Airports)
Text objects have the following Properties which can be edited:

-
Name
This is the name of the text object element as defined from its contents.
.
-
Display Name
This is the name of the decal as it will be displayed in the The Scenery Contents List. This can be edited and is helpful for identifying elements when you have a lot of items in the content list.
-
Text Colour
The colour of the text. Clicking on the swatch will open The Colour Picker and you can edit the colour from that.
-
Background Colour
The colour of the background to the text. Clicking on the swatch will open The Colour Picker and you can edit the colour from that.
-
Outline Colour
The colour of the outline for the chosen object shape. Clicking on the swatch will open The Colour Picker and you can edit the colour from that.
-
Draw Background
When checked, a background will be added under all the text (and outline if enabled) using the colour defined.
-
Draw Outline
When checked, an outline will be added around the chosen object shape using the colour defined.
-
Center Text
When checked, text will be centered within the chosen shape. If unchecked, text will be left justified.
-
Letter Spacing
This slider is used to set the spacing offset (in meters) for the letters and symbols in the text. You can hold
Ctrland click on the slider to input an exact value.
-
Line Spacing
This slider is used to set the spacing offset (in meters) bwteeen the different lines in the text. You can hold
Ctrland click on the slider to input an exact value.
-
Horizontal Padding
This slider is used to set the horizontal padding (in meters) around the entire text message. You can hold
Ctrland click on the slider to input an exact value.
-
Vertical Padding
This slider is used to set the vertical padding (in meters) around the entire text message. You can hold
Ctrland click on the slider to input an exact value.
-
Outline Thickness
This slider is used to expand/contract the outline thickness. You can hold
Ctrland click on the slider to input an exact value.
-
Marking Label
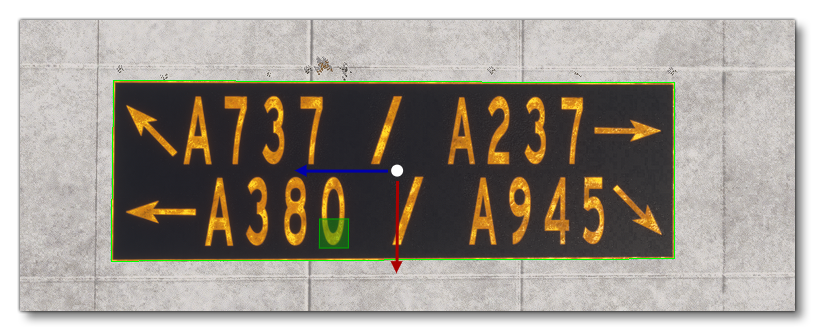
This is where you input the text to be displayed. This text can be formatted using certain symbols, so that you can get Arrows and smaller letters and other things. The characters used can be any upper or lower case letter (
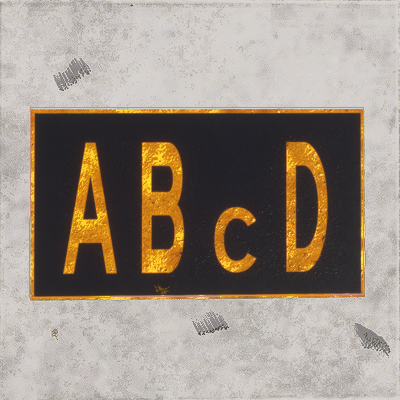
A-Z,a-z), any numerical digit (0-9), or any one of the following special characters:Character Symbol Description Example *The next letter will be half height.
For example: AB*CD

**All subsequent letters will be half height until ** is used again, or a new line is created.
For example: A**BCD

[,[[,[[[Roman numerals for 1, 2, and 3. 
<Left Arrow 
^Up Arrow 
>Right Arrow 
!Down Arrow 
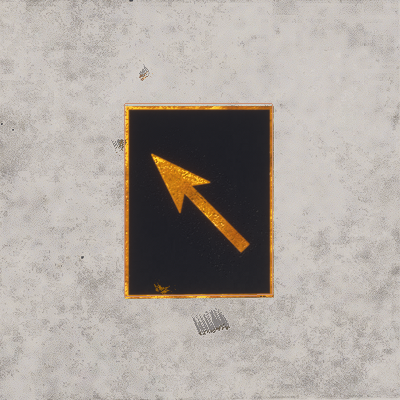
^<Up-Left Arrow 
^>Up-Right Arrow 
!<Down-Left Arrow 
!>Down-Right Arrow 
/\.,-'#Special Characters 
Ctrl+EnterNew line.
