
Biome Debug

This window offers multiple debug tools related to the different biomes in the world. It is designed to be used in conjunction with the Biomes Editor and is split into multiple sections related to the different plant groups and associated weather events that affect them.
Note that in all sections of this debug window, the data shown is taken from the biome found at the point directly under the DevMode camera, and you can move the it around and see the data update in real-time as you change between biomes.
Biomes
This section is for global options that are related to biomes. It currently only has the following option:
Display Infos
Checking this box will show information about the biome found in the area of the world where the camera is currently placed.

Seasons

This section is used to modify some of the seasonal options which affect how the plants in a biome are displayed. It has the following options:
Enable Seasons
This can be checked / unchecked to enable / disable seasons in the simulation. When enabled changing the Date And Time may affect the way plants are displayed in the biome (note that this will depend on the biome and the part of the world the camera is in).
Enable Snow
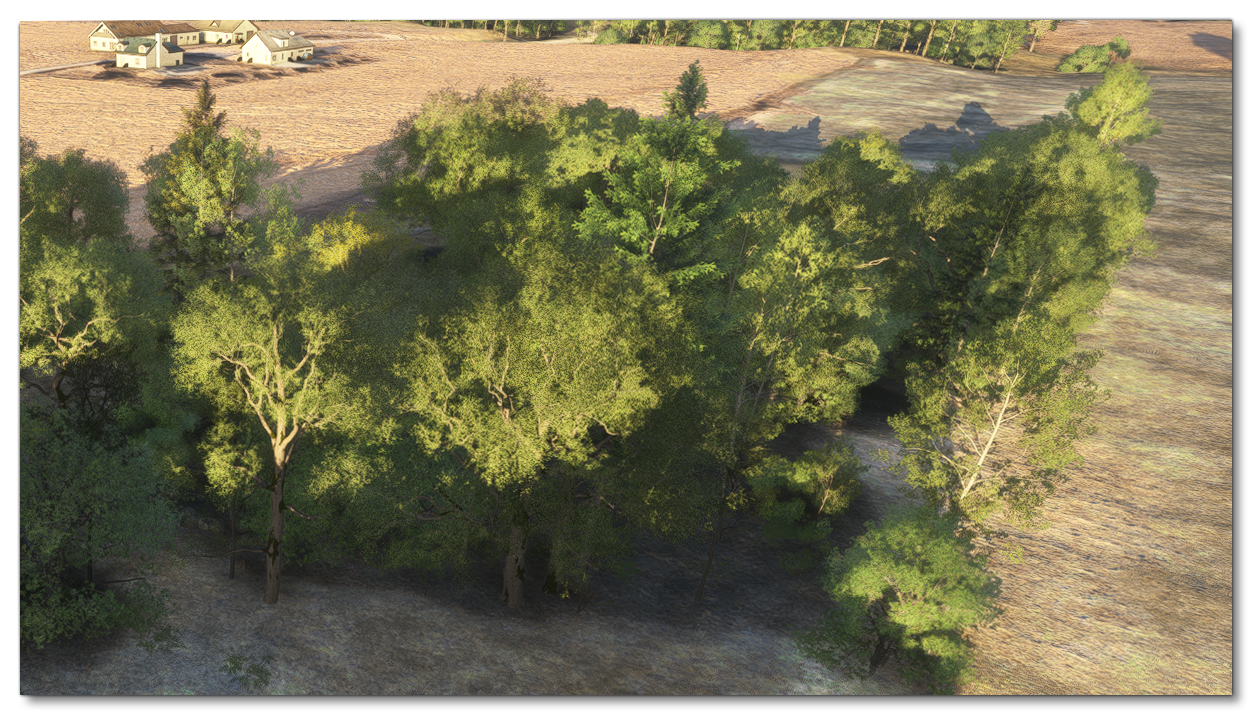
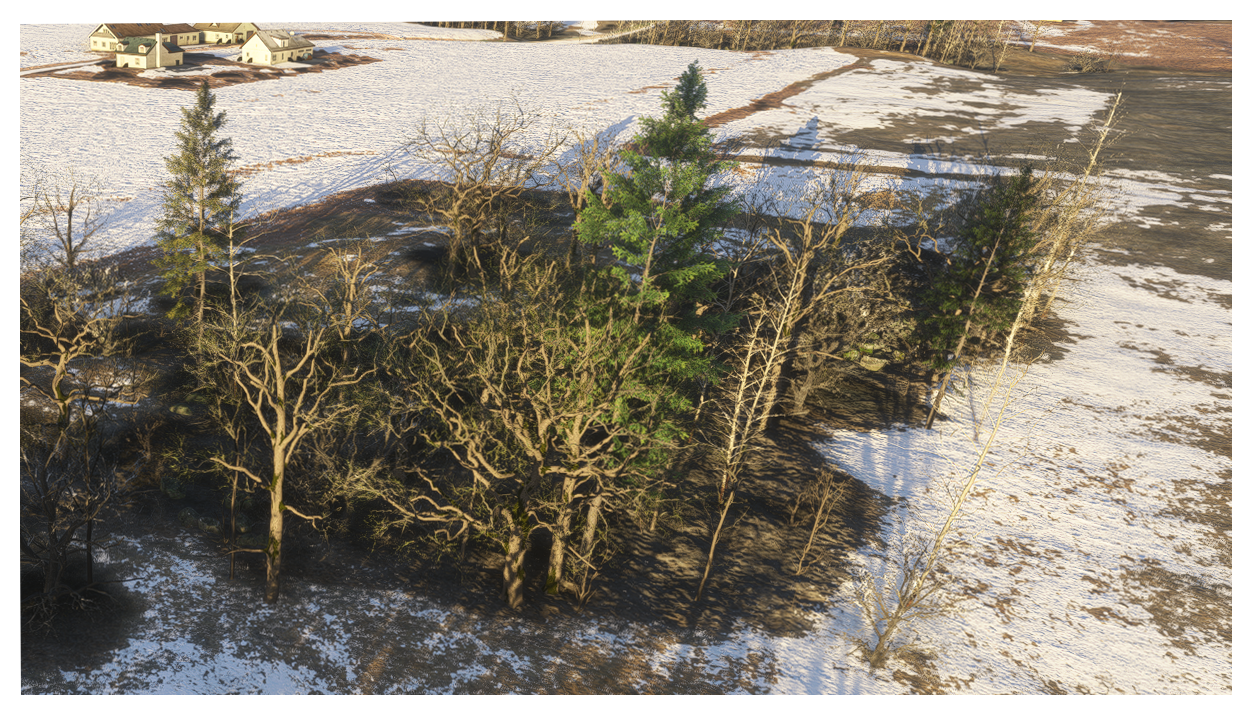
This option is only available when the Enable Seasons option is checked. When checked it will show snow on the ground and the plants, depending on the location of the camera, the Date And Time, and the biome being viewed. Note that this option will also affect how some plants may be displayed (ie: with or without leaves). You can mouse over the image below to see how it looks when enabled / disabled:
3D Tree LOD Factor Override
This option can be used to override the current LOD factor and force trees closer to the camera to be displayed in 3D (ie: they will be full models, and not based on impostors) as well as change their LOD level based on the factor value. Note that it is not always immediately obvious when LOD levels change, however you can enable the Wireframe option to get a better idea of what is being rendered.
Dryness
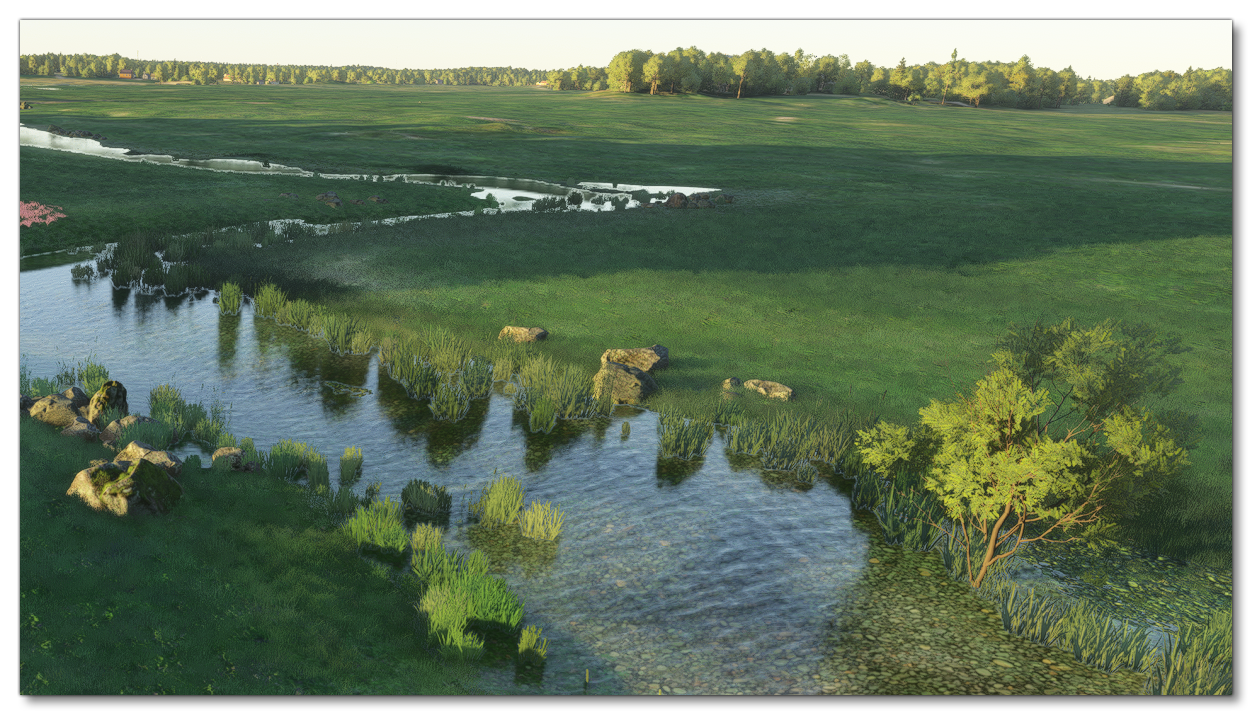
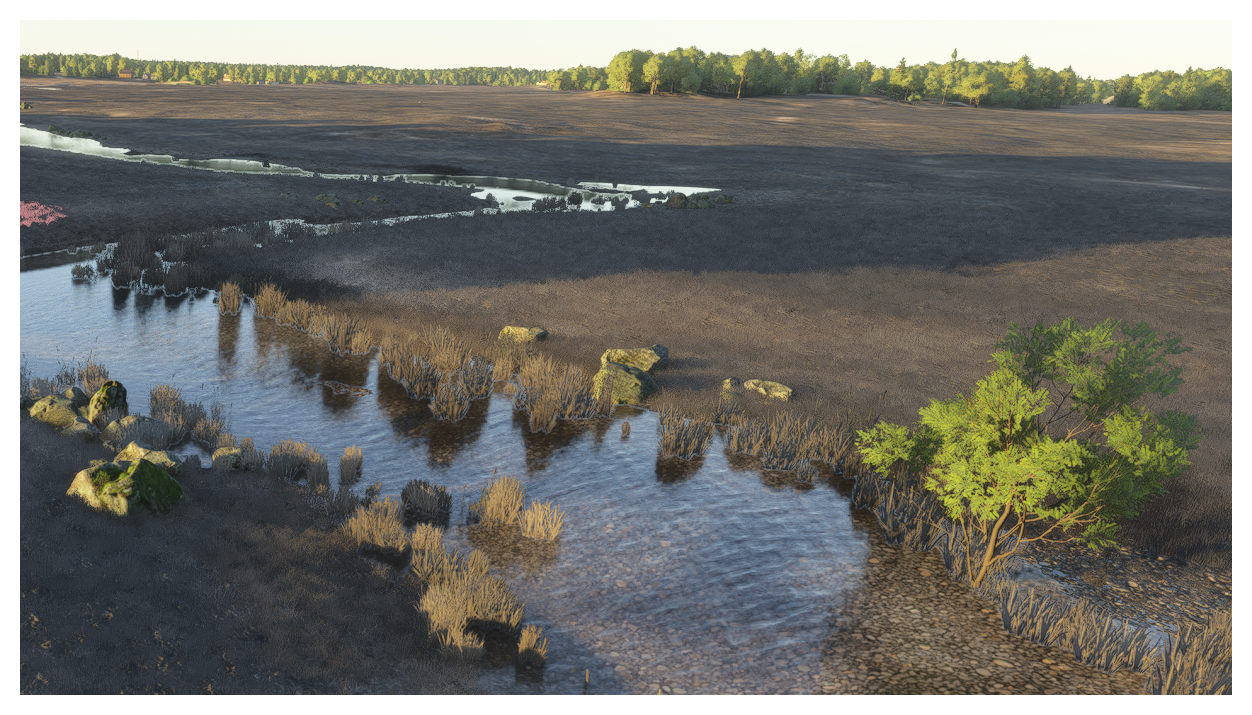
This slider can be used to change how “dry” the biome is. In general, this is primarily going to affect how the grass on the ground is displayed, but may affect some of the smaller vegetation too. You can mouse over the image below to see how it looks when fully enabled / disabled:
Trees
Display Tree Distribution
This section can be expanded, causing colours to be applied to all the trees in the scene, where each colour represents a specific tree species. These colours can also be seen in a distribution graph, with the altitude on the Y-axis, and the quantity (normalised between 0 to 1) on the X-axis.

Beneath the graph, each tree species and it’s assigned colour is shown, and you can click on each of them to isolate those trees in the scene. The isolated trees will be recoloured to show the different types of trees that fall under the selected species (small, large, young, old, etc…):

Plants
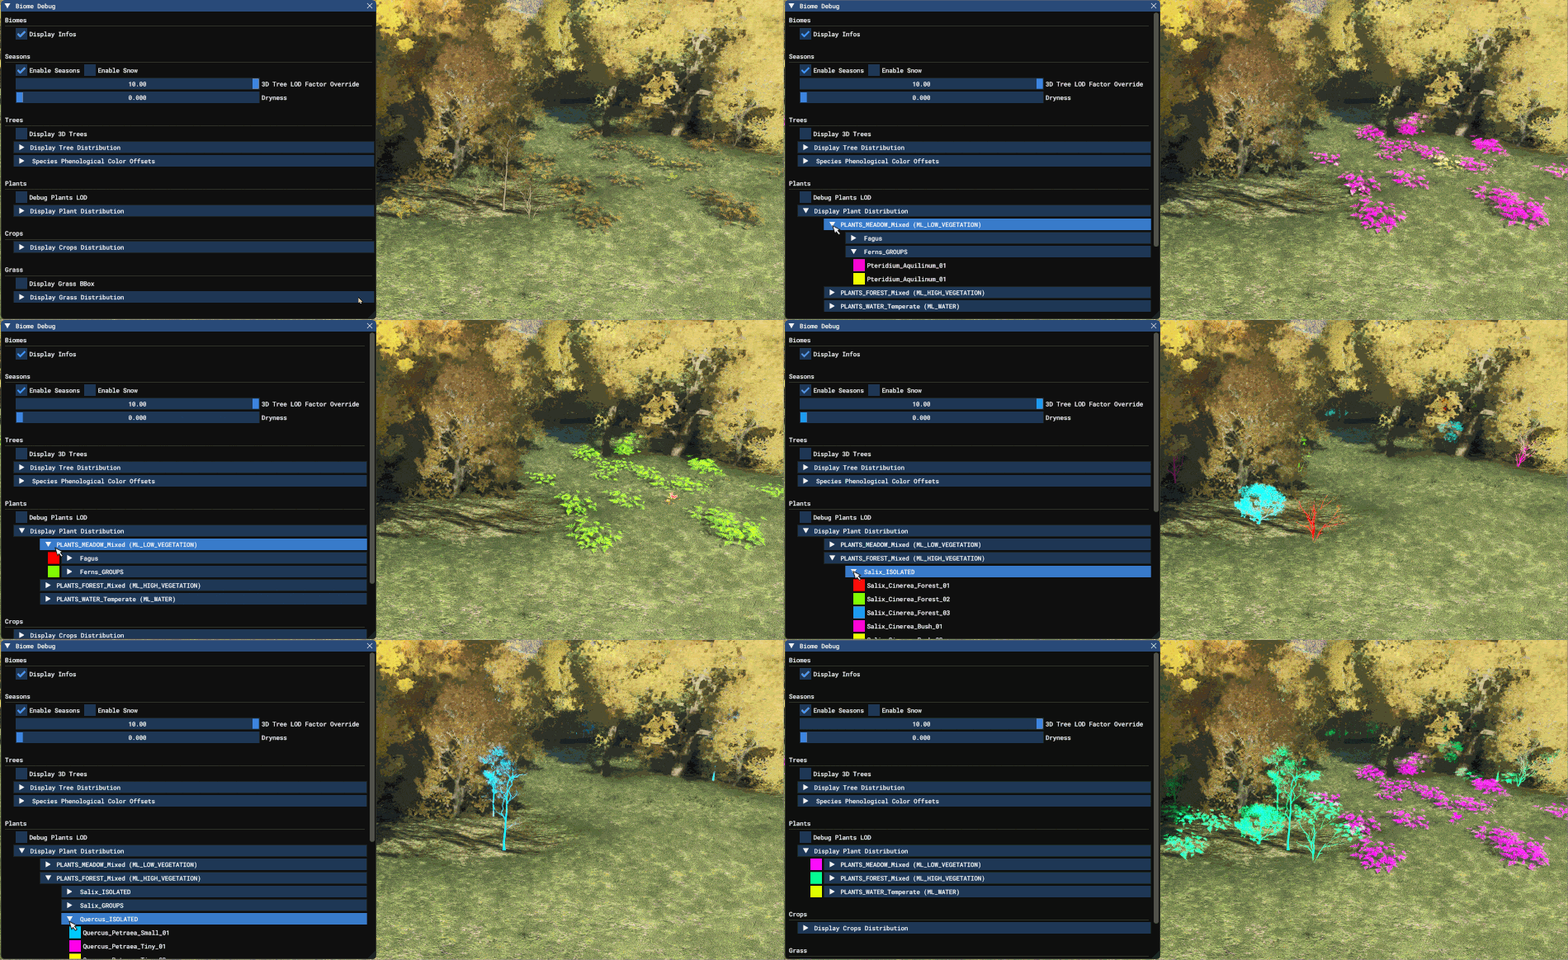
Display Plant Distribution
Expanding this section will colour all the different plants in the scene based on their type (overriding any LOD colouring if Debug Plants LOD is also active). You can then further expand the different sections to isolate specific species, and then the different variations within that species:
Grass
Display Grass Distribution
Expanding this section will show a list of all the different grass types in the current biome. These grass types will be assigned a colour, and if you move the camera close enough to the ground, you will see that they have been coloured in the scene as well:

You can further expand the grass types to see the different frames which are used to create variation within the grass type (grass textures can have up to 16 different frames, and each frame is a “species” or “variation” of grass, selected based on pre-defined weights). Again, each frame is coloured, and the scene will be filtered to only show the frames for the selected grass type:
