GAUGES
All aircraft will have different and varied gauges, but most of the time they can be modeled using the same general process. The main things to note when creating a gauge are:
- Use a texture set for gauges so they can be reused easily across different aircraft and liveries.
- Place all details on the texture and not on mesh decals.
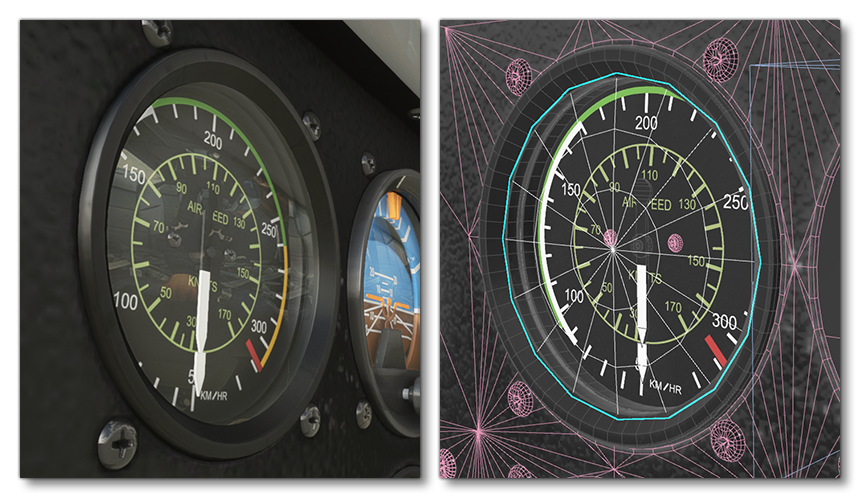
- The values and the colors markers for the gauge are extremely important and should be done from correct and accurate Visual References. Note that sometimes a marker will be on the gauge itself, and it will be on the glass above the gauge, so pay attention to this detail too.
When creating the gauge object you should ensure that the needle is always a separate mesh, as it will be getting it's own animation and Babylon animation group. When creating the animation, a good idea is to put a frame at each of the main values of the gauge so that it will match positions precisely with the code that governs how it works.
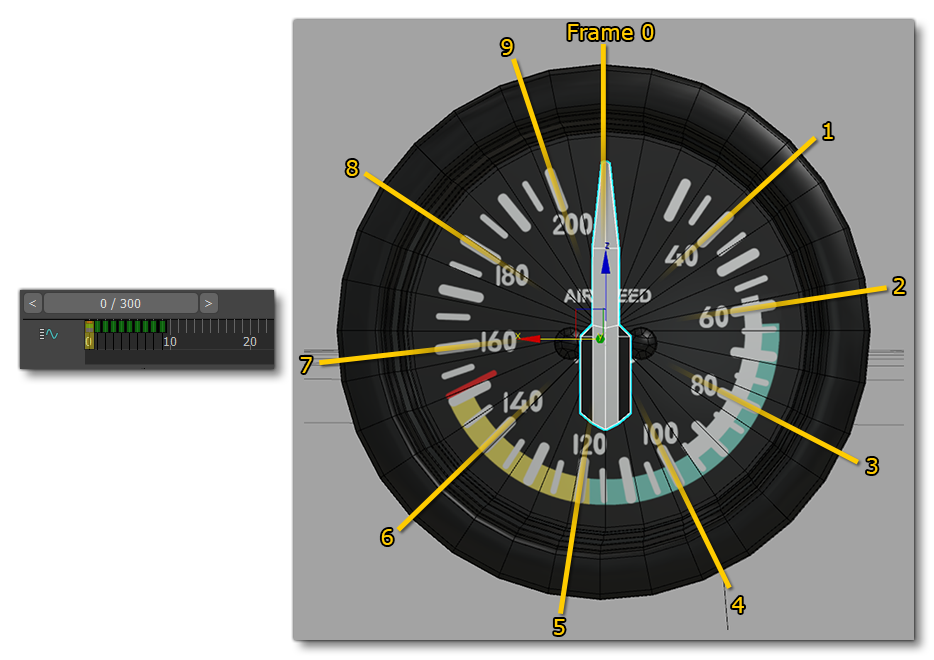
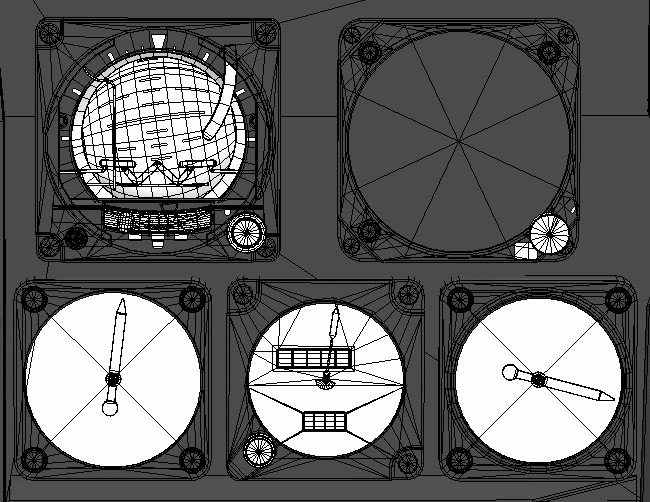
Also note that you should avoid animations going directly to 180° - this could cause the needle to turn the wrong way - or 360° - in which case it may not move at all. So also think about using 90° or 120° rotation angles. Below you can see examples of different gauges and how they are all animated together:
Containers
A container is basically a scene which contains a number of meshes, their accompanying animations, as well as the animations groups and the LODs that they require too. These are all independent within the project file and are not part of an aircraft, which makes them really helpful when you want to use the same gauge(s) in multiple aircraft. Using containers has the added benefit of permitting you to modify or fix something within the gauge in the container file, and then easily have all the aircraft that use the gauge update from that one fix (you just have to open the others aircraft files, then update the container and re-export it without touching anything else).
In the scene the container will look like this (when it's been opened):
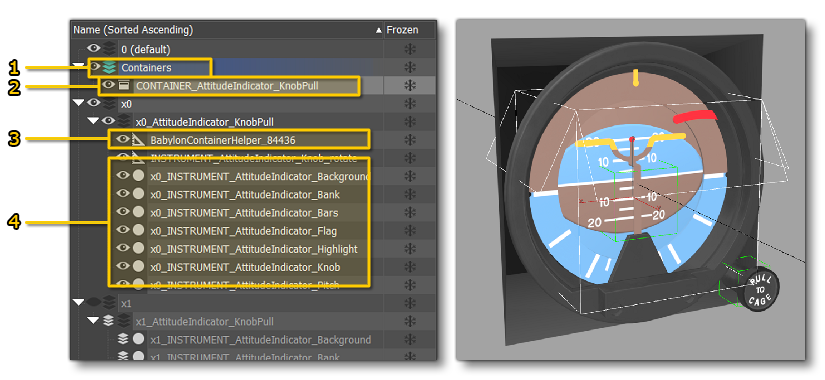
- A layer for all the containers
- The imported container(s)
- A dummy helper where all the animations groups are stored
- Various meshes and dummy helpers that may be required
For more information on containers, please see the following page:
Glass Covers
Most gauges will have a glass covering. The material for this is explained on the page covering Translucent Elements. For the geometry, you can have a simple plane or a circle with some additional vertices to add more volume to it in order to achieve nice effect. When not using containers, we would usually merge all these objects together to have just one mesh for all the glass, and so reduce the draw calls in the simulation.
Lights
Lighting for the different gauges will often use a combination of "physical" lights and emissive materials (this is covered on the page about Emissive Elements). For these physical lights, we can place all of them as helpers in 3DS Max, ensuring that they are placed a little bit away from the gauges or other instruments:
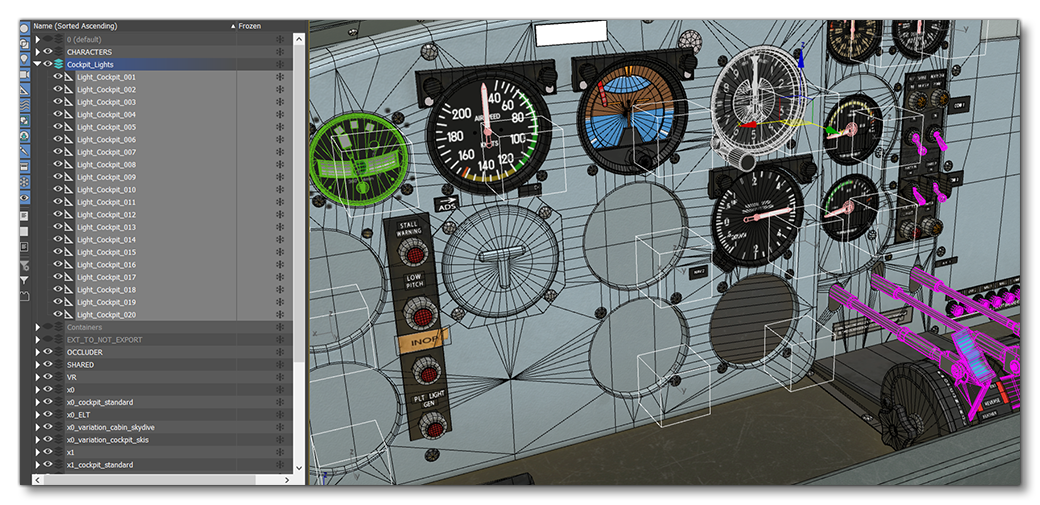
We can then place them into a separate layer which you would tick in the Babylon multi-exporter.
Once everything is exported, we have to put them into the Systems data of the airplane, which is explained in more detail, here: