ANIMATING THE ELEVATOR
This page goes through the steps needed to animate the elevator of the aircraft.
Basic Animation
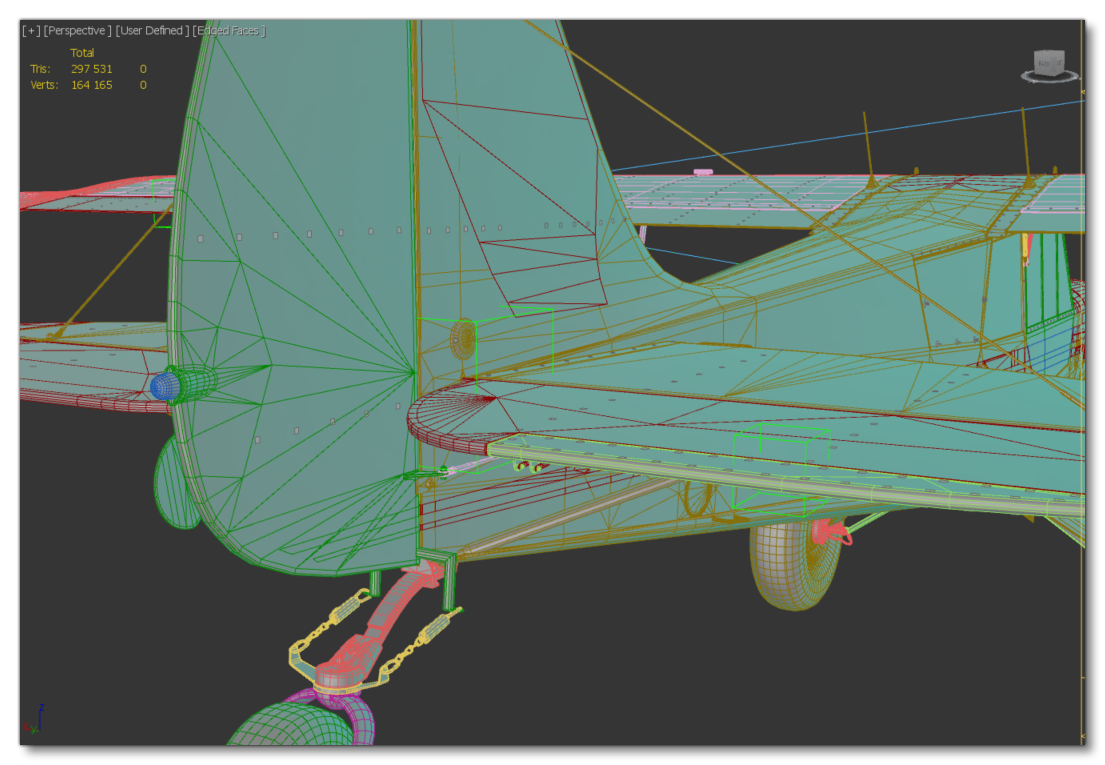
To animate the elevator, you'll need to first create a point (generally using the name format Elevator), and then place it on the rotational axis of the elevator mesh. Note that the pivot must be aligned with the rotational axis. With that done you can now link the mesh to the elevator bone with the link tool![]() .
.
The animation of the elevator is done over 4 frames (0 to3):
| Frame | Position |
|---|---|
| 0 | Neutral position |
| 1 | DOWN (20°-25° angle) |
| 2 | Neutral position |
| 3 | UP (20°-25° angle) |
Elevator Trim
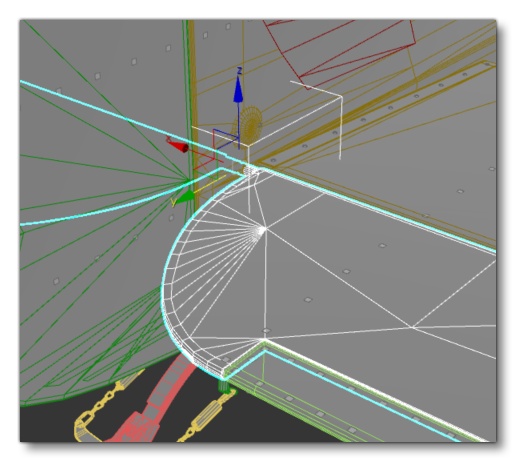
With elevators, we have another part, detached from the elevator, that also needs to be modelled and animated: the elevator trim. To animate it, we use the same process as before - create a helper and place it on the rotational axis and name it something like TrimElevator. You then need to link the mesh to the helper TrimElevator and then link TrimElevator to Elevator. By doing this the elevator trim will follow the main elevator.
Under the elevator, we often have other mechanisms or linking cables, as shown in the example image below which has cables connecting the elevator trim:
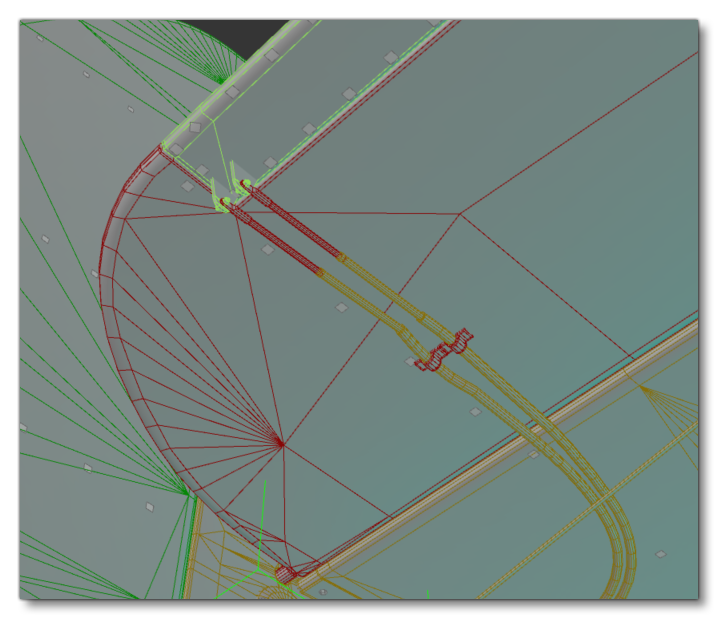
To animate this you'd create two more PLOTs and name them ElevatorTrim_Aux1 and ElevatorTrim_Aux2. You would place the first one between the ElevatorTrim and the mechanism, and then link that to the ElevatorTrim helper. With that done, you would place the second one between the mechanism and the Elevator and link that to the Elevator helper. Finally you would create a LookAt Constraint between both PLOTs.
