CREATING THE PROJECT
At this point, you have decided what aircraft you want to make, you have all your visual and mechanical references, and you're all ready to boot up your 3D modelling program and get to work... However, before going any further and starting to model your aircraft, you should take a moment to create the project that will be used to generate the final package for your aircraft. You will want to do this now so that when it comes time to create the glTF files with the interior and exterior models of the aircraft you'll have somewhere to put them.
The Project Editor
To start with, you want to start up Microsoft Flight Simulator 2024 and then go to the File menu and select the New Project option:

This will open up the New Project Window where you will need to give some details:
NOTE: We will limit this tutorial to briefly telling you what to put and where to put it with the following windows, but for a full explanation of the different options and inputs, please see here: Creating A New Project

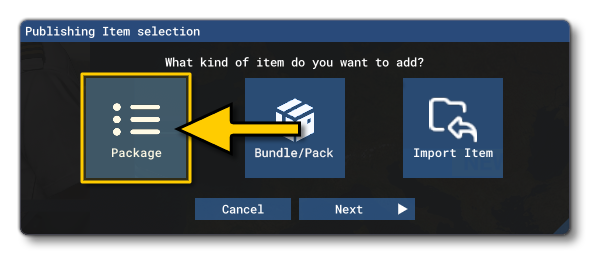
Here you need to click on the ... button and select the location where all the package data will be stored, and then you need to give the project a name and provide a Creator Name and a Company Name. After that you will be asked what kind of publishing item you want to make, which in this case is simply a Package:

After that you'll be presented with the Package Creation Wizard where you need to select the Aircraft package type and then fill in the relevant details:

A package also requires one or more asset groups to be defined, and after clicking the Next button in the Package Wizard you will be prompted for information about the initial Asset Group to add to the package. In this window:
- you should name the group after the aircraft you are modelling
- you should tick the Modular Aircraft options
- you should select an appropriate empty template for the type of modular aicraft you wish to create

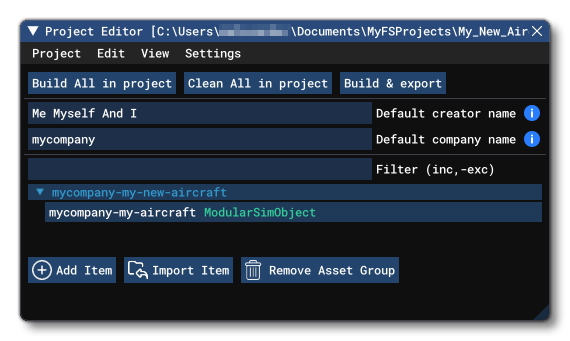
Once that's done, clicking Create Aircraft will create the package and you will be able to see it in the Project Editor, like this:

The Package Contents
With that, you have created the base package that you'll be using for the aircraft. At this point, there isn't much more that you need to do, however we recommend that you take a moment to examine the package and get an understanding of how it is structured:

- The first folder -
_PackageInt- is a temp folder used by the Project Editor for maintaining visual layouts and is irrelevant to the actual package creation process. - The
Package Definitionsfolder will contain the metadata related to the final package. - The
Packagesfolder will hold the output package when you build it. - The
PackageSourcesFolder will contain all the files that actually set up the aircraft. - The
XMLfile contains the package information for the SDK tools.
Finally, before you move on to actually start Modeling And Texturing, we recommend that you look over the project schematic and other information available on the following page so that you are familiar with the concept and setup of a modular aircraft:
Your Package And Multiplayer
If your package is to be used as either a live aircraft or as a multiplayer aircraft, we recommend that you check the following page to get details of how this will be set up. In general you need ensure that the model itself is as optimised as possible, and then when setting up the aircraft files, ensure that you have the appropriate parameters set to the correct values for how you want the aircraft to be used. Please see here for more details: