CARPARKING OBJECTS
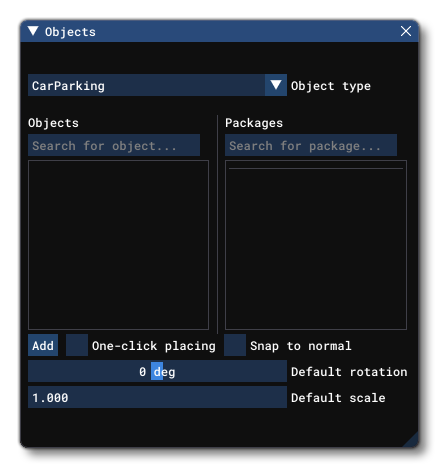
A CarParking object is an object element used to define an N sided area (minimum 3 sides) that you can create to add parked cars to a scene. When you select this object type the Objects window will not show any different object elements as currently there is only one type of CarParking object and what it does is defined through its Properties:
When you select a carpark object and click Add, the cursor will have a red cross-hair attached to it, and if you then hold down Ctrl and use the Left Mouse Button you can start to place points on the world to outline the shape. When you are happy with the area you have delineated, you can press Enter to "fix" the shape, which will now look like this in the world:
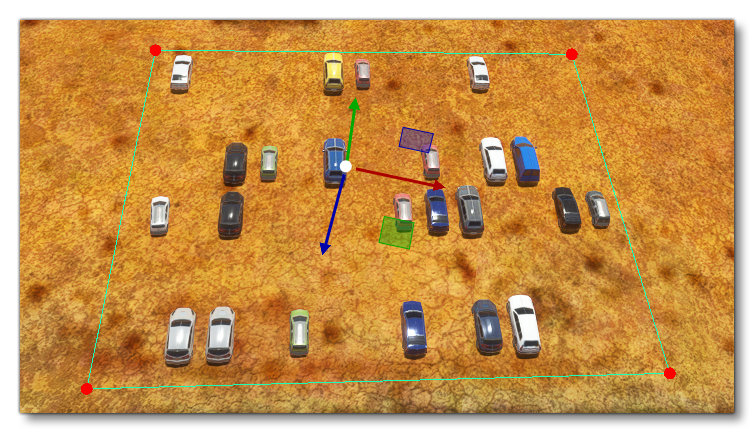 The carparking polygon will have a Gizmo in its center and this can be used to change the position/rotation/scale of the area. Note that these carparking polygons can be convex or concave, so you can define just about any area, although the edges of the polygonal area should never cross, as this will lead to errors when rendering. If you wish to remove the carparking object from the world, you can select it and then press the
 Delete key. While editing the carparking polygon you will see the cars spawned in the area you are defining, and they will be aligned along the angle of the longest edge of the area.
If you want to change the area that the carparking polygon covers after you have created it, you can click the Left Mouse Button on any point to set the gizmo to that point. This point can then be translated to a new position using the gizmo or by inputting new values in the gizmo window, updating the area of the carparking as you do.
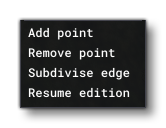
Carparking objects also have specific commands available from the Right Mouse Button menu:
 The first options are general for all objects and are explained in the section on The Scenery Contents List, so we'll concentrate here on the options unique to the carparking object:
- Add Point: When you right click on an edge of the carparking polygon and select this option, a new point will be added to the edge at the position that was clicked.
- Remove Point: Right clicking and selecting this option on any point of the carparking polygon will remove that point.
- Subdivise Edge: When you right click on an edge of the carparking polygon and select this option, a new point will be added to the center point of the edge.
- Resume Edition: Selecting this option will put you back into the edition mode, the same as when you first added the carparking polygon object to the scene. There will be a red cross-hair and you can add points to the carparking polygon using
Ctrl+ Left Mouse Button, and then finalise usingEnter.
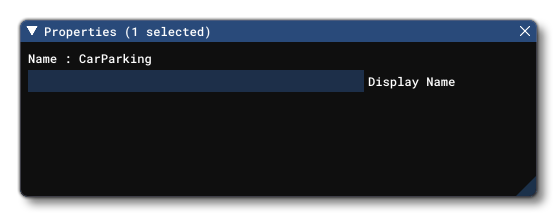
Properties
Polygon objects have the following Properties which can be edited:
-
Name
This is the name of the element as defined from its properties, and will be shown in the Content List of the Scenery editor.