SimpleProjectedMesh
The SimpleProjectedMesh sample project illustrates a very simple project that uses ProjectedMesh Objects. Essentially a projected mesh is a 3D scenery object that has been projected onto the ground and then "flattened" to be rendered in 2D as part of the terrain texture.
You can expand the link below to see the SimpleProjectedMesh file and folder structure:
|---+ SimpleProjectedMesh
    |---+ PackageDefinitions
    |   |---- mycompany-scenery-projected-mesh.xml
    |---+ PackageSources
    |   |---+ modelLib
    |   |   |---+ EXPORT
    |   |   |   |---- PlaneAsphalt.bin
    |   |   |   |---- PlaneAsphalt.gltf
    |   |   |   |---- PlaneAsphalt.xml
    |   |   |---+ texture
    |   |       |---- Tile_Asphalt05_Albedo.png
    |   |       |---- Tile_Asphalt05_COMP.png
    |   |       |---- Tile_Asphalt05_Normal.png
    |   |---+ scene
    |       |---- objects.xml
    |---- ProjectedMeshProject.xml
Loading And Building The Project
In order to load and build the project in Microsoft Flight Simulator 2020, you must have previously enabled Developer Mode (see here for more information). Once enabled, simply follow these steps:
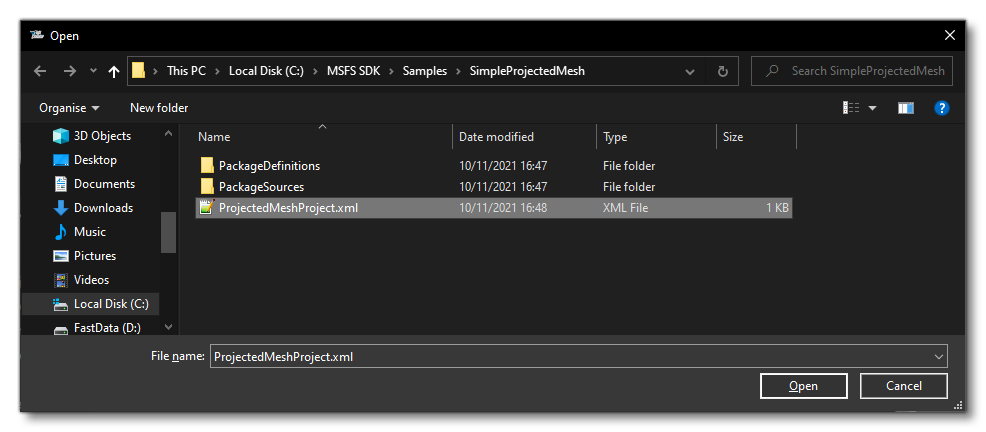
- Use the Open project... command from the File menu.

- Select the file
ProjectedMeshProject.xmlfrom theSimpleProjectedMeshsample project.
- The Project Editor should open automatically and show you the project
mycompany-scenery-projected-mesh(if the Project Editor doesn't open, then you can open it from the Developer Mode Tools menu:
- Clicking on the project in the Project Editor will open the Inspector Window, and here you need to click the Build Package button (if the Inspector Window does not open automatically, go to the View menu in the Project Editor and open it from there):
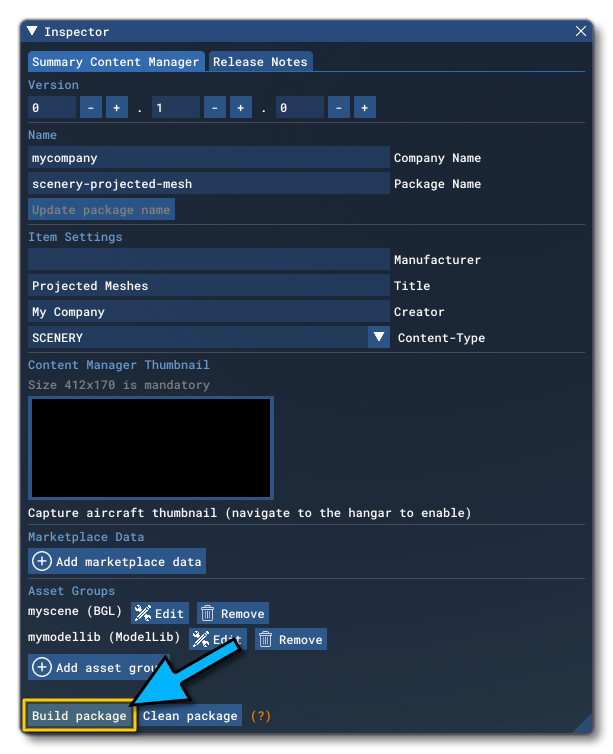
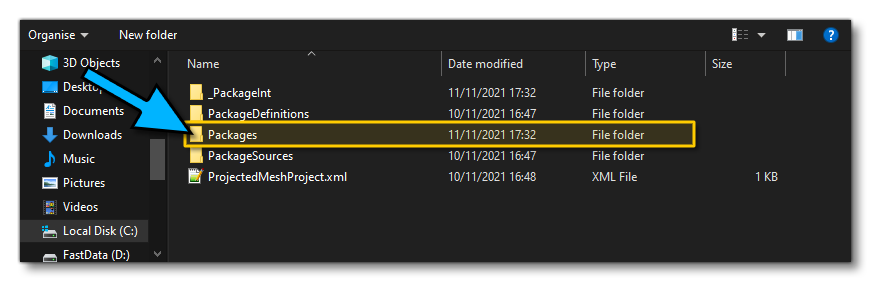
- This will build a package from the files specified in your project. This package will be named
mycompany-scenery-projected-meshand will be output in the Packages folder created in the same directory asProjectedMeshProject.xml:
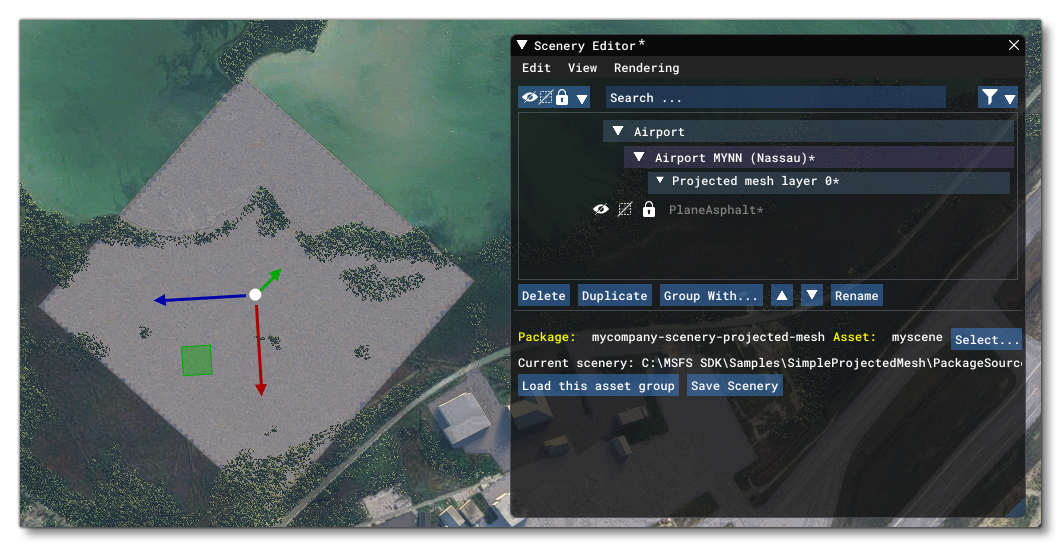
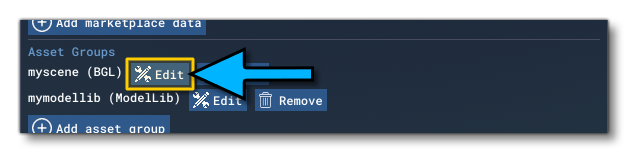
- With the package built, you can now see the projected mesh in the world. To get to it, you need to first click on the
Editbutton beside themyscene (BGL)Asset Group, in the Inspector window:
- The inspector window will then change to show the details of the BGL file from the package, and there will be a button marked Load In Editor:
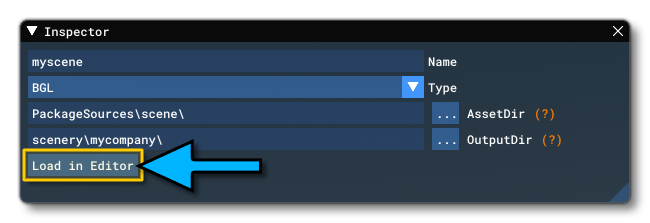
- Clicking this will load the airport in The Scenery Editor and there you can double-click on the Projected Mesh Layer group to be taken to the object: