AIRPORT PERIMETER
The first thing we're going to do with our airport is to add a polygon object to delimit the area that the airport occupies. By default, the airport object sets up a circular area which is considered as the radius within which the airport has influence - the Object Test Radius - but this only affects where you can place airport objects and has no other effect. So, we need to create a delimiting area that will also setup a few other properties for us using one or more polygons.
Before continuing, ensure that you are using the Top Down Camera as that will make creating the polygon easier.
Adding the Polygon
We'll add a polygon object to the scene now. For that you need to go to the Objects window, then select the Polygon object type, and click the Add button. This will add the object to the scene, but before you can do anything with it, you need to add at least three points to the scene to define the polygon shape. To do this, hold down Ctrl and click the left mouse button on the scene, as shown in the image below:
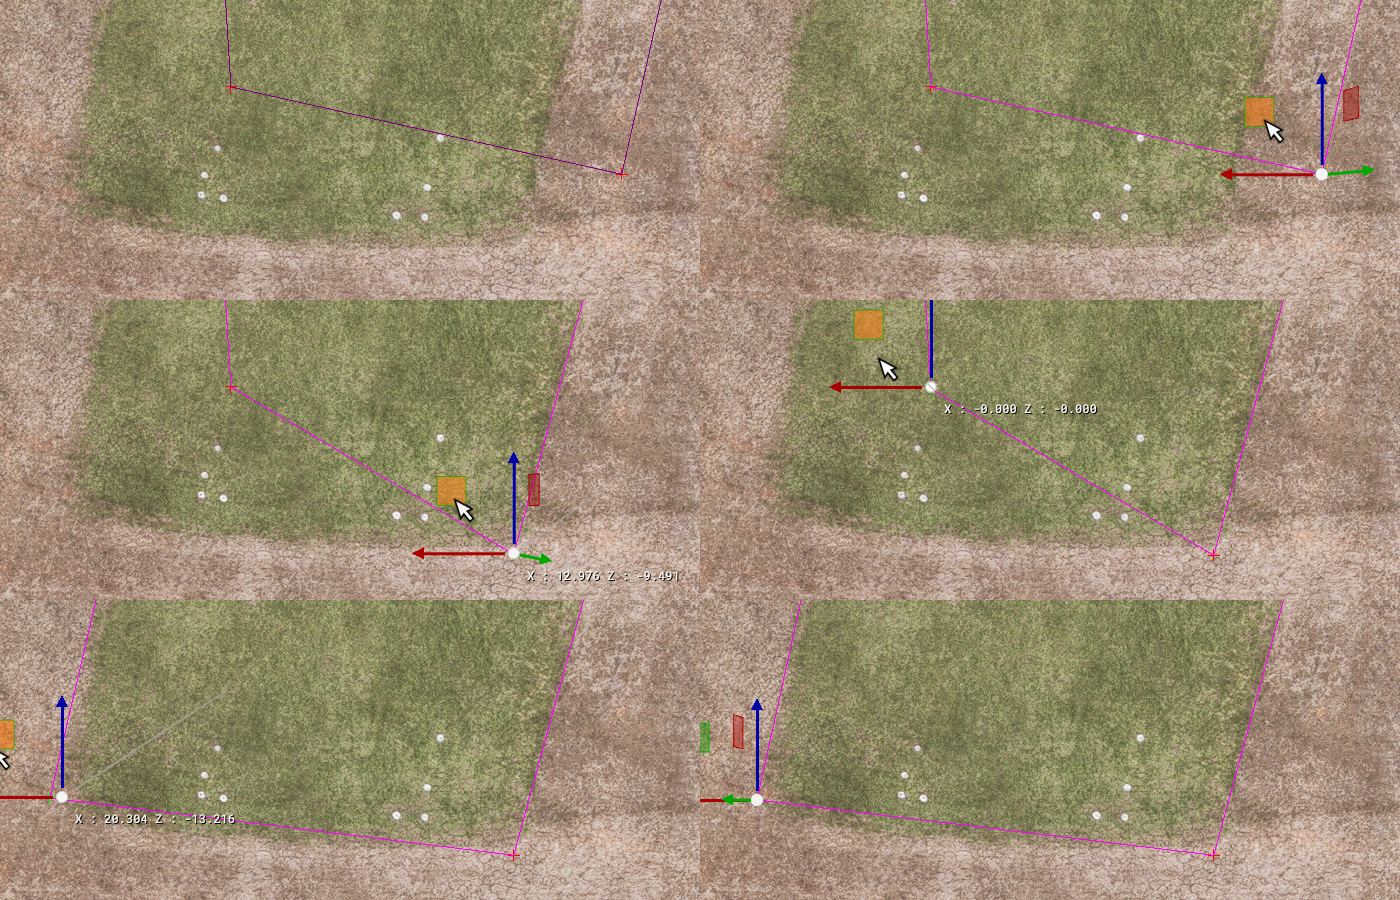
When you have added the last point, simply press the Enter key and the polygon will be finalised. Once you have placed the initial perimeter, you can zoom in and edit the position of individual points to make them fit better. This is done by simply clicking on a point and then using the Gizmo to change its position:
It is also worth noting that you have a number of additional options available to you by right clicking on either a point or a line:
Polygon Properties
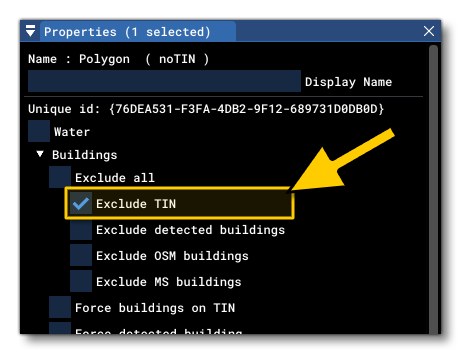
With the airport area delineated using the polygon, you can now go ahead and modify its properties. There are multiple options available here, but for now we just want to check the Exclude TIN option under the Exclude All section:
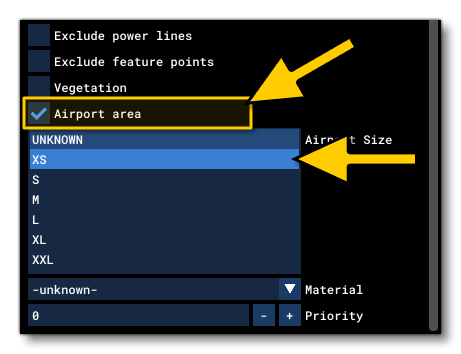
The next thing we need to do is check the Airport Area box - to flag the polygon as delimiting an airport area - and then set the size of the airport. In this case we'll be choosing the option the XS (extra small) option:
At the moment we don't need to set any further properties on this polygon.
Saving Your Work
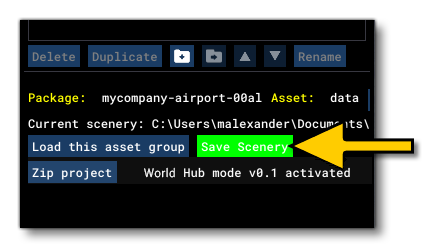
At this point you should save what you've done, and we recommend that after every change - assuming you are happy with it - you save the project to prevent any data-loss if there are unforeseen issues. Saving is simply a case of clicking the Save Scenery button in the Scenery Editor, which will briefly flash green while the save is in progress:
