THUMBNAILS
When setting up your aircraft project, you will have to include various thumbnails as part of the package contents, otherwise you may have issues when it comes to building the package or having it display correctly in the UI of the simulation. You can create your own thumbnails following the specifications given below, or you can use The Aircraft Capture Tool to simplify the process, and you will need multiple "sets" of thumbnails depending on the contents of the package you are creating. For example, if you have an aircraft that can participate in 3 different career activities, then you will need 3 sets of thumbnails, one set for each activity. This page explains what you need, and where they should be placed, based on the type of aircraft being created.
It should be noted that we have also prepared a preset file to be used with The Aircraft Capture Tool to facilitate the creation of these thumbnails. This preset should work for all aircraft and is documented here:
Thumbnail Formats
The following list shows all the thumbnail formats that you will need for your aircraft, along with their name and size, and where they will be used in the simulation UI.
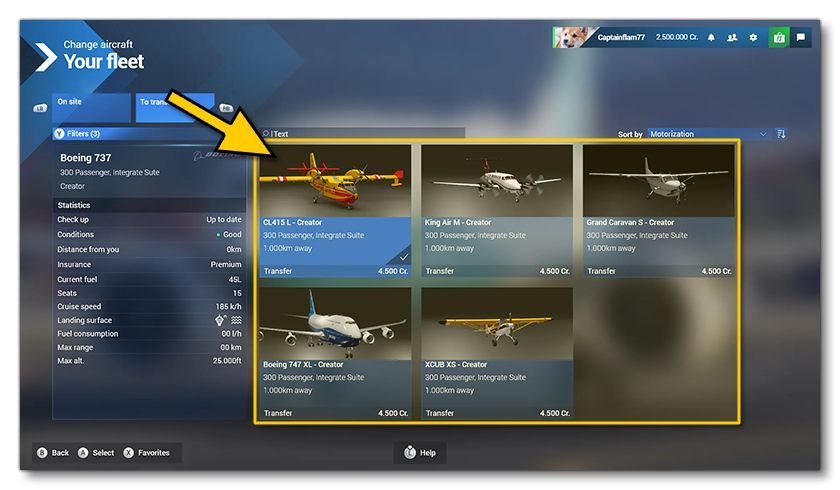
thumbnail.png- authored at 720px \(\times\) 344px without opacity. This is used on the main "fleet" pages where you can see and select aircraft, as well as on the livery pages to showcase the different liveries:
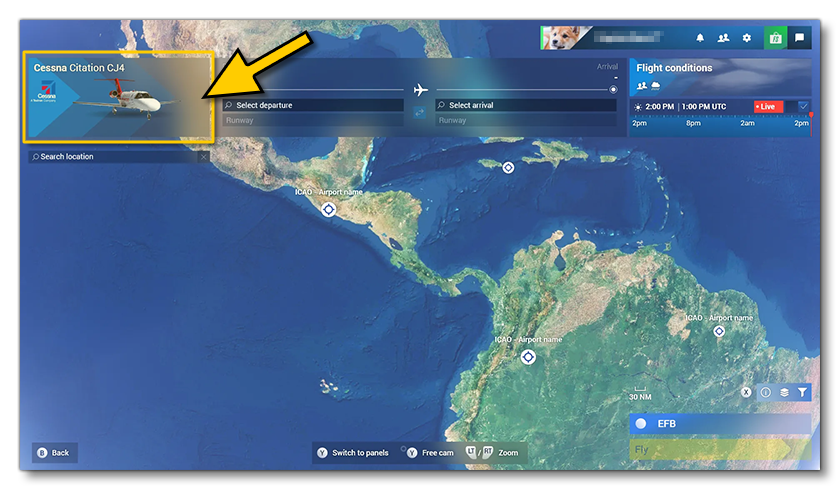
thumbnail_button.png- authored at 830px \(\times\) 260px, with opacity. This is used on the screens where you are shown the aircraft being used and can click on it to change to a different aircraft:
thumbnail_side.png- authored at 930px \(\times\) 340px, with opacity. This is used in various parts of the simulation UI, like on activity selection screens or company screens:

thumbnail_variation.png- authored at 660px \(\times\) 300px, without opacity. This is on the configuration screen where you can select from the different aircraft variation: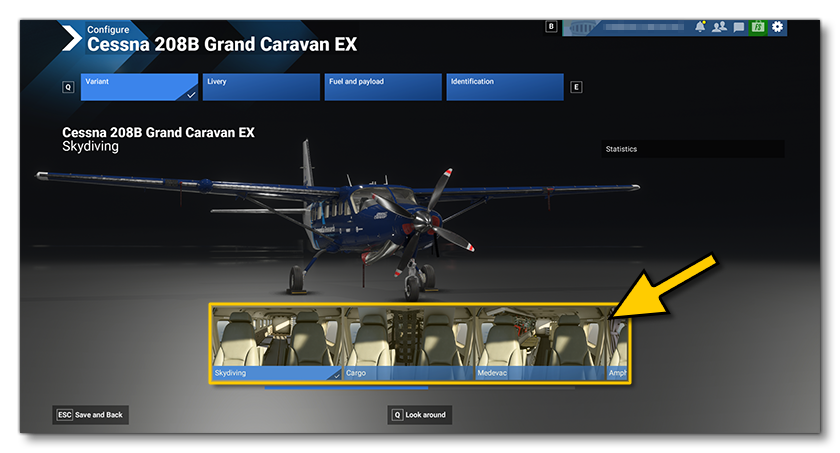
The four files given above are considered a "set" and some or all of them will be required inside the aircraft package, depending on whether its a legacy aircraft, a simple aircraft, or a modular aircraft.

Additionally, you should create the following thumbnail to be used in the EFB:
thumbnail_shape.png- authored at 1920px \(\times\) 1080px, outlined (note the final image is transparent, but a background has been added to the example below for visual clarity):
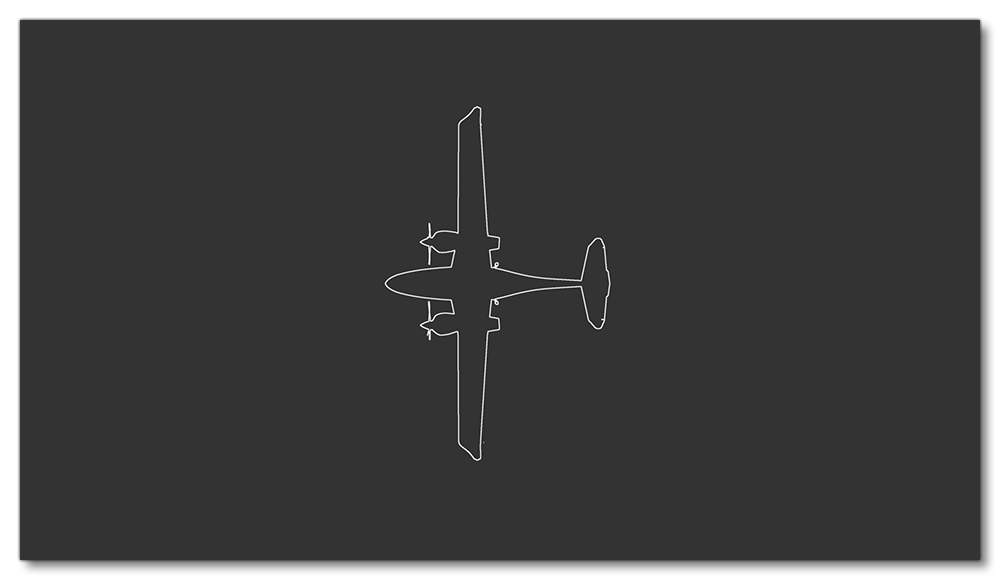
For full information on how to create these thumbnails, please see here:
Legacy Aircraft
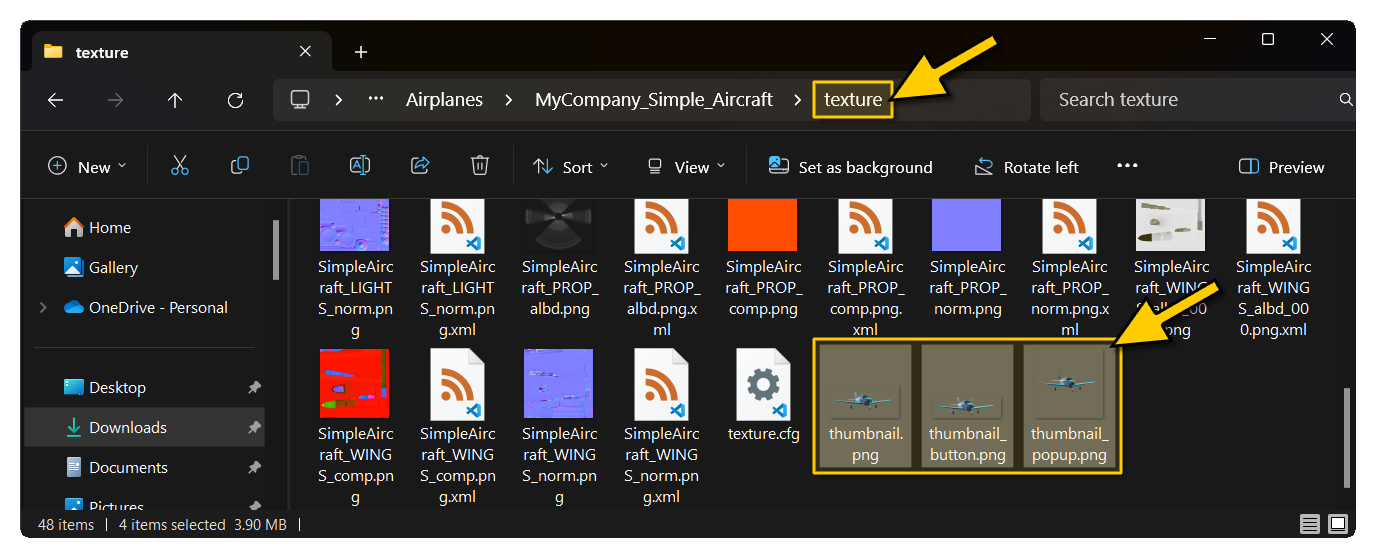
A legacy aircraft is one that has been created in Microsoft Flight Simulator 2020 and then been opened in the Microsoft Flight Simulator 2024 The Project Editor to be updated and rebuilt for this version. For this kind of aircraft, you will need to place the following files in the texture folder (note that if you have liveries, then each texture folder will need the same files, modified to showcase the livery):
thumbnail.pngthumbnail_button.pngthumbnail_side.pngthumbnail_shape.png(optional)
Simple Aircraft
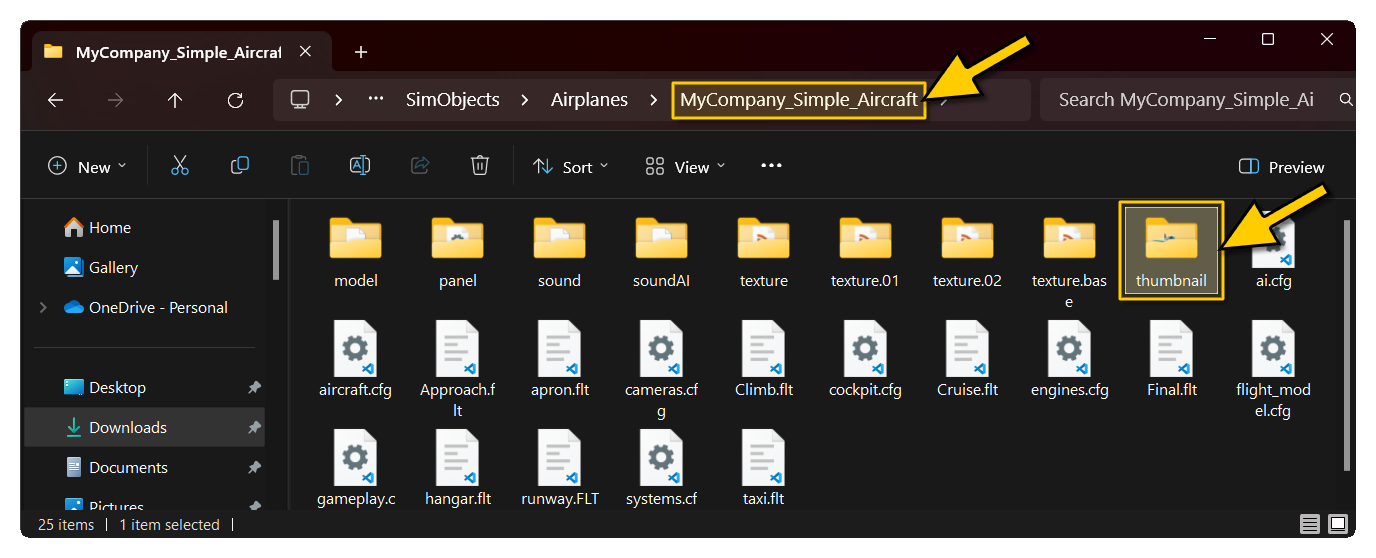
A "simple" aircraft is one that has been created in Microsoft Flight Simulator 2024, but does not follow the modular approach. These aircraft are single models, setup the same as legacy aircraft, but still making use of the current flight-model and systems. For this kind of aircraft there should be a thumbnail folder containing the following images placed beside the other folders for the aircraft:
thumbnail.pngthumbnail_button.pngthumbnail_side.pngthumbnail_shape.png
Modular Aircraft
For modular aircraft there are two different thumbnail folders that are required. These are as follows:
-
Presets
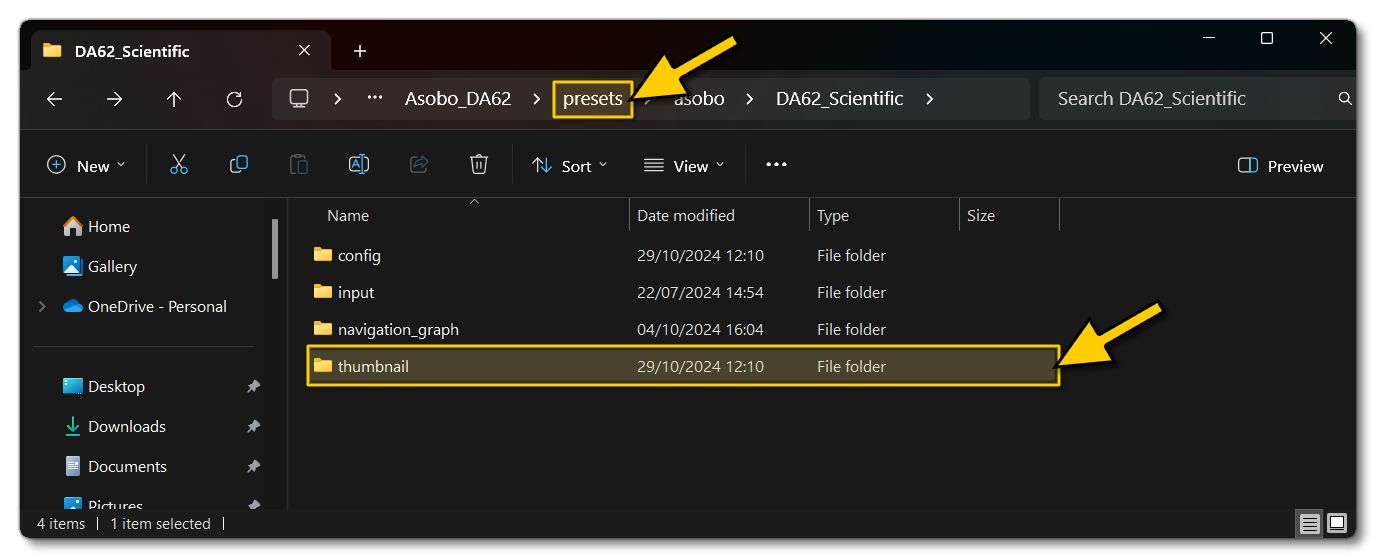 The preset needs a thumbnail folder at the top level - beside the config, Navigation:graph, etc... folders - and should have the following files (where the variation thumbnail highlights the specialty of the aircraft for the preset):
thumbnail.pngthumbnail_button.pngthumbnail_side.pngthumbnail_variation.pngthumbnail_shape.png
-
Liveries
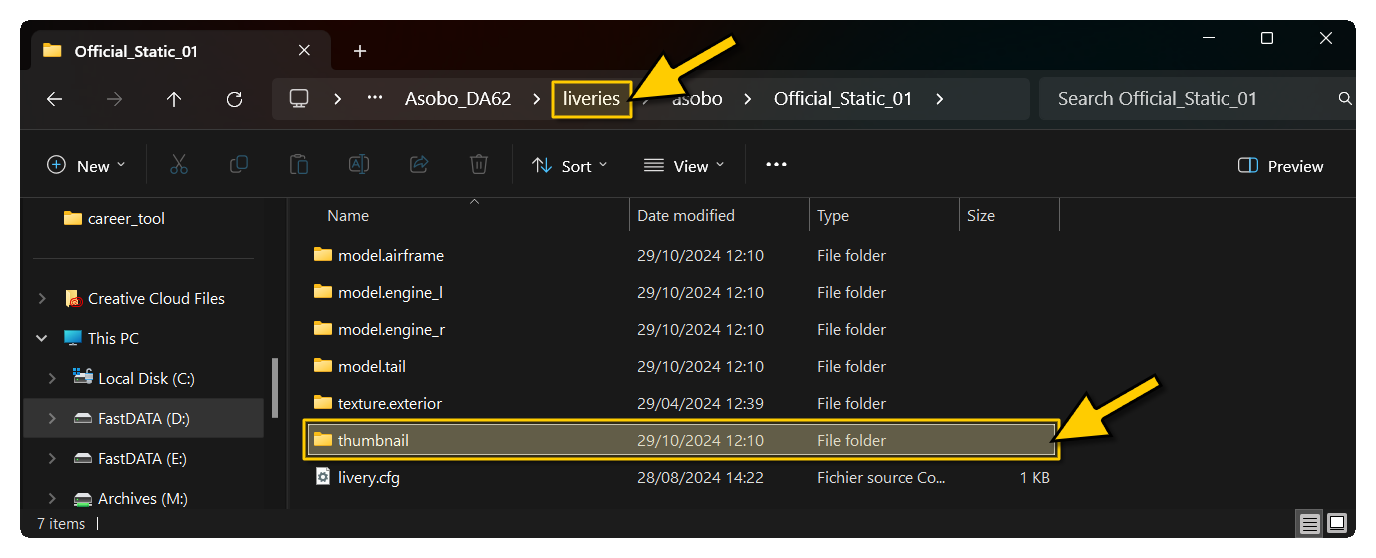 This folder contains the thumbnails relevant to the livery being defined, and show showcase the livery colour-scheme and differences:
thumbnail.pngthumbnail_button.pngthumbnail_side.png
Note that if you have thumbnails which are shared between presets, these can be added into the common\thumbnail\ folder instead, so as not to have multiple versions of the same file (this includes the EFB thumbnail_shape.png file),