ADDITIONAL ELEMENTS
Since this airport is being used simply as a tutorial and will not be submitted to the World Hub, we can go ahead and add a few other elements to it in order to show you how things work. All these elements can be used in any airport, although - as we've mentioned previously - you should strive to keep the airports you edit as realistic and accurate as possible.
Control Towers
Control towers are procedurally generated for you by the Microsoft Flight Simulator engine based on the Properties that you give. For this tutorial airport we'll add a small control tower, so select the Control Tower object and click the Add button to add one to your scene:
NOTE: For this object, you might prefer to set the camera to the Developer Camera rather than the Top Down Camera, as it makes working with 3D objects easier.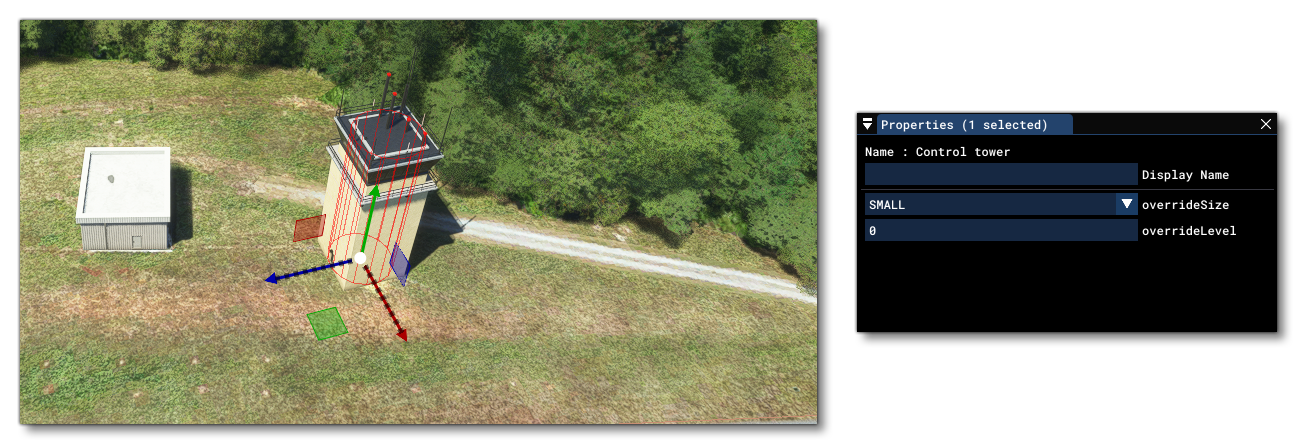
As with other objects, you can use the Gizmo tool to modify the placement of the object, and - if required - you can modify the height of the control tower (within limits based on the size) using the OverrideLevel parameter.
Windsocks
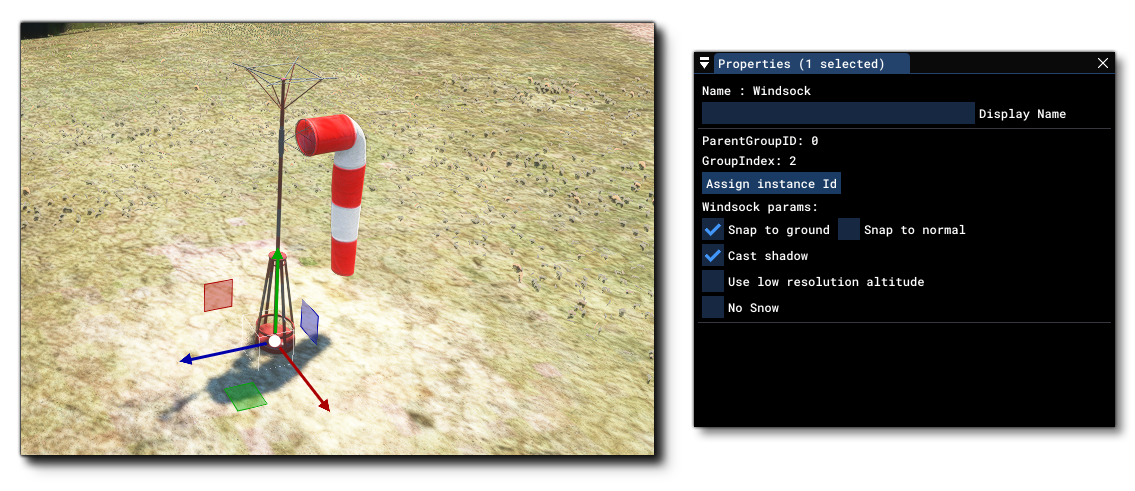
Another simple but common SimObject that you'll want to place in your airport is the Windsock. Like the control tower, you simply select this object from the list and click Add to add it to the scene and then using the Gizmo tool you would position it and set it's size. You can add one or more of these now to the tutorial airport:
Aprons
We'll add some Apron objects to our tutorial airport now. These are added in almost the exact same way as you would add a Polygon, and are mainly used for landscaping and changing the terrain around the airport to use different materials. When you select the Apron object, you have three options: Default, Disk and Square. We'll be using the default option so select that then click the Add button. As with Polygons, you then need to go around the airport area and hold down Ctrl then Click to place the points that will delimit the apron, and then press Enter when finished:
NOTE: For this part of the tutorial we have set the Runway material to be CEMENT so that it is more visually coherent with the aprons we're adding. However, as mentioned previously, this is only for the tutorial and you should always strive to keep your edits as close to reality as possible.
Once you've placed the aprons, you can then change their surface material, change how the surface texture is applied, use them to exclude vegetation and colour them.
Car Parking
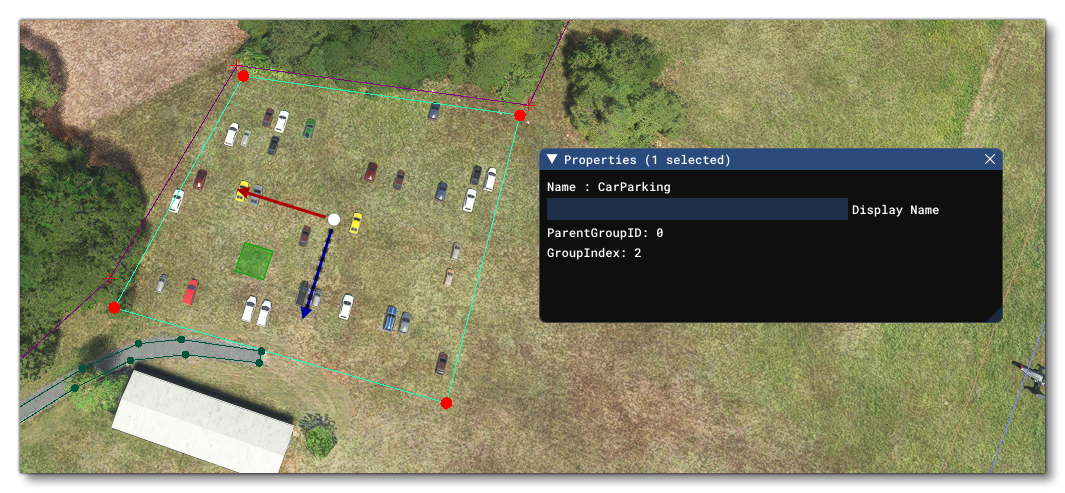
Many airports will have areas specifically for carparking, and the aerial of the airport may show lines or spaces dedicated for this purpose. So these areas look better, you can flag them as carparks using the Carparking object. Again, this works the same as the Polygon object where you add it to the scene, then hold Ctrl and click to place points and press Enter to finalise:
Helipads
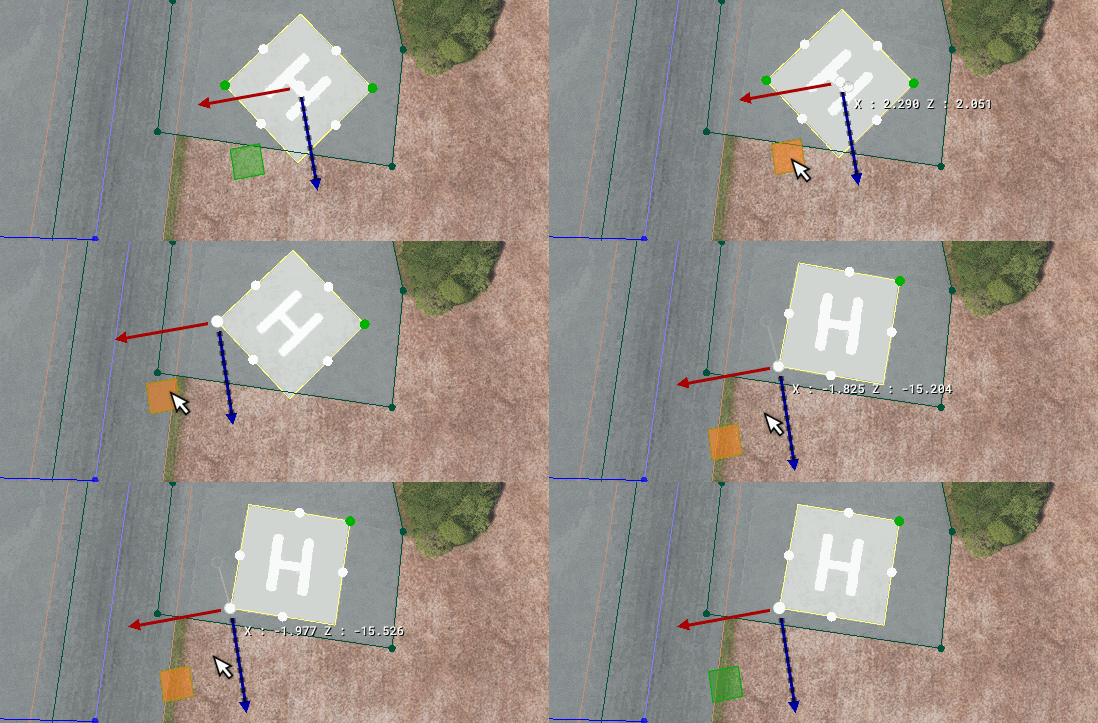
The final thing we'll add to our tutorial airport is a Helipad object. When you select this object type you will have a few options, but for this tutorial we'll be using the SQUARE type. We have added an apron to the side of the runway where the windsock is, so we'll just scroll over to that part and add it there:
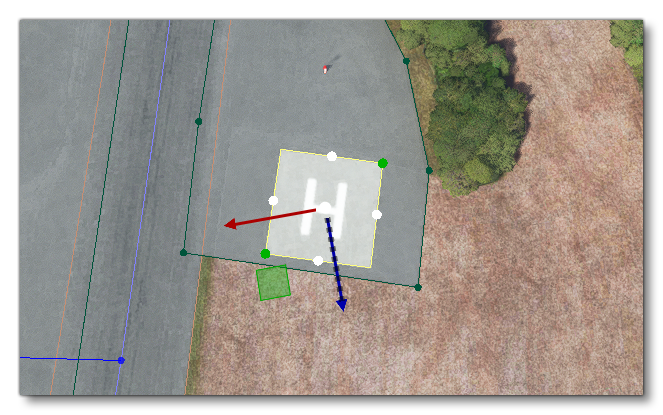
As with other objects, you can use the Gizmo tool to set the position, and, if you need to change its angle of orientation, you can select one of the green corner points and then use the Gizmo to change the angle:
