ANIMATIONS
NOTE! This section is a WIP, and currently this tab can only be used to debug animations that are in a separate animations.xml file, not those included in a model behaviour file.
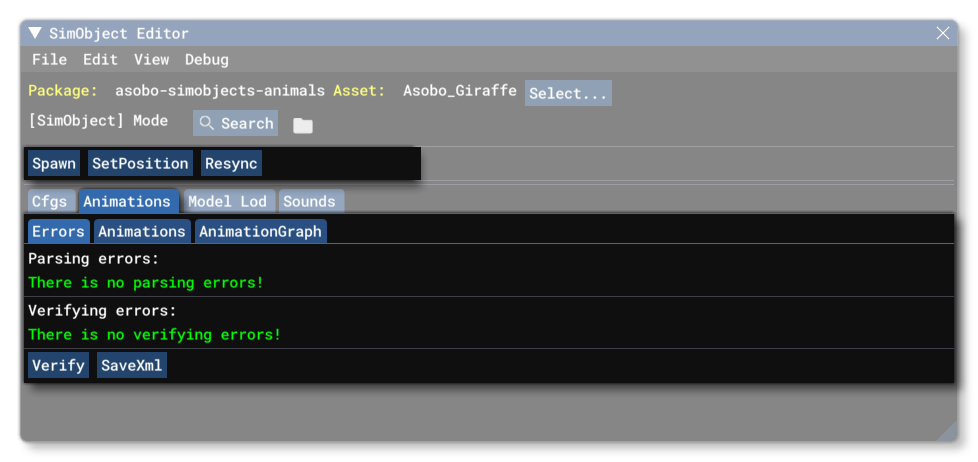
The Animations tab permits you to visualise and debug the animations included as part of the model behaviour or animations XML file(s) for the common/preset/attachment. When using this tab, you should select the asset you wish to debug and test, and then point the camera at the position where you wish it to be placed and click the Spawn button.
Once the SimObject has been spawned in the world you can start to edit and debug the animations using the Animations and AnimationGraph tab. In addition to the options on each tab, there are the following buttons and options available globally:
-
Despawn
Clicking this button will despawn the SimObject currently being viewed.
-
Lock Position
Clicking this button will lock the current spawn position so that future SimObjects can be spawned there, regardless of the position of the camera. You can click the button again to clear the locked position.
-
Indicator
This button will add a wire-frame indicator at the point currently being used for spawning.
-
Procedural
When this option is checked, a new drop-down menu will be shown where you can select one of the many Generated Characters that the simulation can create. Now, when you click the Spawn button, a procedural character will be spawned at the current location.
Errors
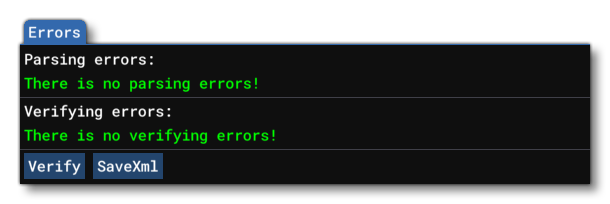
This tab is very simple and will display any parsing errors and any errors with the verification. Parsing errors will be those things that you edit/add incorrectly and will need fixed for animations to work, while a verify error is one that is flagged when the file itself is verified using the Verify button. Both these should be green and show no errors before saving out the XML.
Animations
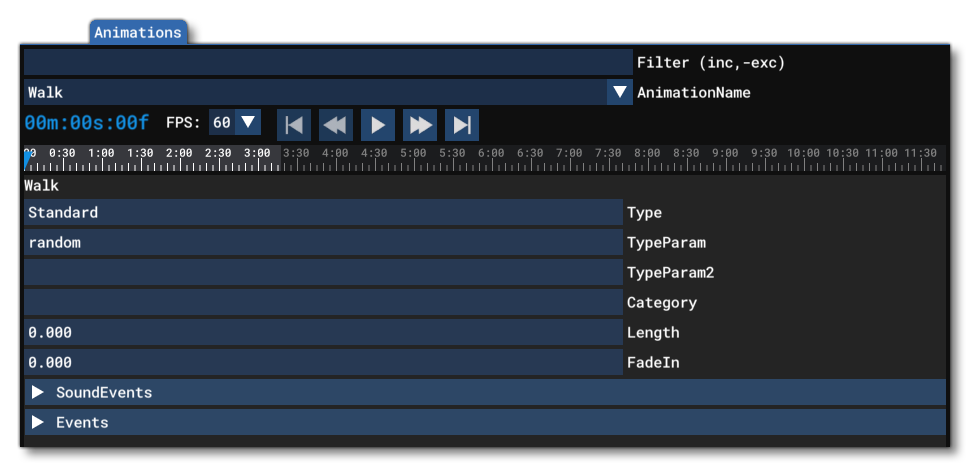
This tab is used to preview and debug the basic animations that are available for the SimObject. You can select the animation to preview from the AnimationName menu. This can be filtered if there are multiple animations available using the Filter at the top of the tab. Under these options you have the different playback buttons which can be used to visualise the currently selected animation in the simulation. You may also set whether to test the animation running with the simulation at 30FPS or 60FPS. This interface also permits you to add new animations with the Add Animation button, or delete the currently selected animation using the Delete Animation button.
For each selected animation you will be presented with the <Animation> attributes that can be edited for it. Beneath these you will have sections for SoundEvents and Events, explained below.
SoundEvents

In the Sound Event section you will be presented with a list of each sound defined in the <AnimationSounds> section of the sound.xml file. You can change the sound event that is being associated using the drop-down menu, and you can add or remove sound triggers using the mouse button on the animation track (left-click to add a trigger, right-click to remove a trigger). Alternatively you can click the button New TriggerValue at this TimeCode as the animation track moves (this requires you to have the animation playing). Triggers correspond to the <AnimationTriggers> section of the model XML.
Note that you can remove any sound event by clicking the X button at the top of the event section, and you can add sound events by clicking the + button that can be found below all the listed sound events.
Events
 This section corresponds to the
 <Events> section of the XML and is used to set the timing of specific animation events to be used in world scripts (usually for flora/fauna SimObjects in the world), or as events to be performed when an animation has ended (as used in Blend Tree State elements in the AnimationGraph). Here you can set the following attributes:
-
Name
The name of the animation this event links to.
-
Time
This specifies the time that the named event should trigger. This is a frame number, and should start from 0.
Note that you can remove any event by clicking the X button at the top of the event section, and you can add sound events by clicking the + button that can be found below all the listed sound events.
AnimationGraph
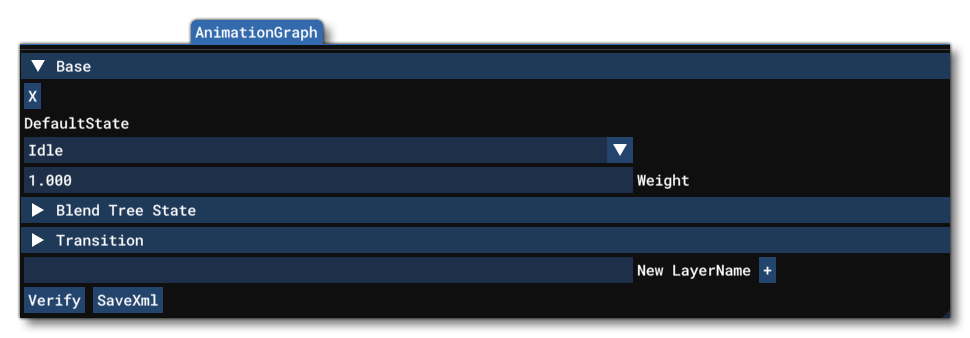
This tab shows the graph data that is used to describe the transitions between animations. This section is based on the <AnimGraph> section of the XML file, and each sub-section listed here is a <Layer>, which will contain further sub-sections that define an animation blend. You can add further layers by giving a name in the New LayerName section, then clicking the + button, and inside each layer section you can find a X button, which is used to remove the layer. Within each layer section you will have the sub-sections listed below.
Note that when selecting this tab, an additional window will open showing a nodal representation of the features of the layer that is currently being used:
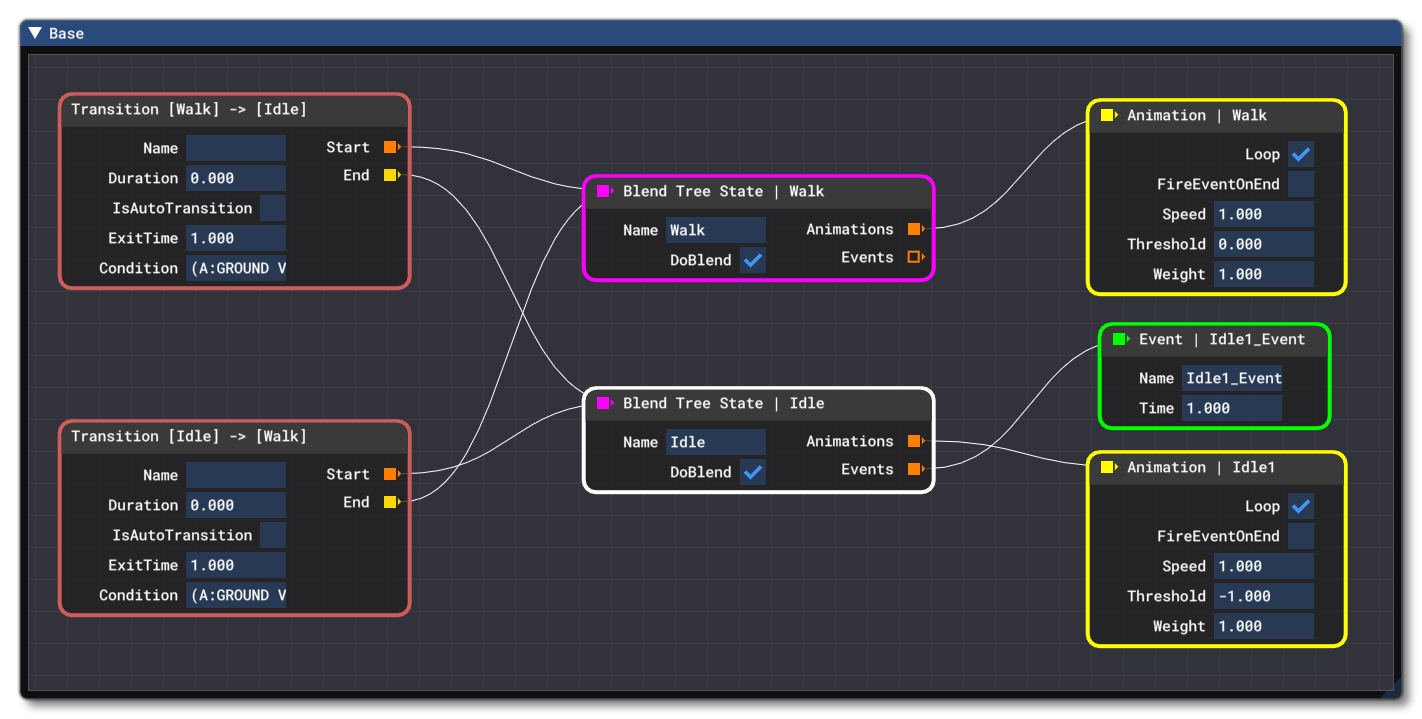
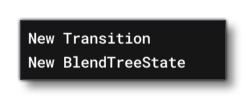
Most of the parameters listed below for the different sections can also be edited here, and you may also add additional Blend Tree Layers and Transition nodes, by right-clicking anywhere in the empty space of the editor which brings up the following options:
-
New Transition
This will create a new Transition node. If you right-click on this node, then a menu will open where you can delete the node again.
-
New BlendTreeState
This will create a new Blend Tree State layer. If you right-click on this node, you will be able to delete the node, but also add new Events or select an animation to assign.
DefaultState
The attributes here correspond to the <DefaultState /> element in the XML and is used to set the default state for the SimObject animation. Note that before you can set a Default State, you must have first set up the various different animations in the Blend Tree State section. The attributes are:
-
Animation
This is the name of the blend-tree state that should be used as the default animation state for the model.
-
Weight
This attribute is used to set the weighted chance of this layers default state being used over any other, and is expressed as a Percent Over 100. If you have two layers and one has a weight of 0.75 and the other 0.25, then the chances of getting the first layer is 3:4.
Blend Tree State
 The attributes in this section are for controlling the blend tree (the
 <BlendTreeState> element in the XML), which is the system used to merge animations together as they change between one animation and another. Initially you need to give the state the following attributes:
-
Name
This sets the name of the blend state to be used in the Transition section.
-
Value
This element is used to set a value which will be used to switch between the different animations in the blend state. Values are calculated using Reverse Polish Notation, for example:

Note that if you wish to use this attribute, then the DoBlend option must be checked.
-
DoBlend
When checked, the Value element should be included to tell the simulation to use the value to decide which animations to blend (based on the Threshold attribute in the listed<Animation>elements). If this is unchecked, then animations will only change when the current one is finished playing, and the subsequent animation to use will be chosen at random.
Animations
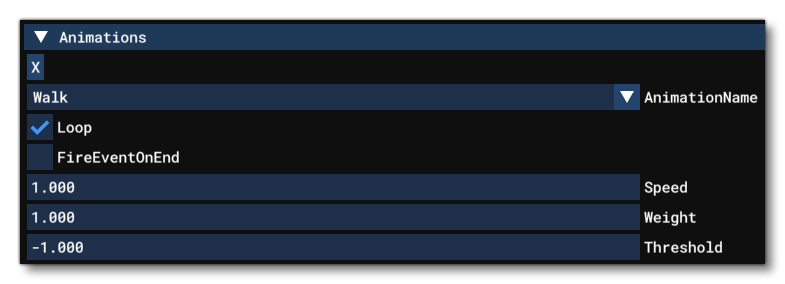 Within each blend state you need to define the animations that will be used within and be blended together (and represents the
 <Animation> element in the XML). This section has the following attributes:
-
Animation Name
This is the name of the animation that you want to use as defined in the Animations section.
-
Loop
When this is checked, the animation will loop when it reaches the end. Unchecked means it will not.
-
Fire Event On End
When checked, a notification will be sent to the<SimMission.PlayBlendTreeStateAction>element for it to be considered as "complete". This means that if the<SimMission.PlayBlendTreeStateAction>is set with<Immediate>False</Immediate>, it will wait until the end of the animations from the Blend Tree State that have this checked, before continuing to the next action.
-
Speed
The animation speed scalar. When set to 1 the animation will play at the original speed. Lower values will slow the animation and higher values will speed it up, eg: 0.5 would play it at half speed and 2.0 would play it at double speed.
-
Weight
This sets the "weight" of the animation for when the Blend Tree State has unchecked the DoBlend attribute. When an animation has ended, this value is used to choose the next random animation to play, "weighted" towards the ones with the higher value. This value should be between 0 and 1, where the higher the value, the more likely the animation is to be chosen.
-
Threshold
This is the threshold value for choosing an animation based on the returned Value for the Blend Tree State element. If the value is between 2 consecutive thresholds, the 2 corresponding animations are blended together with weight depending on how close the value is to each threshold. If the value is more than the last threshold, the last animation is used.
Events
 This is used in a Blend Tree State to set the timing of specific animation events to be performed when an animation has ended (and corresponds to the
 <Event /> element in the XML). It has the following attributes:
-
Name
The name of the event.
-
Time
The time that the event should trigger. This is a frame number, and should start from 0.
Transition
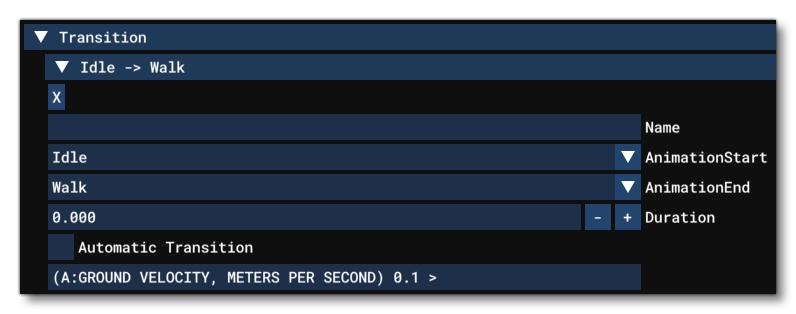
This section is designed to create a transition between two different Blend Tree State animations (and corresponds to the <Transition> element in the XML). It has the following attributes:
-
Name
This is the name of the transition.
-
Start
Here you select the start animation (the one to transition from).
-
End
Here you select the end animation (the one to transition to).
-
Duration
Sets the duration of the transition, in seconds.
-
Condition
This input lets you give a conditional expression in the form of Reverse Polish Notation that will be evaluated every frame to see if the parent Transition should be triggered or not.
Related Topics