CLEARCOAT
The aircraft model can be "painted" to simulate the clearcoat paint that is used as a type of varnish to create a lacquered effect over coloured paint and decals that have been applied below. For this effect you will need to apply the ClearCoat material to the aircraft fuselage parts (and any other part that you wish to be painted this way). In most cases, all painted fuselage parts will use this material instead of the "standard" material.
Material Setup
Setting up the clearcoat material is very simple and initially requires two textures (other than the base-coat material textures of Albedo, Occlusion/Roughness/Metallic and Normal). These are:
- Clearcoat Colour (RGB) ClearCoat Roughness (A) - A composite texture containing an albedo component and a roughness component. The albedo allows you to give a coloured tint to the clearcoat layer as if you were applying a colored varnish to your base-coat. Using this will not override the base coat albedo texture colours.
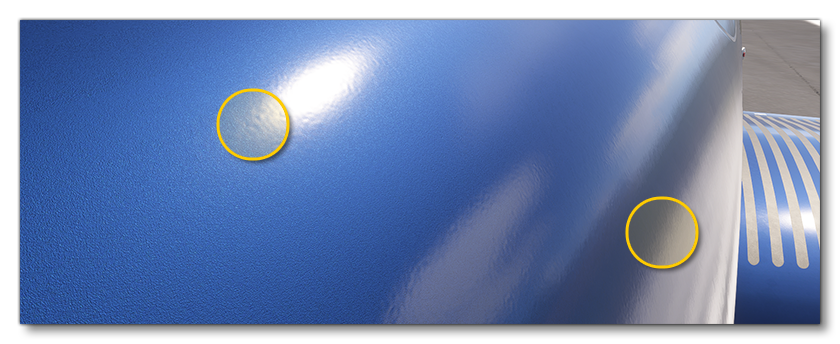
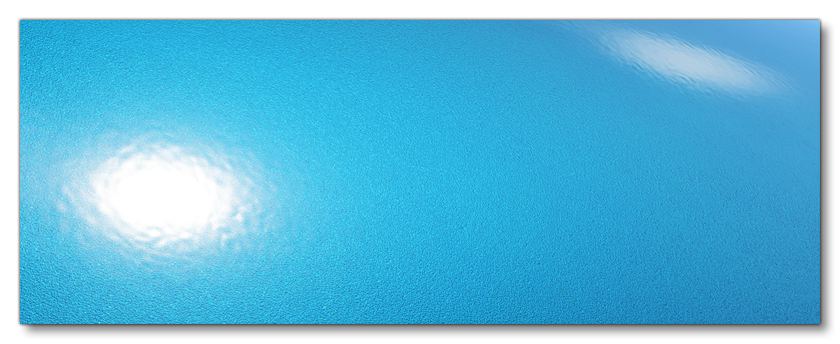
- ClearCoat Normal - A second normal map that will be rendered over the base-coat normal. This is used to add in extra bump-mapping detail to simulate the "orange peel" effect that can be seen when the light hits some paints or other surface texturing effects. In the example below you can see that the base-coat normal contains a metal flake normal map while the clearcoat contains a larger grain "orange peel" effect normal map which is only noticeable under certain circumstances based on the lighting.

These textures can then be modified using a series of dedicated parameters, as described here: ClearCoat Parameters [ClearCoat].
Clearcoat And Metallic Paint
The Clearcoat material can be used to great effect to create a realistic "metallic" paint for your aircraft. To create this effect, you will want to start by giving the base-coat a rougher texture than usual for these kind of surfaces, as this will ensure larger hits of light on the surface instead of bright specular spots (which will be added later through the clearcoat roughness).
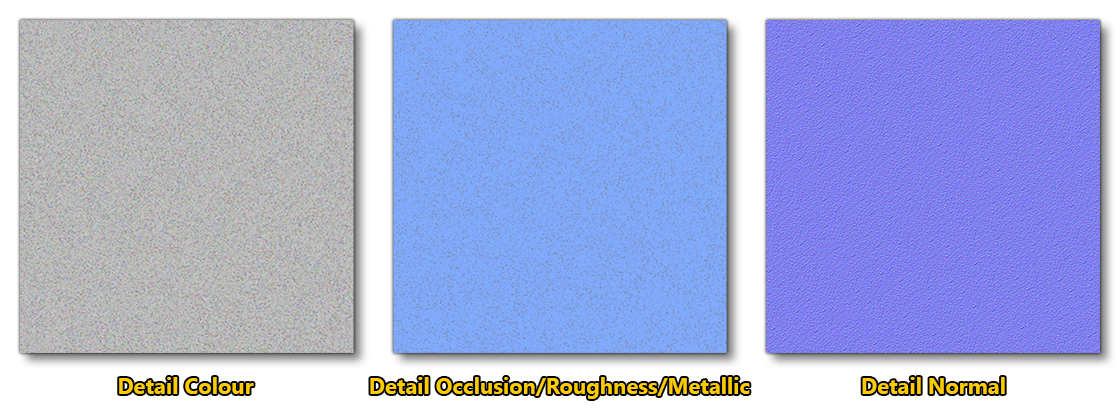
The next step is to simulate the metallic effect of the paint. For that it is important to note that metallic paints are not wholly metallic, but instead they actually have thousands of small metallic flakes reflecting light in different directions mixed in with the paint itself, and so we need to replicate that. This is done using the detail map system:

The textures themselves are important to the effect and should simulate the random nature of the metallic flecks in the paint, something like the ones shown below:

Finally you would add in the clearcoat layer itself, as explained at the top of this page. This layer will have a lower roughness value and will create the shiny specular reflections on the surface of the aircraft, and since you've split the material between a rough base coat and a shiny clearcoat the material won't appear as dark as a standard metallic surface would when viewed in the simulation.
The image below illustrates all the clearcoat paint features explained here and how they come together to give the impression of a varnished metallic paint on the aircraft exterior:

Rain On Clearcoat
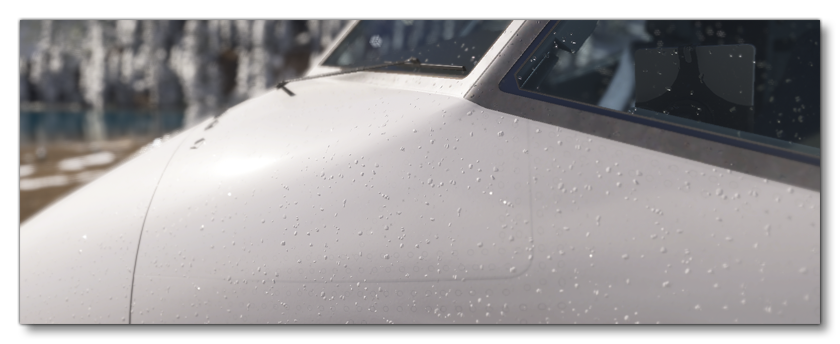
One final thing to setup in the Clearcoat material is it's ability to show raindrops in a realistic way after getting wet. This effect is enabled using the Windshield / Clearcoat Parameters (Rain) parameters. Here you will need to flag the Receive Rain option, and then set the Rain Drop Tiling size to an appropriate value. Initially this should just be set to 1.0, but after testing in the simulation you can adjust the value to adjust the size of the raindrops on the aircraft. The ideal here is to get an effect that makes them appear a size coherent with the size of the aircraft and also ensure they match the size of the raindrops on the windshield and window elements.
