SIMPLE SCENERY
The SimpleScenery sample illustrates the process of adding scenery to Microsoft Flight Simulator 2024. Making this example required using The Scenery Editor, which you can open in Developer Mode from the Tools menu.
Loading And Building The Project
In order to load and build the project in Microsoft Flight Simulator 2024, you must have previously enabled Developer Mode (see here for more information). Once enabled, simply follow these steps:
- Use the Open project... command from the File menu.

- Select the file
SceneryProject.xmlfrom theSimpleScenerysample project.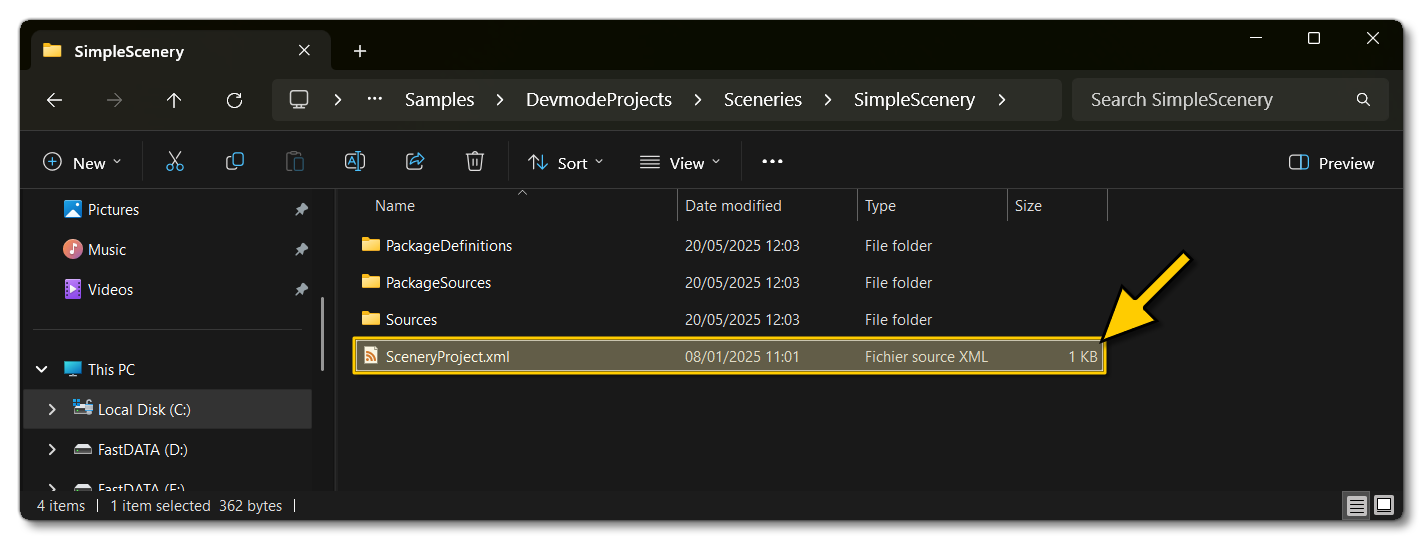
- The Project Editor should open automatically and show you the project
mycompany-airport-kalo-waterloo-sdk(if the Project Editor doesn't open, then you can open it from the Developer Mode Tools menu)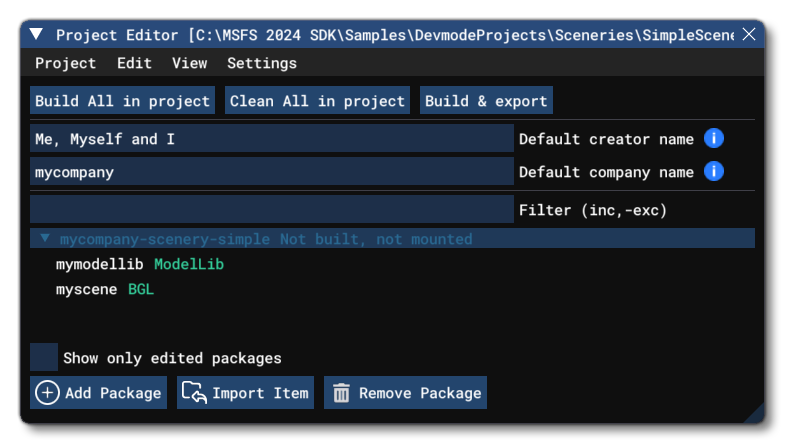
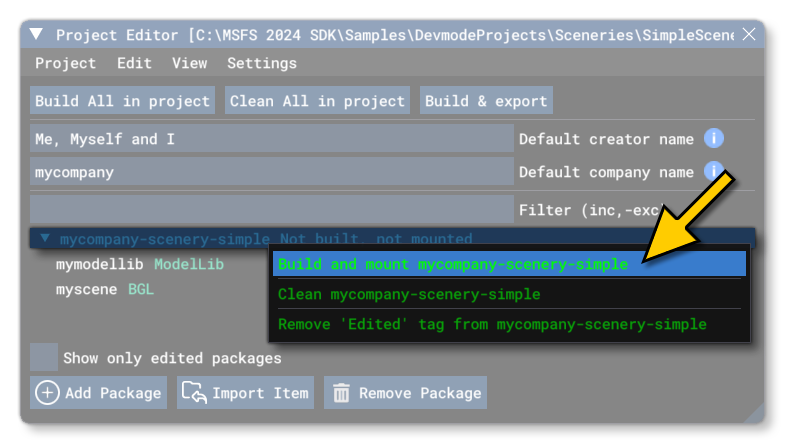
- Selecting the project and then right-clicking will open a menu where you can select the Build and Mount option to build the project and mount the created package in the VFS:
- This will build a package from the files specified in your project. This package will be named
mycompany-scenery-simpleand will be output in the Packages folder created in the same directory asSceneryProject.xml: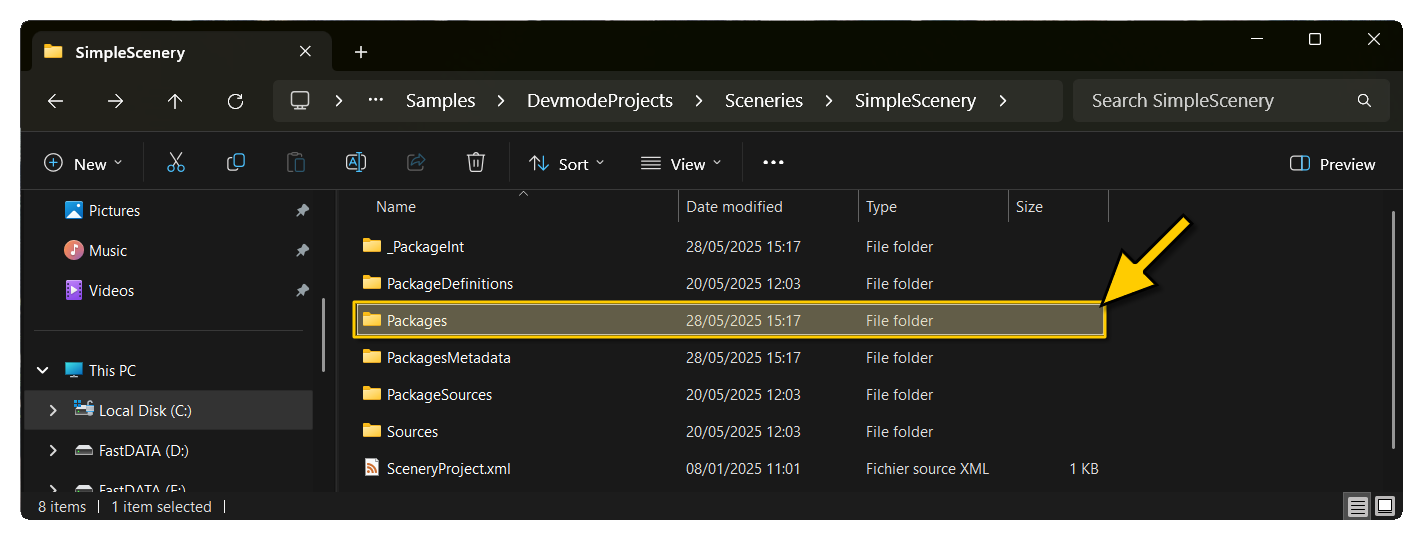
- To get to the airport location, you need to select the myscene BGL in the Project Editor, and then right-click and click on the
Load In Editorbutton: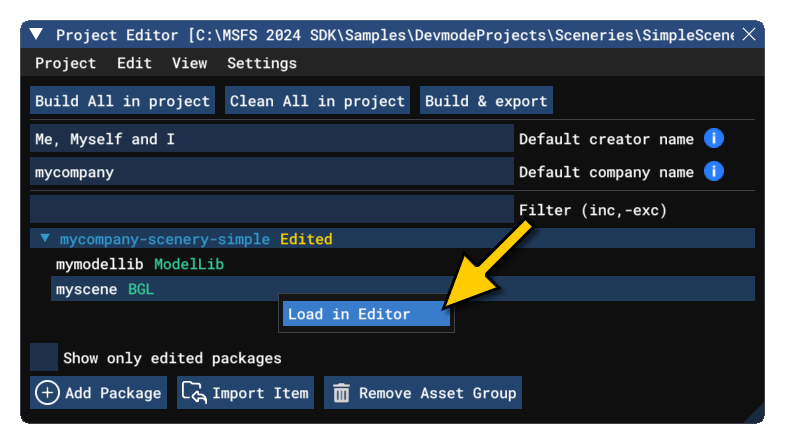
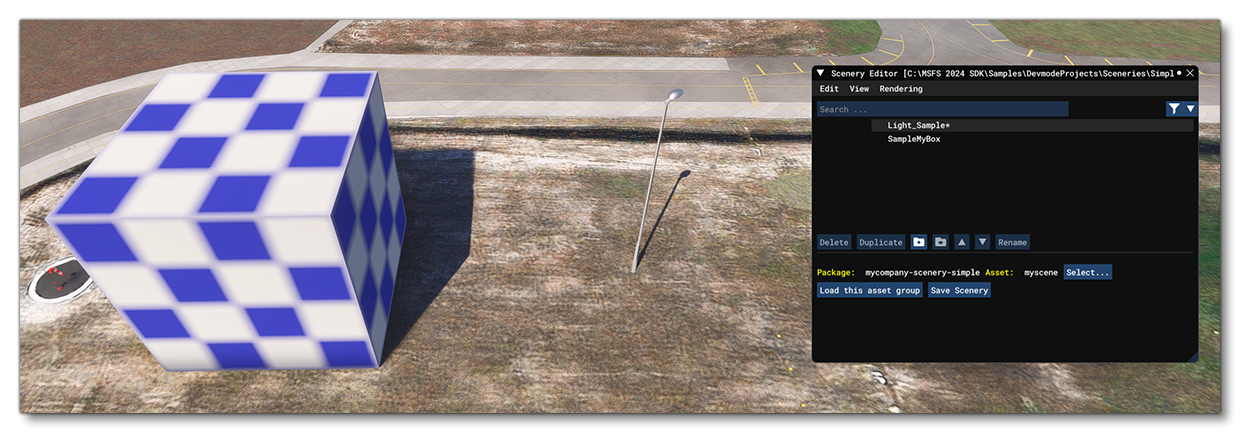
- Clicking this will load the scenery into the Scenery Editor and you can double click on either the light_sample or SampleMyBox object to move to their location in the simulation:
Related Topics
0/255