FLIGHTS AND MISSIONS
This section details the different files related to the files required by Microsoft Flight Simulator 2020 to create flight plans and other files required by aircraft and for missions.
NOTE: Missions should be scripted using The Script Editor, which will create some of the files listed here for you, but you will still need to manually create and edit some things. For full details see the Creating A Bush Trip tutorial.
The files covered in this section are:
- Flight Plan Definitions (
*.PLN) - Flight Definitions (
*.FLT) - Mission Definitions (
*XML) - Weather Definitions (
*.WPR) - Event Trigger Definitions (
*.XML)
You can also find examples of the contents of these files from the following page:
- Flight, Weather and Event Examples
- Training Flights
Finally, there are the following "template" files included with the documentation for missions. These are also linked to in the relevant sections, however here they are listed altogether for edition and studying:
- BushTripTemplate.FLT
- BushTripTemplate.pln
- BushTripTemplate.xml
- LandingChallenge_Template.FLT
- Weather.WPR
Bushtrip Mission Structure
When creating a Bushtrip mission, files and folders should follow the guidelines outlined here, and be placed in the following Asset Director location:
PackageSources\Missions\<company name>\<mission name>\
Note that this directory location will be created automatically for you when you create a Mission asset group in The Project Editor.
Within this directory you'll need to have the following files:
|--+BushtripName
   |---BushtripName.FLT
   |---BushtripName.XML
   |---BushtripName.PNL
   |---BushtripName.WPR (optional)
   |--+Images
      |--1.png
      |--2.png
      |--... etc ...
      |--Loading.png
      |--Airport 1.png
      |--Airport 2.png
      |--... etc ...
      |--Activity_Widget.jpg
There is an specific order in which these files are to be created and edited, given below.
1. Generate The Flight Plan
This file is required for creating a bushtrip mission, and can initially be created using the third party tool Little Navmap. The flight plan created by this tool should not be used directly and will require some editing before it is 100% compatible with Microsoft Flight Simulator 2020. For example, the tool wont mark airports with the <ICAO> and <ICAOIdent> tags, or mark <ATCWaypointType> as an "airport". Without these tags the flight plan will not work, however the tool is still recommended for use as it allows you to see an overall view of the trip and easily generate precise coordinates. The output file can then be edited to create a correct flight plan PLN file.
The SDK documentation comes with a Flight Plan file template which you can download and edit here:
2. Generate The Mission Logic
The mission XML file contains the main logic of the flight, which is basically a list of waypoints and the links between them. For this file, there is a very specific hierarchy to follow:
- Each Bush trip contains N number of legs: a concatenation of airports and waypoints, eg:
Airport 1 -> Wayoint1 -> Wayoint2 -> ... -> Airport 2 - Each leg contains N number of sub-legs: a concatenation of 2 waypoints, eg:
Airport 1 -> Waypoint 1orWaypoint 1 -> Waypoint 2orWaypoint 3 -> Airport 2
So, in this file you'll need to state the legs and the sub-legs (links) between the waypoints, as well as the objectives and Airport calculators.
The SDK documentation comes with a Flight Plan file template which you can download and edit here:
3. Generate The Flight Definitions
The FLT file acts as the link between the flight plan PLN, the mission XML files, and the simulation. This file is responsible for what happens when the mission is launched, and tells the simulation which files to use and which not, as well as setting basic parameters like plane selection. It's also in charge of all the information displayed in the simulation briefing screen.
IMPORTANT! This is a complex file with a lot of parameters. A single error will make the whole mission misbehave - or potentially not even work at all - and you wont get any information on what is failing. So edit this file slowly and test every change.
This file data for the file can be automatically generated using the previously created PLN file, like so:
- Open Microsoft Flight Simulator 2020
- Open the World Map
- Click on the
Load/Savebutton to open the Load/Save Flight Files window:
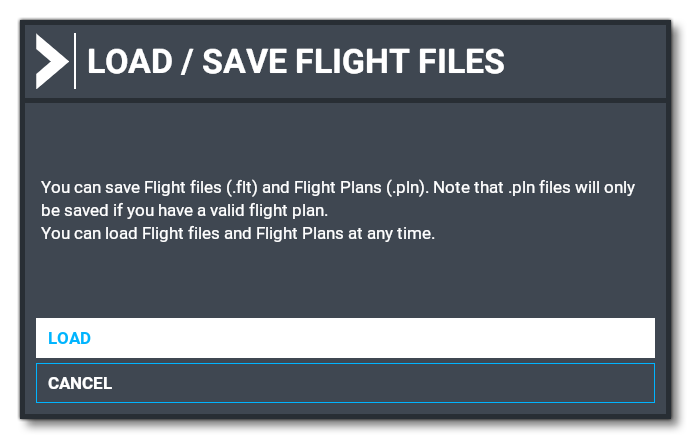 Here you should click
 Loadand then select thePLNfile that you created previously. When loaded, you should be able to see the flight plan drawn in the world map. - Now click on
Fly. - A temporary
FLTfile will have been created at this point, calledCustomflight.fltwhich will have been stored in the following location:C:\Users\<username>\Documents\My Games\KITTYHAWK\MISSIONS\Custom\CustomFlight\CUSTOMFLIGHT.FLT
- This file can now be used as a base for the final FLT that you'll need for your Bushtrip, as it will contain all the relevant data related to it. You would use this file to fill in the blank spaces within the template file (from the link given below), keeping in mind the following:
- The
CUSTOMFLIGHT.FLTfile is based on a free flight, and as such it will add waypoints namedTIMECRUISandTIMEDSCNT. These will need deleted. - Correct the numbering of the waypoints, eg: waypoint.4 ,waypoint.5, etc... from
[ATC_ActiveFlightPlan.0]and[ATC_Aircraft.0]. Also WpInfo from [GPS_Engine]. - Correct The naming of the waypoints POI1, POI2, etc...
- Correct the
CountWPandNumberofWaypoints. You should subtract 2 (for the previously removedTIMECRUISandTIMEDSCNTwaypoints).
- The
The SDK documentation comes with a Flight Definition file template which you can download and edit. This blank template contains commented lines for every entry telling you what to touch and what not to touch, and you can get this file here:
Landing Challenge Mission Structure
When creating a Landing Challenge mission, files and folders should follow the guidelines outlined here, and be placed in the following Asset Director location:
PackageSources\Missions\<company name>\<mission name>\
Note that this directory location will be created automatically for you when you create a Mission asset group in The Project Editor.
Within this directory you'll need to have the following files:
|--+LandingChallengeName
   |---LandingChallengeName.FLT
   |--+Images
      |---Briefing.png        (or jpg)
      |---Loading.png         (or jpg)
      |---Activity_Widget.png (or jpg)
Generate The Flight Definitions
The FLT file acts as the link between the mission XML file and the simulation. This file is responsible for what happens when the mission is launched, and tells the simulation which files to use and which not, as well as setting basic parameters like plane selection. It's also in charge of all the information displayed in the simulation briefing screen.
IMPORTANT! This is a complex file with a lot of parameters. A single error will make the whole mission misbehave - or potentially not even work at all - and you wont get any information on what is failing. So edit this file slowly and test every change.
This file data for the file can be automatically generated using the previously created PLN file, like so:
- Open Microsoft Flight Simulator 2020
- Open the World Map
- Select the aircraft that you want to use
- Set the amount of Fuel (usually around 30%) and the Payload you want
- Select the Airport/Runway you want as for the Arrival
- Now click on
Fly - A temporary
FLTfile will have been created at this point, calledCustomflight.fltwhich will have been stored in the following location:C:\Users\<username>\Documents\My Games\KITTYHAWK\MISSIONS\Custom\CustomFlight\Customflight.FLT
- This file can now be used as a base for the final FLT that you'll need for your Landing Challenge, as it will contain all the relevant data related to it. You would use this file to fill in the blank spaces within the template file (from the link given below).
The SDK documentation comes with a Flight Definition file template which you can download and edit. This blank template contains commented lines for every entry telling you what to touch and what not to touch, and you can get this file here: