INSPECTOR MENUS
This page outlines the different options available to you from The Material Inspector menus.
File
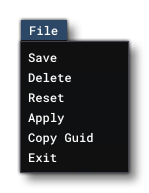
The File menu has the following options:
-
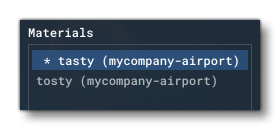
Save
This option will save the material being edited to the Material Editor list. If it is a previously saved material that is being edited, then this option will save any edits to the material. Note that materials that have been edited but not saved will be marked with a*symbol in the Material Editor materials list:
 Note that this is the same as clicking the
 Savequick button at the bottom of the inspector window.
-
Delete
This will delete the currently selected material from the Material Editor. This cannot be undone and will also attempt to remove any bitmaps that are used in the material, as long as they are not referenced anywhere else. Note that this is not guaranteed and you should check the Bitmap Manager to make sure. Note that this is the same as clicking theDeletequick button at the bottom of the inspector window.
-
Reset
When you select this option, it will reset the Material Inspector, permitting you to create a new material. This will not delete or otherwise change any material that was previously being viewed. Note that this is the same as clicking theResetquick button at the bottom of the inspector window.
-
Apply
This button will apply the currently selected material to whatever other element is in focus and that requires a material. For example, if you have The Scenery Editor open and select a runway object, then using Apply will apply the currently selected material to the runway. This option will apply the material regardless of whether it has been saved or not, so you can change the material and then apply it to see how it looks as many times as required before saving it. Note that this is the same as clicking theApplyquick button at the bottom of the inspector window.
-
Copy GUID
All materials have a unique GUID assigned to them which can be used to reference the material. Selecting this option will copy the currently selected material's GUID to the clipboard which you can then use elsewhere.
-
Exit
This option will exit and close the Material Inspector window.
Show
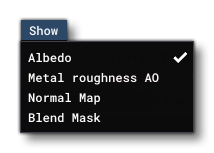 The Show menu has the following options to show the different texture inputs that can be used by a material (note that not all these input types may be available as it will depend on the context in which the material is going to be used):
-
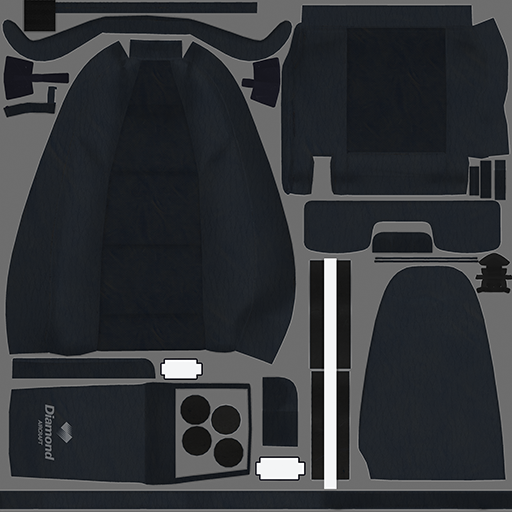
Albedo
The albedo bitmap is the "base" texture for the material, without any added shadows or highlights.
-
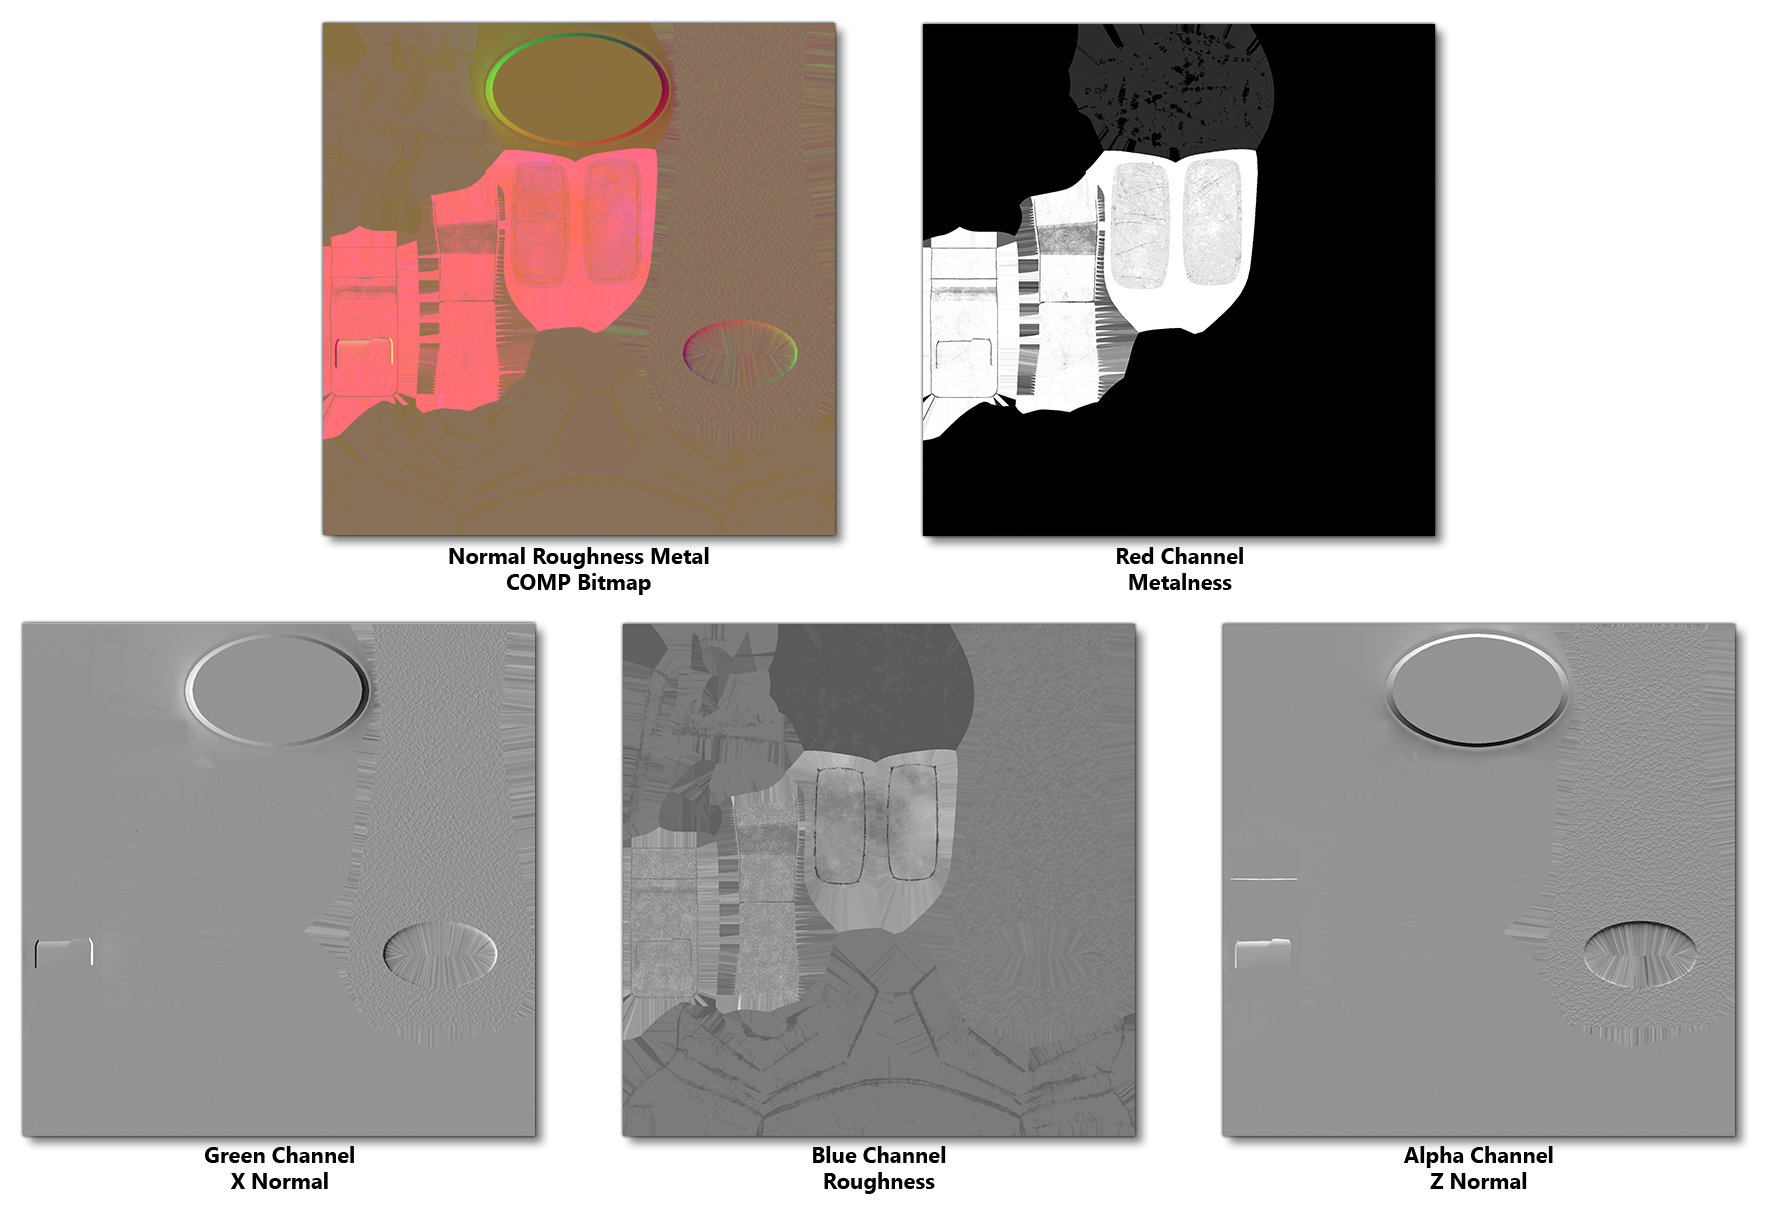
Normal Roughness Metal
This is a COMP (composite) texture that uses each of the individual RGB channels along with the Alpha channel to store information that will be used when rendering. This bitmap type is normally associated with materials that will be used in The Scenery Editor, and the color channels correspond to the following information:- Red: Metalness - this channel acts as a mask that defines the areas on the material that behave like a metal, along with those that do not. The brighter the red channel, the more metallic the area, while the darker the channel, the less metallic the area.
- Green: X-Normal - this channel contains the x-vector component of the surface normal for the surface. See the note below for more information.
- Blue: Roughness - this channel is used to define surface irregularities that would cause light diffusion. Rougher areas will show larger, dimmer looking highlights, while smoother areas will show more focused and clear highlights. In this channel, a pure bright blue would be equivalent to the smoothest and the darkest blue would be the roughest.
- Alpha: Z-Normal - this channel contains the z-vector component of the surface normal for the surface. See the note below for more information.
-
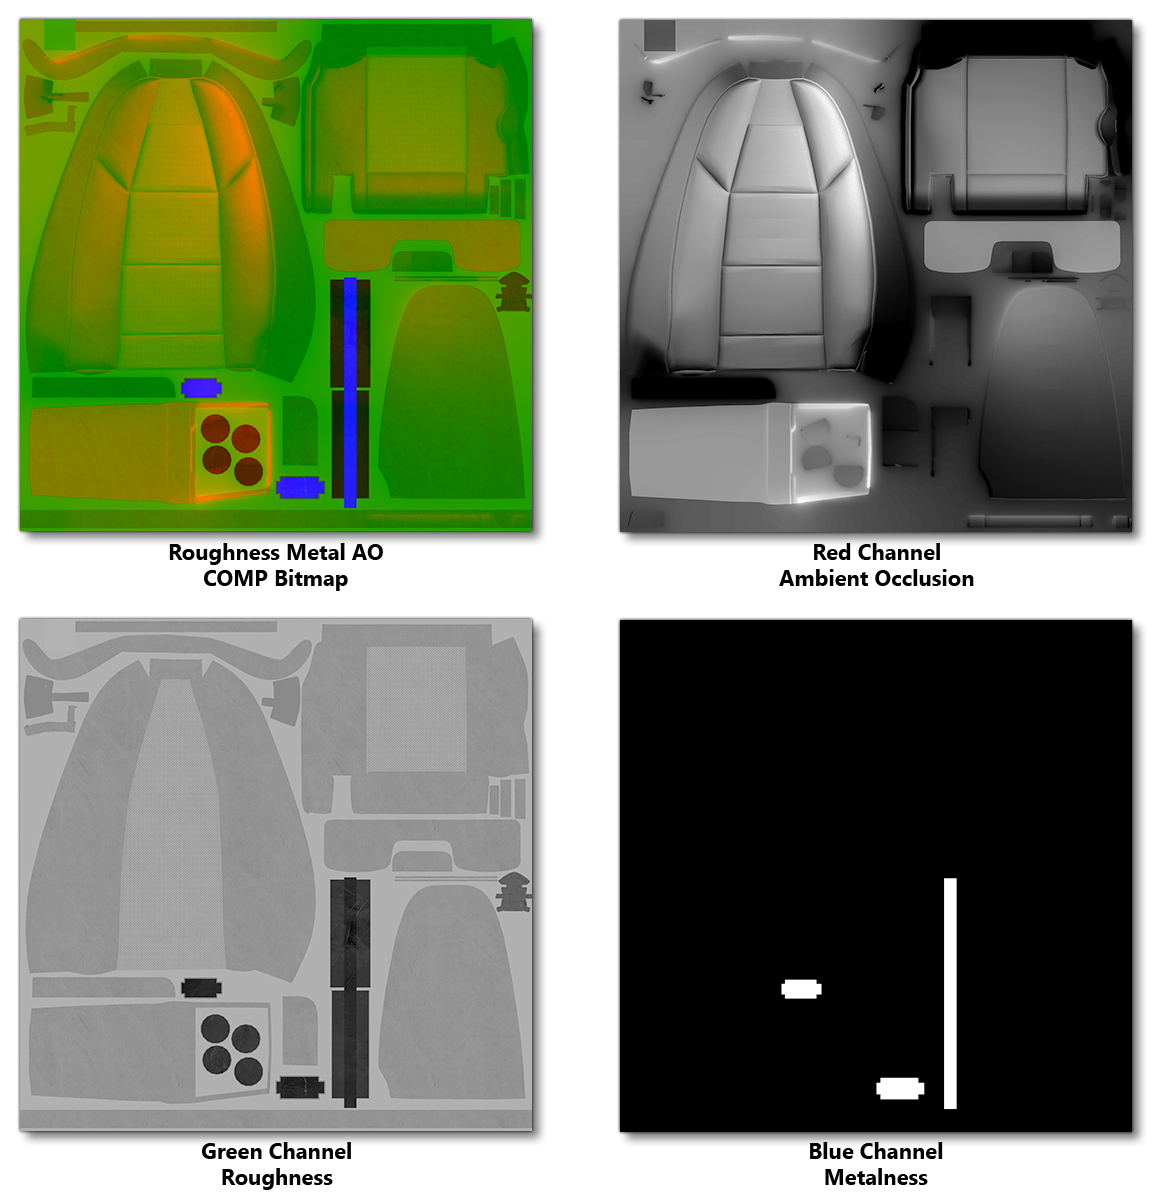
Metal Roughness AO
This is a COMP (composite) texture that uses each of the individual RGB channels to store information that will be used when rendering, and is normally associated with materials that will be used in The Visual Effects Editor. The color channels correspond to the following information:- Red: Ambient Occlusion - this channel is used to define how exposed the different parts of the model will be to any light source and is essentially a shadow map for diffuse (non direct) lighting, where more red means more light and less red means more shadow.
- Green: Roughness - this channel is used to define surface irregularities that would cause light diffusion. Rougher areas will show larger, dimmer looking highlights, while smoother areas will show more focused and clear highlights. In this channel, a pure bright green would be equivalent to the smoothest and the darkest green would be the roughest.
- Blue: Metalness - this channel acts as a mask that defines the areas on the material that behave like a metal, along with those that do not. The brighter the blue channel, the more metallic the area, while the darker the channel, the less metallic the area.
-
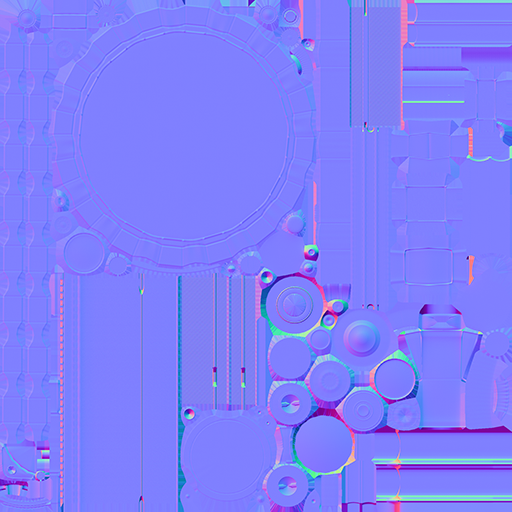
Normal Map
This texture can be used to store a normal map bitmap that may be used to add "volume" to the final material. With normal maps the RGB color values are used to store the XYZ direction surface normal, with Z being "up".
-
Blend Mask
A blend mask is a texture that can be used by certain Types of materials and the color format will depend on the type being used. These are generally used when working with The Visual Effects Editor to set the way particles will blend or be distorted.