PACKAGE BUILDING
At this point, you actually have enough information to fly your aircraft for the first time in Microsoft Flight Simulator! It won't be perfect, as none of the animations will work, the LODs will probably be wrong, and it'll not fly like it's supposed to... however you can't resolve any of these things without being able to test the package in the simulation, so lets go ahead and open it then build it and see what happens.
Project Editor
The first thing you have to do is run Microsoft Flight Simulator, and then - when you are on the main menu for the simulation - you need to open the Project Editor. This is done from the Tools menu. In the Project Editor, go to the Project menu and select "Open Project" then browse to the folder where you saved the base template files earlier and select the project XML file. The Project Editor will now look like this:
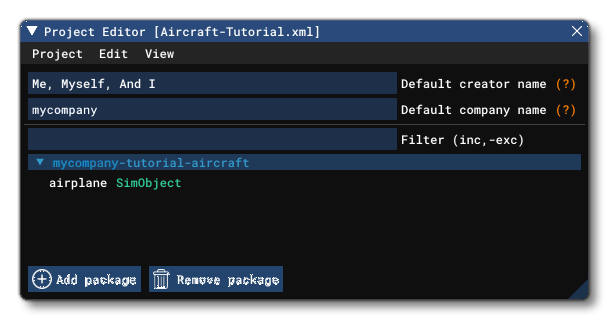
From here you need to click on the package and then open the Inspector window (from the Project Editor View menu).
Inspector
The Inspector window will look something like this when you have your package selected:
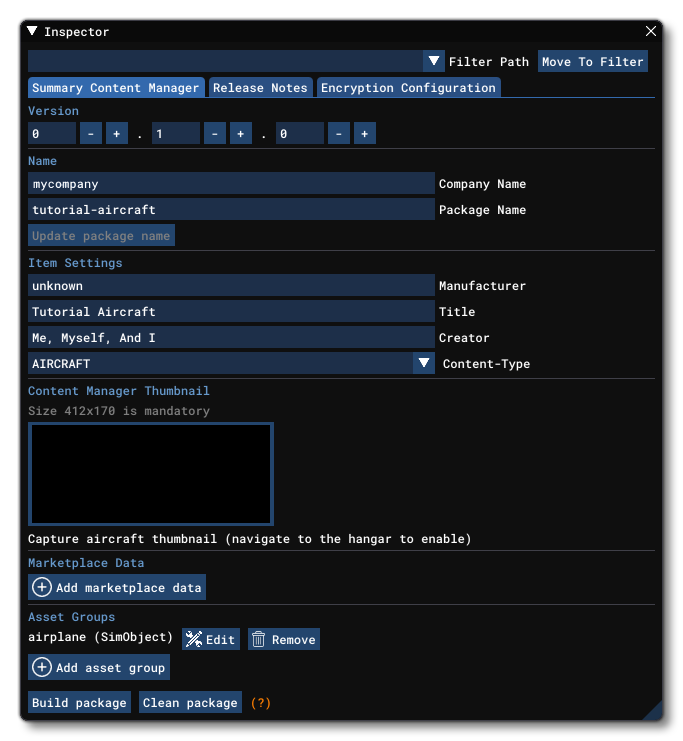
The Inspector window for a package shows all the different options that can be used to customise how the package is presented to the user when it is built, however there is only one single thing that you need to do right now and that is give the Content Manager Thumbnail image (we'll look at editing the rest of the information nearer the end of the tutorial). If you don't have this image, then the aircraft package can't be built as the image is required to be able to show the aircraft in the main simulation UI. The contents of the image at this stage aren't important, as long as it's a JPG image authored at 412px * 170px, it'll be fine. You can use the one we supply below if you'd like, just click on it to download:
Once you've added this image, you will need to save the project. Once it's saved we can build it and test the aircraft!
Building The Package
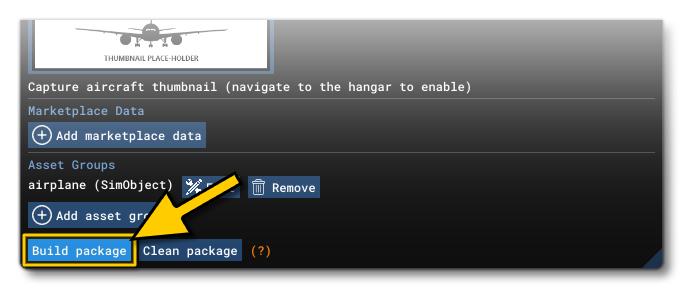
To build the package, you simply need to click on the Build package button at the bottom of the inspector window:
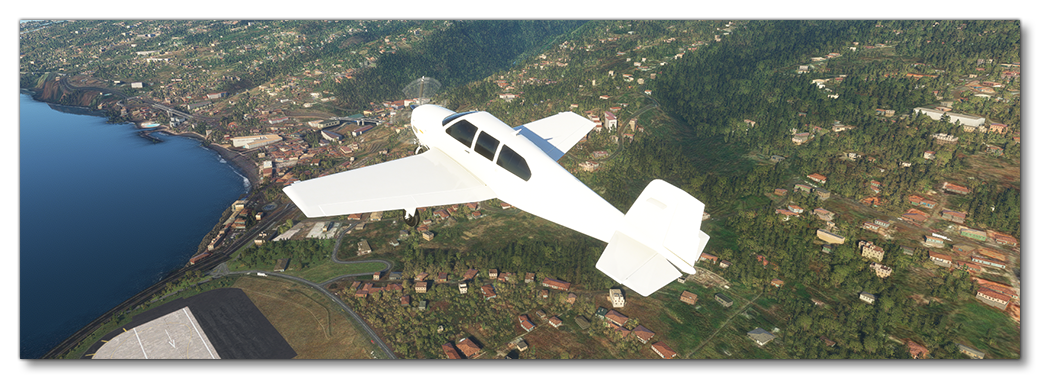
Once the package has built (Microsoft Flight Simulator may be unresponsive for a few seconds while this happens) you should be able to go into the hangar and select it:
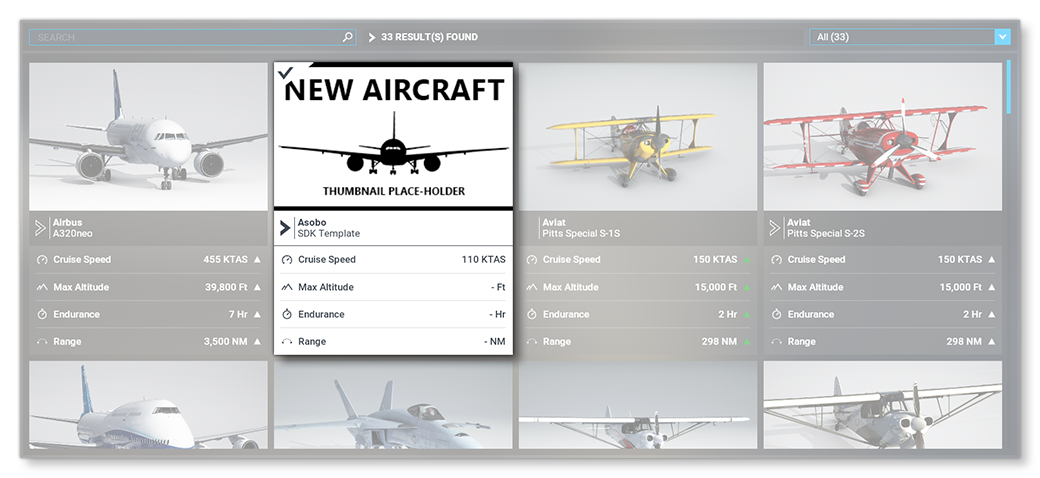 NOTE: If you don't see the aircraft in the hangar, or the package has an issue building, then see the section on Troubleshooting below.
You can then select this aircraft and start a flight, and you'll be able to use the standard controls to make it fly!
Debugging
At this point in the process, you should take some time to debug the model using the available tools, paying particular attention to the LODs, and the model statistics. For LODs you can find information on how to debug them correctly from the following page:
For the model in general, you should be using The Statistics Profiler and the The SimObjects Stats window to ensure that it is within the recommended limits given in the sections on Airframe Poly Count and Cockpit Poly Count. Note that you'll not be able to debug anything other than the models themselves at this point, but it's important that you get them correct and optimised before continuing to edit anything else with the aircraft.
Troubleshooting
If the aircraft does not show up in the hangar, then you need to go through a few steps to find out what's gone wrong and fix it. The first thing to do is enable the The Console and set it to Builder only, clearing the output:
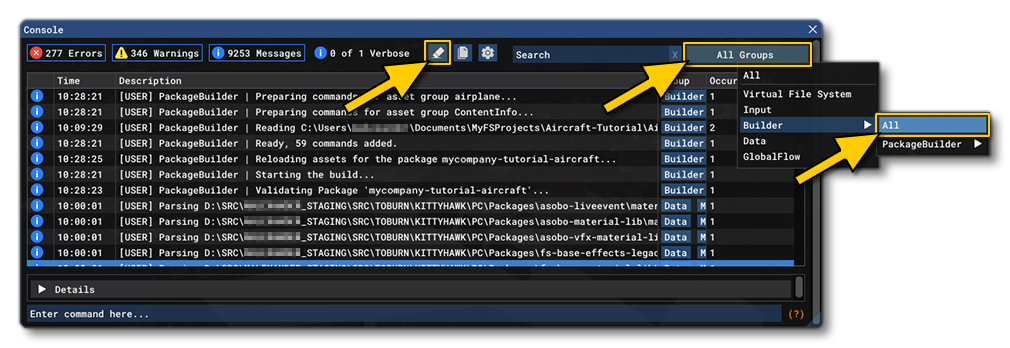
After clearing the output you would then go back and build the package again, and this time you can analyse the console output to see if there are any obvious errors listed. The most common issues you'll face at this point are usually related to misnamed paths for the glTF or texture files, so make sure that the names given in the CFG and XML files match the actual file names. You might also have to check the way that you have exported the glTF files and textures, and revise the instructions given for Model Exporting.
The other main thing to check is that the paths within the project have been set up correctly. This should only be a problem is you have not used the aircraft template, in which case the SimObject will have been defined with the following path:
ROOT\<PackageName>\PackageSources\SimObjects\SimObjectType\<AssetName>\
This is because the Project Editor can't know what type of SimObject you are going to be making, and as such you will manually need to change the SimObjectType folder to be instead be called Airplanes, so it should be:
ROOT\<PackageName>\PackageSources\SimObjects\Airplanes\<AssetName>\
This is an important issue to be aware of, since when this error exists, it will not be reported in the Console and the package will appear to build without issues.
