TEXTURING / MAPPING
This section of the tutorial deals with the way that textures should be applied to the Cockpit meshes. This page lists some general rules and guidelines that should be adhered to when texturing the cockpit, and then links to pages containing information about specific parts or procedures. Before continuing with this section, we recommend that you revise the following pages:
It is also worth checking the Airframe page on texturing as some of the guidelines given there are also appropriate to the cockpit:
The following pages deal with specific cockpit texturing guidelines:
IMPORTANT! When working with anything that requires modifying the vertex alpha, there may be issues caused by a bug in 3DS Max. This can easily be resolved, however, and the process is explained here: Notes On Vertex Alpha
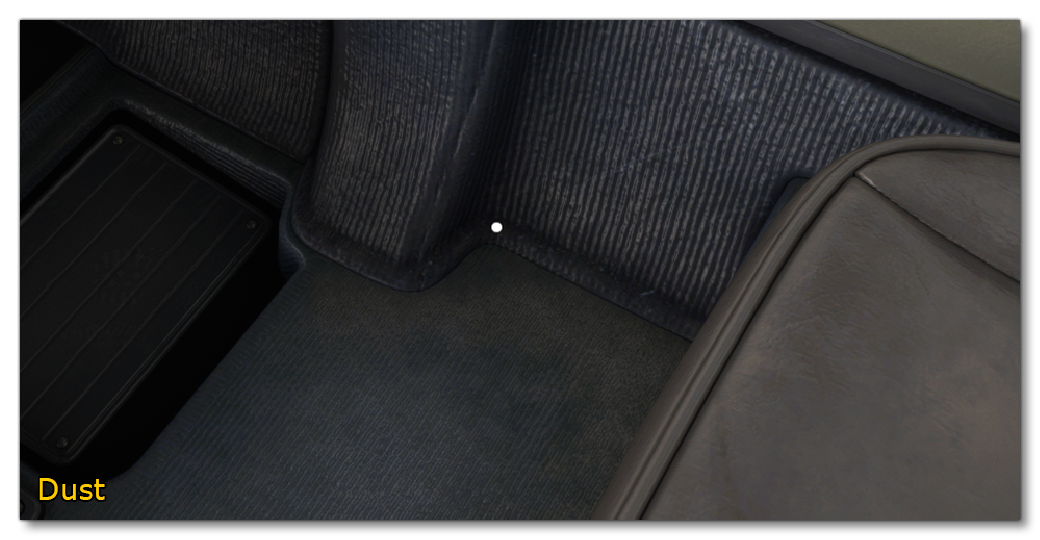
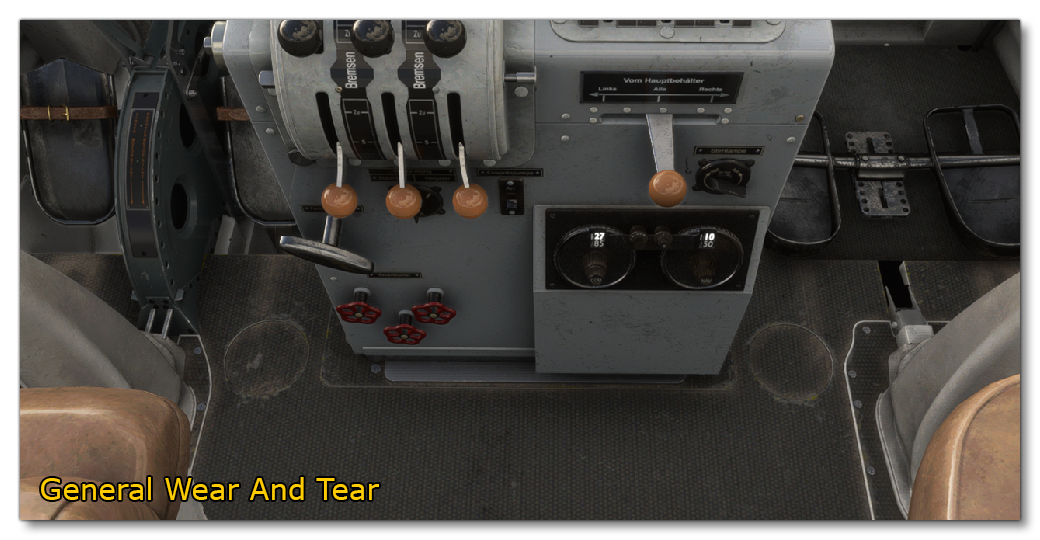
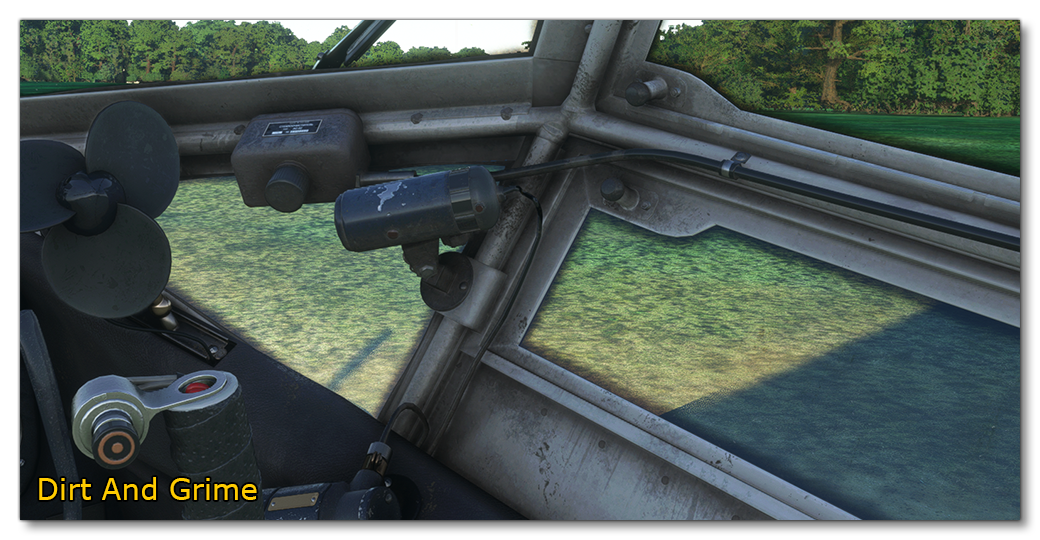
Realism
One of the main things to keep in mind when creating the textures for your cockpit is to maintain a level of realism appropriate for the aircraft being modelled. This doesn't just relate to the controls and the shapes, but also to things like dirt, scratches, and general wear-and-tear of the cockpit elements based on the age and use of the aircraft. The following images show some of these features done appropriately:
Also note that aircraft cockpits are mostly seen from the viewpoint of the pilot or the co-pilot and that, whenever the switches and dials are used, the user will be zoomed into those areas to see them more clearly. As such, it is necessary to add accurate detail to all of the dials, switches and buttons:
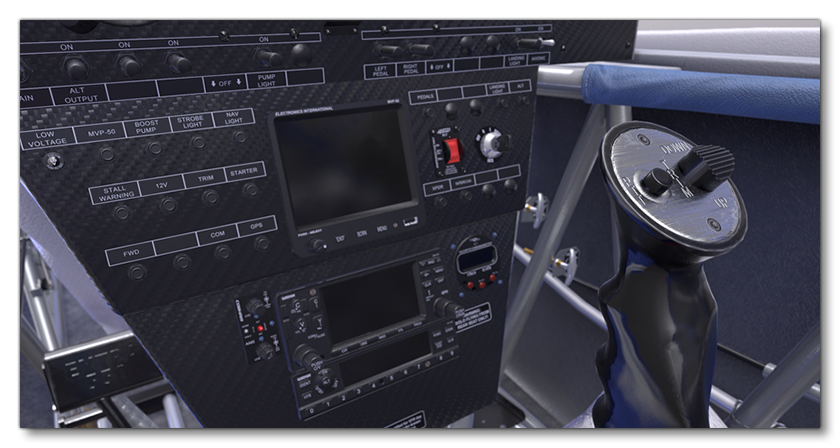
It is also possible to have a free cam in the cockpit and cabin, which is why there should be detail all over, leaving no area un-textured or with significantly reduced texture quality (although areas that are not going to be directly visble can have less fidelity than those that will be zoomed in or seen often).
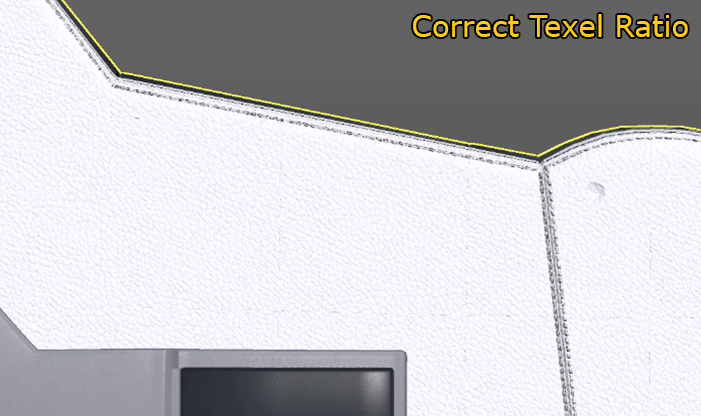
Texel Density
When creating the textures for the interior of the aircraft, it's important to have the main texel ratio for all the elements cockpit to ensure a coherent visual result. For example, the image below shows an element with correct and incorrect texel ratios:
This kind of mis-match is very obvious when it happens in the cockpit since these elements are seen very close up by the user. Note that for some elements, the ratio can be different - like inputs as they are smaller objects which will be seen from a really close camera angle.