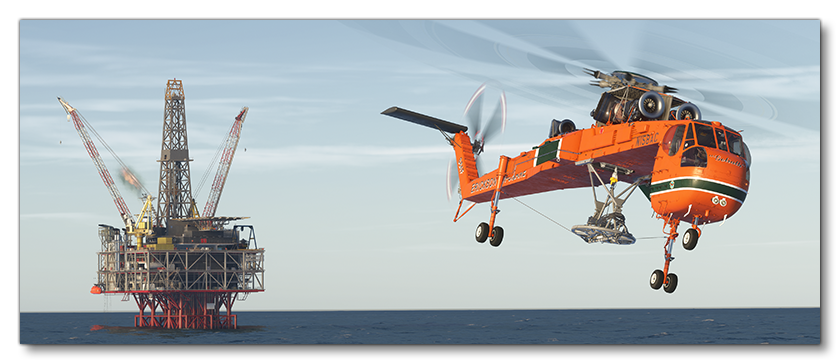
AERIAL CONSTRUCTION
The aerial construction activities in Microsoft Flight Simulator 2024 require the user to fly rotorcraft (helicopters, etc...) transporting extreme and unusual cargo to hard-to-reach construction sites, using skill to ensure precise and safe deliveries. If you wish your aircraft to be used on this kind of activity you will need a preset that has been appropriately set up as part of the Modular SimObject, as explained below.

For more information on the various other career activities and how to prepare your aircraft, please see here:
Rotorcraft Constraints
When setting up your rotorcraft for construction flights you will need to ensure that it fulfills the requirements for such an activity. The main constraints for this are as follows:
- The rotorcraft will need to have the
navigation_graph_pilot.cfg, and it should include aCOPILOTnode, with a Generated Copilot defined (as explained here). - The rotorcraft will need to have the
ApronWithoutCovers.fltfile (as explained below). - The rotorcraft will need to have the
Hover.fltfile (as explained below). - The
targeted_specializationsmust include theCHT-AECdressing code. - The
object_classmust be either "helicopter" or "tiltrotor". - The
operating_statusmust be either "in_service" or "experimental". - The aircraft cannot be flagged as military.
- The aircraft cannot be flagged as premium.
- The
ui_max_rangemust be greater than 1. - The rotorcraft total payload mass must be greater than 1kg (as explained here).
- The rotorcraft can have skids or wheels for landing gear.
- The rotorcraft cannot have Floats.
- The rotorcraft model must accurately show cargo load assembly which will be used to attach the cargo, and there must be two "helper" nodes in the glTF called
CONSTRUCTION1_ROPE_ATTACHandCONSTRUCTION2_ROPE_ATTACH.
Following these constraints will give the aircraft the CHT_Cabin type. See here for more information:
Mission Flow
The flow for an aerial construction mission is as follows:

This flow will also require the aircraft to be setup for - and follow - the General Career Mode Requirements.
Rotorcraft Cargo Assembly
When modelling the rotorcraft, the artist should model the entire cargo assembly underneath the rotorcraft, and there should be two "helper" nodes in the glTF called CONSTRUCTION1_ROPE_ATTACH and CONSTRUCTION2_ROPE_ATTACH. These will be where the two ropes that are attached to the construction cargo will come from. Therefor they should be placed at the points on the cargo assembly where the ropes would be deployed and should be present in at least the LOD0 and LOD1 glTFs.
The Navigation Graph
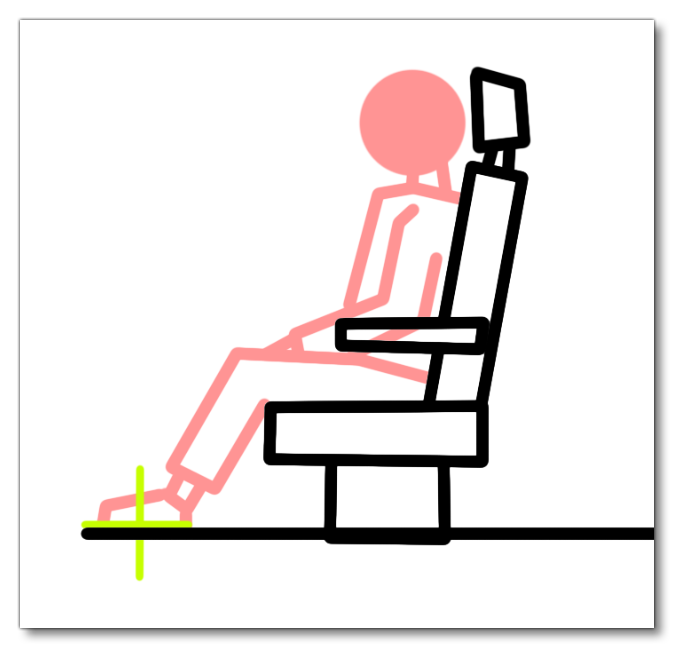
Once the rotorcraft model has been added to the Modular SimObject package, the preset being used for the cargo activity will need a navigation_graph_pilot.cfg file for both the pilot and the copilot (this could be placed in the common folder if you wish the copilot to be present at all times). Within this navigation graph, you will need nodes for the pilot and copilot, tagged something like SEAT_PILOT and SEAT_COPILOT. These nodes are normally placed at the position where the pilot and copilot feet will go:

These nodes will spawn a seat logic object with nodes tagged PILOT and COPILOT, as explained here:
Keep in mind that a copilot will also add weight to the helicopter, so this should be configured as well, as described here:
FLT Files
For aerial construction missions the pilot will start by going through the usual Preflight checks, and so these aircraft will need to have the Apron.flt setup in the activity preset as follows:
- Section
[SimVars.0]must have the parameterSimOnGroundset totrue. - All defined
[Covers]need to be set totrue(see here for more information). - Section
[Controls.0]must have the parameterParkingBrakeset to 100.00 (if the aircraft has a parking brake). - Aircraft electrics and engines must be turned off.
- The aircraft flight parameters (trim, flaps, etc...) should be set for a cold and idle aircraft.
An additional FLT file is required - the ApronWithoutCovers.flt file - for those occasions when the user may skip the preflight phase and there is an RTC event, or when something causes a Back On Track event after preflight. This file should be set up like a regular apron FLT file, however you should ensure that these changes are made:
Additionally, rotorcraft will require the Hover.flt, with the following setup:
- Section
[SimVars.0]must have the parameterSimOnGroundset tofalse. - All defined
[Covers]need to be set tofalse(see here for more information). - The helicopter configuration in the FLT file must be setup such that the helicopter is in a safe "hover" state, ie: electrical systems and engine(s) should be on and set appropriately, the rotor brake should be off, flight parameters should be set such the rotorcraft is stationary in the air, etc...