LIGHT SUPPORT OBJECTS
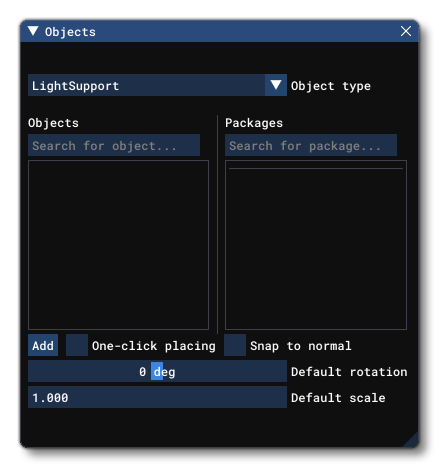
A Light Support object is an object element that is used to "support" lights within an airport. Basically it's a rectangular area that is used to change the altitude of any lights that are part of the airport and fall within the area the support object covers. This includes LightRow Objects, any lights added as part of Runway Objects, etc... When you select this object type the Objects window will not show any different object elements as currently there is only one type of Light Support and what it does is defined through its :

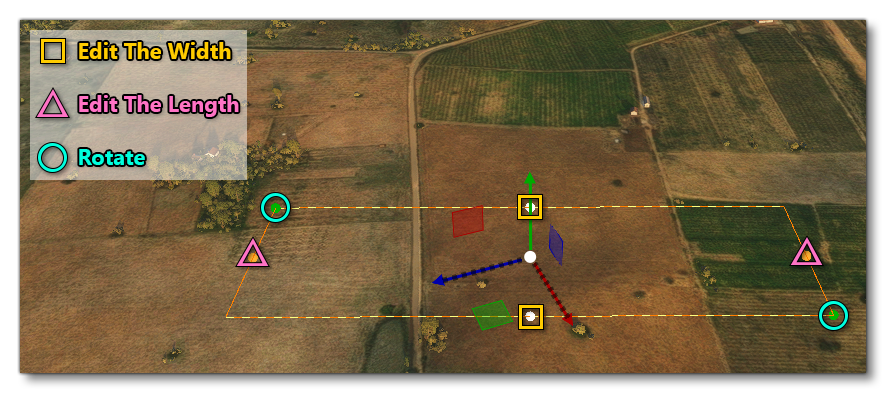
When you select a Light Support object and click Add, a rectangular area will be added to the scene and you can edit its size (length / width) using the Gizmo in its center or setting the values in the Gizmo window. The gizmo can also be used to change the scale and rotation of the support rectangle. You'll notice that there are various points shown on the rectangle area in the world. Each of these points can also be clicked on, which will move the gizmo to that point and enable you to edit the following properties:

Once you are happy with the placement of the rectangle, you can then go on to edit its Properties. It's important to note that unlike other objects with similar controls, the support rectangle will also move on the vertical axis and has an altitude. The altitude will affect how any lights within the support rectangle are displayed, since that is the purpose of the object - to "support" lights at an altitude other than that with which they were created. The image below shows a Light Row Object that has been half placed within the area of a Light Support rectangle, and the rectangle has been placed at an altitude higher than the row of lights:

If you wish to remove the light support object after it's been created, you can select it and press Delete on the keyboard.
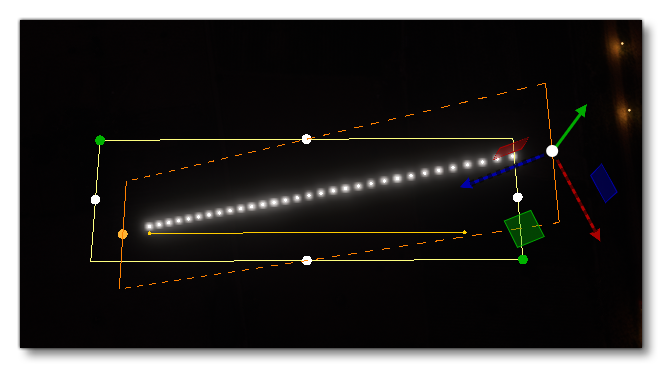
IMPORTANT! Light Support objects require one or more Airport Objects to be present in the scene, and must be added to an airport group in The Scenery Editor. If no airport is present then they cannot be used. Also note that if they are placed too far away (ie: outside the airport Object Test Radius) then they will not be rendered.When working with the light support object, you're not just limited to setting a single baseline altitude for the lights, you can also set a sloped gradient along the length of the rectangular area. This is done by modifying the Point 1 Altitude and Point 2 Altitude values in the Properties. When you edit either of the end points, these changes will be reflected in the world:

As you can see in the image above, the base rectangle is still shown, as is the light row path, however the lights themselves now follow the slope set by the altitude values for the points at either end of the object, and the Light Support rectangle has an extra set of "handles" along the slope indicator. These can be clicked on and dragged up or down within the world to visually set the altitude of the ends of the area.
Properties
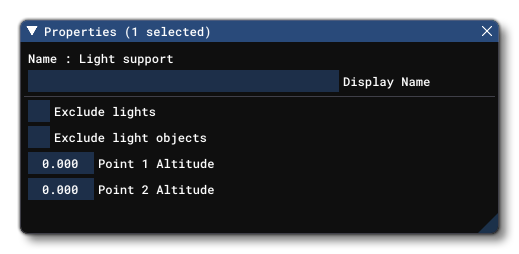
The Properties window for a Light Support object looks like this:

-
Name
This is the name of the element as defined from its properties.
-
Display Name
This is the name of the element as it will be displayed in the The Scenery Contents List. This can be edited and is helpful for identifying elements when you have a lot of items in the content list.
-
Exclude Lights
When this is checked, light support rectangles will act like ExclusionRectangle Objects and exclude all lights in the rectangular area it covers (this includes any objects/meshes associated with the light).
-
Exclude Light Objects
When this is checked, light support rectangles will act like ExclusionRectangle Objects and exclude all light objects in the rectangular area it covers. The light itself will remain, but any visible objects/meshes will be removed from the area.
-
Point 1 Altitude / Point 2 Altitude
These values can be changed to alter the start and end altitudes of the light support object and so create a slope or modify the height of the support for the lights.