GLTF Materials / Sample Materials
The SampleMaterials file has two different purposes:
- Illustrate how materials can be set up in 3Ds Max (requires The 3DS Max Plugin)
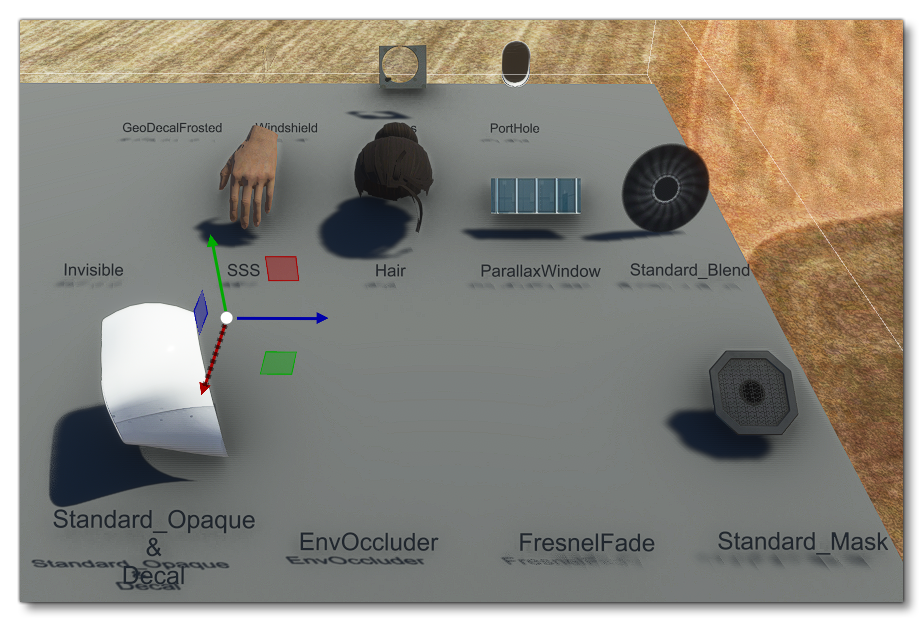
- Show objects using custom materials in the sim world
NOTE: This sample is not about setting up materials using The Material Editor! It is purely a resource to demonstrate how custom materials can be used to create specialist objects and elements within the simulation.
You can expand the link below to see the SampleMaterials file and folder structure:
|---+ GLTFMaterials
    |---+ PackageDefinitions
    |   |---- mycompany-sample-materials.xml
    |   |---+ mycompany-sample-materials
    |       |---+ ContentInfo
    |           |---- Thumbnail.jpg
    |---+ PackageSources
    |   |---+ modelLib
    |       |---+ texture
    |       |   |---- <43 PNG texture files>
    |       |---- SampleMaterials.bin
    |       |---- SampleMaterials.gltf
    |       |---- SampleMaterials.xml
    |---+ Sources
    |   |---+ Art
    |       |---+ Max
    |           |---+ textures
    |           |   |---- <43 PNG texture files>
    |           |---- MaterialSample.max
    |---- SampleMaterials.xml
Materials In 3Ds Max
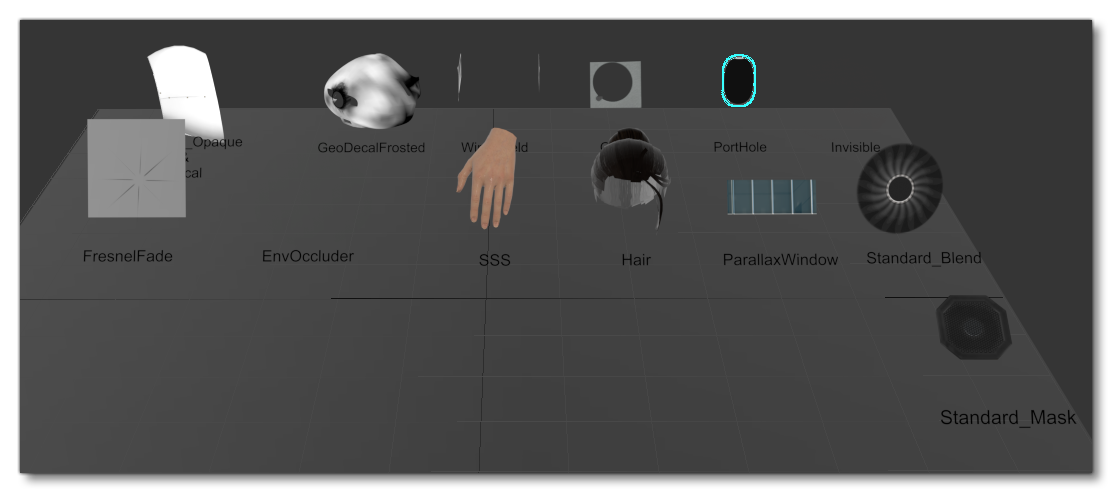
The 3Ds Max source file can be found in the Sources, along with a folder containing the Textures used. Opening this file in 3Ds Max will show you a set of objects using different specialist Microsoft Flight Simulator 2020 materials:
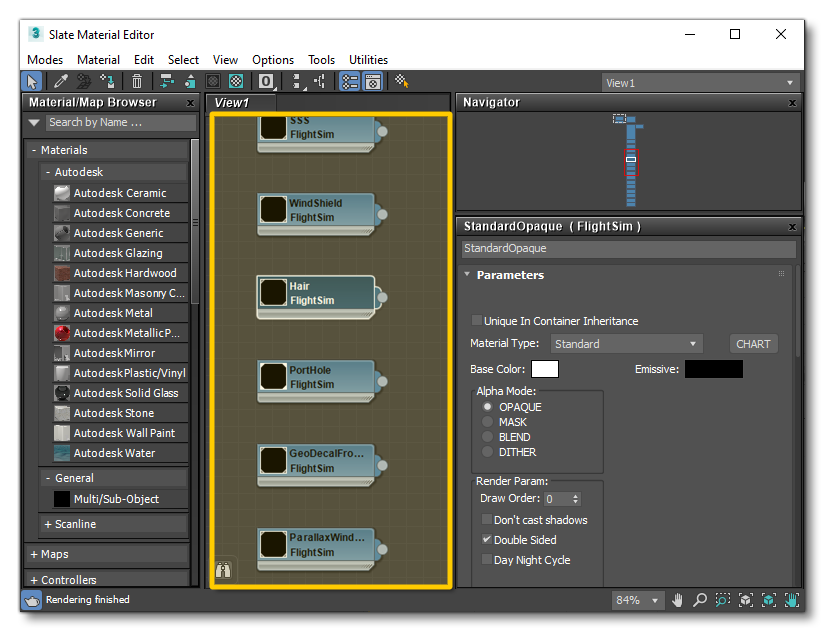
 If you open up the Material Editor within 3Ds Max you can then explore the materials that have been used by the objects in the scene. The special materials for the simulation will all be labelled as FlightSim:
Loading And Building The Project
In order to load and build the project in Microsoft Flight Simulator 2020, you must have previously enabled Developer Mode (see here for more information). Once enabled, simply follow these steps:
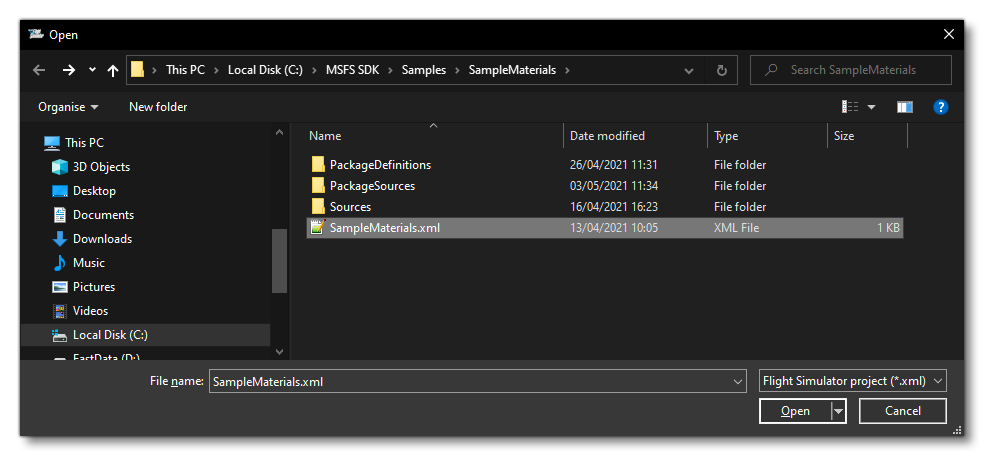
- Use the Open project... command from the File menu.

- Select the file
SampleMaterials.xmlfrom theSampleMaterialssample project.
- The Project Editor should open automatically and show you the project
mycompany-sample-materials(if the Project Editor doesn't open, then you can open it from the Developer Mode Tools menu):
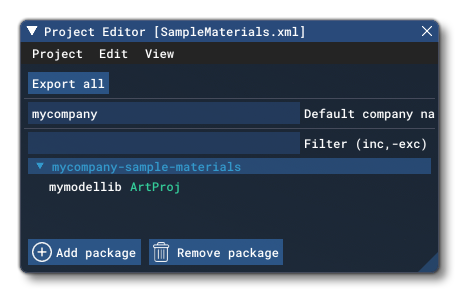
- Clicking on the package in the Project Editor will open The Package Inspector, and here you need to click the Build Package button (if the Inspector Window does not open automatically, go to the View menu in the Project Editor and open it from there):

- This will build a package from the files specified in your project. This package will be named
mycompany-sample-materialsand will be output in the Packages folder created in the same directory asSampleMaterials.xml:

- Now that the package has been built you need to open The Scenery Editor, as we can spawn the object with the material samples in the simulation to see how it looks.
- In the Scenery Editor, open the Objects window and select the Scenery Objects type. You can then use the filter to find the sample demo object "SampleMaterials":
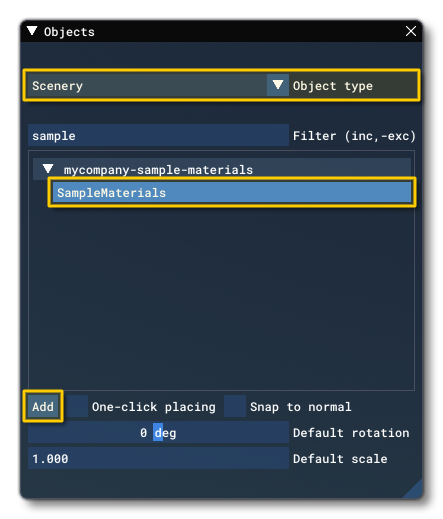 NOTE: If the object does not appear in the list of Scenery objects, you may need to close the scenery editor and re-open it to force the list to refresh.
- All that's left to do now is click the
Addbutton in the Objects window to add the SampleMaterials object to the scene:
