VFX Graph Nodes
Here you can find a list of all the different Edition, Block and Node items available for use with The Visual Effects Editor as well as an overview of how to use the Node Graph window. Each item that can be added into the Node Graph has it's own page which outlines how it can be used and the Inspector options available to you, and you can access this information for each node from the links listed below. For a general overview of how to use the VFX Editor itself, please see here:
To add a node into the VFX editor you simply right-click anywhere and then select the node that you want from the menu that pops up:

This menu is split into sections to make it easier to find the nodes that you need, and it also has a Filter option at the top where you can quickly type a few characters and filter all the nodes to find the one you need.
Node Categories
This section lists the different node categories and the nodes that they contain.
Edition
Block
Animation
Arithmetic
Colour
Effects & Environment
- EmitterDirection
- GetGroundAttribute
- GetInstanceAttribute
- GetParticleAttribute
- GravityVector
- GroundDirection
- LocalDirection
- WindDirection
Random
Simulation
Types
Maths Functions
Using The Node Graph
The Node Graph window is where you can place the different Graph Items that make up the effect, and "visually program" the effect by connecting the different Nodes and Blocks together. You can even use the Edition item to add comments into the graph to help you remember what parts do, or to allow team mates to easily understand the effect after it's been created.
The different graph items are added to the Node Graph using the right-mouse button, which will give you the option Add. Placing the cursor over the different sub-sections will highlight further options, and when you find the graph item you want to place, simply click on it and it will be added to the Node Graph window:
Removing a graph item is also done using the right-mouse button - simply select the item then right-click on it and select Delete.
NOTE: If any blocks are linked to the one being removed, then all those links will be broken.The right mouse button on a graph item also offers a further option: Move Linked Destinations Closer. This option will only be available if there is one or more items linked to the item that was clicked on, and it will simply bring the linked item(s) closer within the Node graph window. If you click and hold the right-mouse button outside of a node, then you can move the mouse to pan around the Graph Node window.
To re-position a node graph item within the window, you can simply click on it and drag. You can also hold down the Ctrl key and then click on various graph items to select multiple items at once, and these can then all be moved to a new position at the same time, maintaining their relative positions to each other.
Another method of selecting multiple nodes at once for re-positioning is to hold down Ctrl then left-mouse click and drag to create a bounding rectangle. All nodes that are within this rectangle when the left mouse is released will be selected.
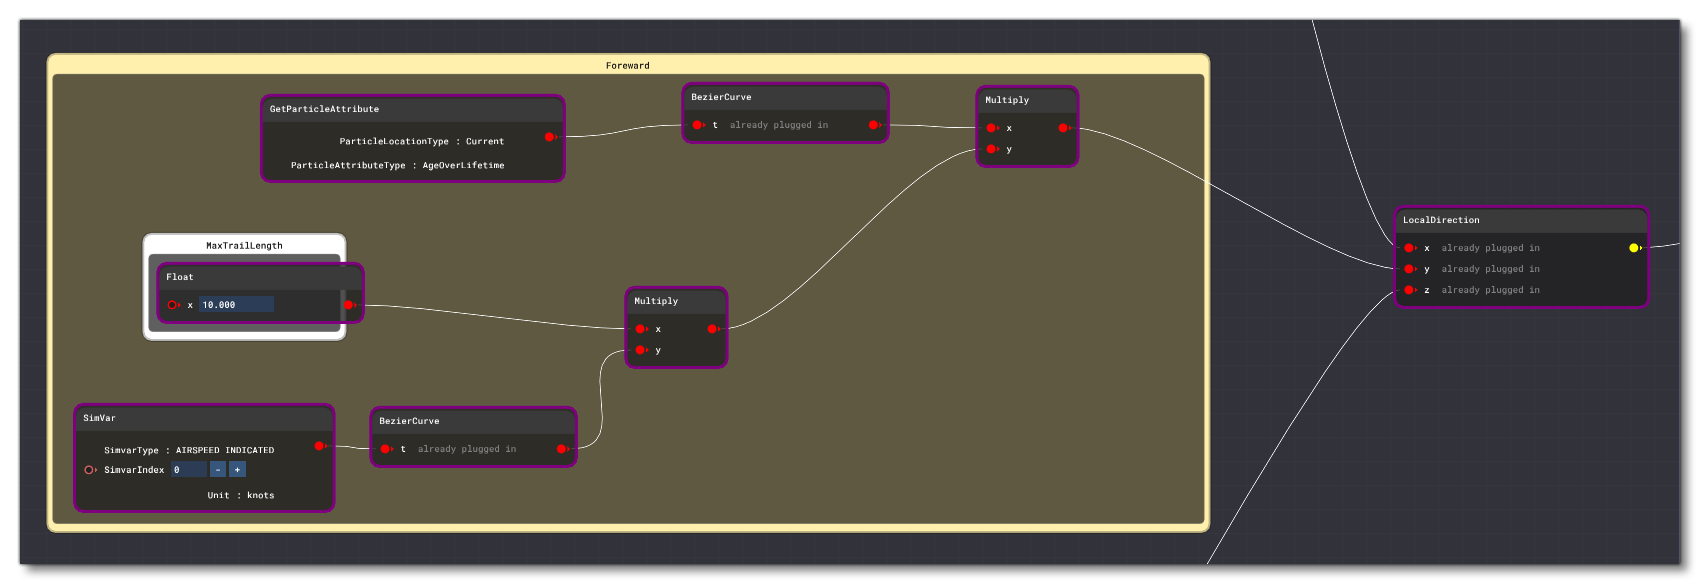
Linking the different Node Graph items is simply a case of holding down the left-mouse button and dragging from the output of one graph item to the input of another graph item:
Note that some graph items cannot be linked to others, and it will depend on the input/output values for the items you want to link. For example, if you have the GetParticleAttribute node and it's set to retrieve the particle velocity (a 3 value vector) you cannot link it with the Float node, as it can only take a single float value as input.
IMPORTANT! It is up to you to ensure that node inputs and outputs are within an acceptable range. Any value that forces a floating point overflow/underflow will cause the effect not to spawn or be "invisible".
Once blocks are linked you can click on any link line to highlight it, and then use the right-mouse button on the line to get further options, as shown in the following image:
 From this menu you can navigate to the source or destination graph item using the Jump To Destination/Source Node options, or you can use the Move Linked Destination Closer option to move any linked destination graph items closer together. You can also Delete the link between the graph nodes, if required.